1. Introduction
Thank you for choosing the AUTO-VOX A118C Dash Camera. This manual provides essential information for the proper installation, operation, and maintenance of your device. Please read it thoroughly before use to ensure optimal performance and safety.
The AUTO-VOX A118C is a discreet car recorder designed to capture high-definition video footage while driving. It features a Novatek NT96650 processor and an Aptina AR0330 CMOS sensor, offering reliable video recording. Its compact form factor allows for discreet mounting, making it less noticeable from outside the vehicle.
2. Package Contents
Verify that all items listed below are included in your package:
- AUTO-VOX B40-C Dash Camera
- USB cable
- In-car charging cable
- Brackets and Adhesive Mount System
- User Manual
- 32GB micro SD card (included with some packages)

3. Product Overview
3.1 Device Layout


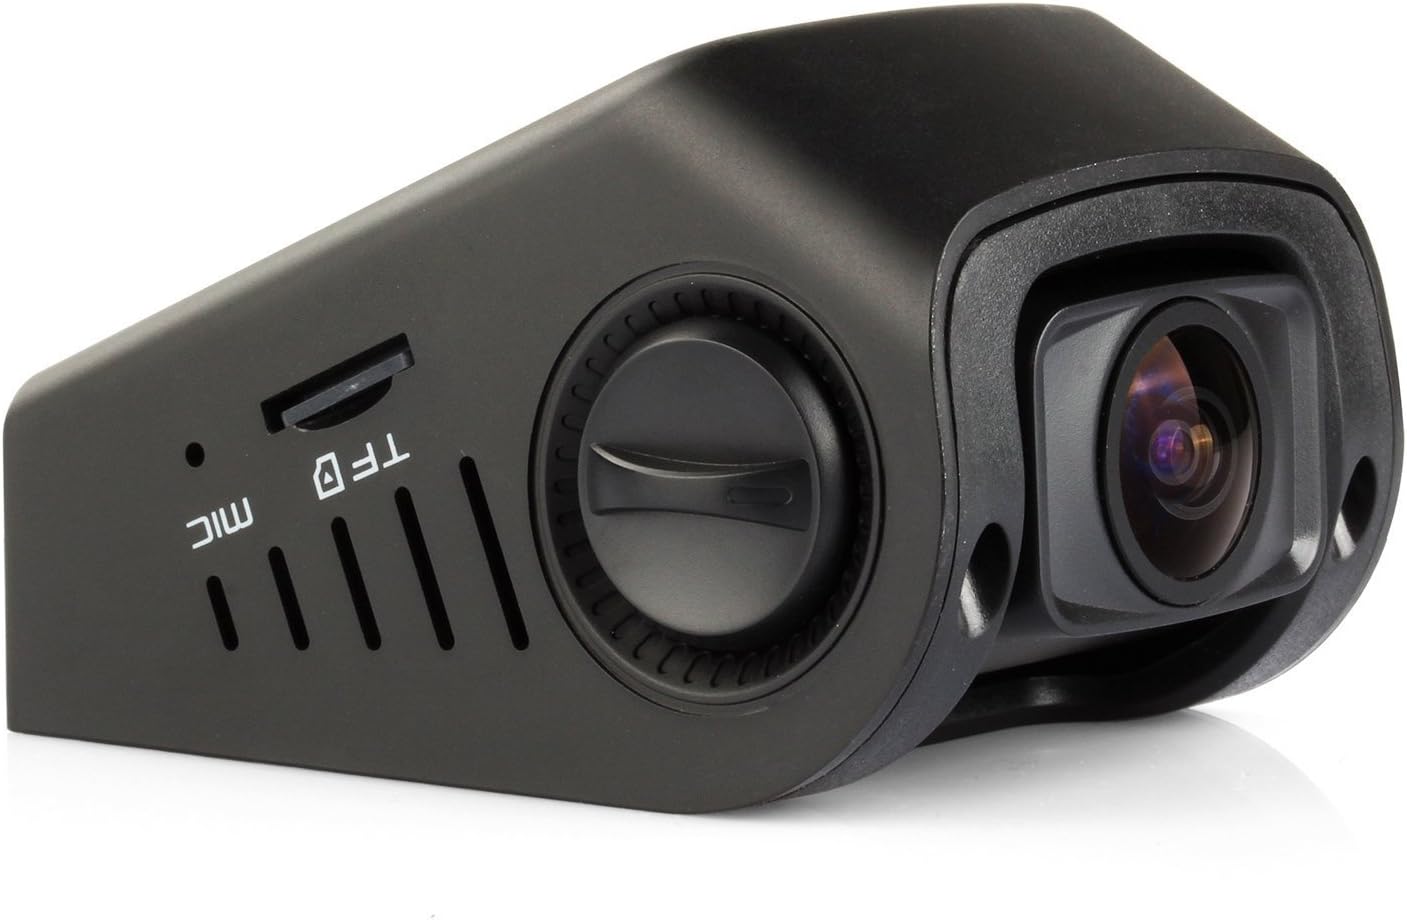
3.2 Key Features
- Novatek NT96650 Chipset + Aptina AR0330 Lens: Ensures high-definition video compression and smooth imaging with low power consumption.
- Compact & Contoured Design: Designed for discreet placement, often behind the rear-view mirror.
- 170 Degree Wide 6G Angle Lens: Captures a broad view of the road.
- Full 1080P HD Recording: Records at 30 FPS, with 720P at 60 FPS, featuring Night Vision and WDR Technology.
- Automatic Motion Detection: Initiates recording upon detecting movement.
- G-Sensor Enabled Recording: Automatically saves footage during sudden braking, impact, rapid acceleration, or sharp cornering.
- Capacitor Edition: Utilizes a capacitor instead of an internal battery for enhanced heat resistance and reliability.
- 1.5-inch HD LCD Screen: For real-time viewing and menu navigation.
- Multi-language Support: Offers various language options for user interface.
4. Setup
4.1 Inserting the Micro SD Card
Before using the dash camera, insert a Micro SD card (up to 32GB, Class 10 or higher recommended) into the TF slot on the side of the device. Ensure the camera is powered off before inserting or removing the card.
4.2 Mounting the Dash Camera
The AUTO-VOX A118C uses an adhesive mount system for discreet installation on your windshield.
- Clean the area on your windshield where you intend to mount the camera. Ensure it is free of dust and grease.
- Attach the adhesive mount to the camera unit.
- Peel off the protective film from the adhesive pad on the mount.
- Firmly press the mount onto the chosen spot on your windshield, ideally behind the rearview mirror for minimal obstruction. Hold for at least 30 seconds to ensure a secure bond.
- Adjust the camera lens angle using the knob on the side to ensure it captures the desired view of the road.


4.3 Power Connection
Connect the in-car charging cable to the camera's power port and plug the other end into your vehicle's 12V power outlet (cigarette lighter socket). The camera will automatically power on and begin recording when the vehicle starts.
4.4 Initial Settings
Upon first use, or after a reset, you may need to configure basic settings:
- Date/Time: Set the correct date and time for accurate video timestamps.
- Time Zone: Adjust to your local time zone.
- Resolution: Select your preferred video resolution (e.g., 1080P FHD).
- Loop Recording: Configure the duration of video segments (e.g., 1, 3, or 5 minutes).
- WDR (Wide Dynamic Range): Enable for improved video quality in varying light conditions.
- G-Sensor Sensitivity: Adjust the sensitivity of the G-Sensor to prevent accidental file locking.
Access these settings via the camera's menu button. Refer to the "Operating Instructions" section for detailed menu navigation.
5. Operating Instructions
5.1 Power On/Off
- Automatic: The camera powers on and off automatically with your vehicle's ignition.
- Manual: Press and hold the Power button (usually marked with a power symbol) to manually turn the device on or off.
5.2 Recording Modes
- Loop Recording: The camera continuously records video in segments. When the memory card is full, it automatically overwrites the oldest unlocked files.
- G-Sensor (Emergency Recording): In the event of a sudden impact or collision, the G-Sensor will automatically lock the current video segment, preventing it from being overwritten.
- Motion Detection: When enabled, the camera will start recording automatically if it detects movement in front of the lens while parked. This feature requires continuous power supply.
5.3 Menu Navigation
Use the physical buttons below the screen to navigate the menu:
- MENU Button: Press to enter the menu or exit current settings.
- Up/Down Buttons (often shared with REC/MIC): Use to scroll through menu options.
- OK Button (center button): Press to confirm a selection or start/stop recording.
5.4 Playback
To review recorded footage:
- Stop recording if currently active.
- Enter playback mode via the menu.
- Select the desired video file using the navigation buttons.
- Press the OK button to play the video.
Alternatively, you can remove the Micro SD card and view files on a computer using a card reader.
6. Maintenance
- Clean the Lens: Regularly clean the camera lens with a soft, lint-free cloth to ensure clear video quality.
- Format Micro SD Card: Periodically format the Micro SD card (e.g., once a month) to prevent data corruption and ensure optimal recording performance. Back up any important files before formatting.
- Check Mount Security: Ensure the adhesive mount remains firmly attached to the windshield. Reapply if necessary.
- Avoid Extreme Temperatures: While designed with a capacitor for heat resistance, prolonged exposure to extreme temperatures can affect device longevity.
7. Troubleshooting
| Problem | Possible Cause | Solution |
|---|---|---|
| Camera does not power on. | No power supply; faulty cable; vehicle's 12V outlet issue. | Check power cable connection. Ensure vehicle's 12V outlet is functional. Try a different power source or cable. |
| Camera stops recording. | Micro SD card full; card error; power interruption. | Format the Micro SD card. Replace the card if errors persist. Ensure stable power supply. |
| Video footage is blurry/unclear. | Dirty lens; protective film still on lens; incorrect focus. | Clean the lens. Remove any protective film. Ensure the lens is adjusted correctly. |
| "Please insert TF card" error. | Micro SD card not inserted or not detected; card is faulty. | Reinsert the Micro SD card. Try a different, compatible Micro SD card. |
| Buttons are unresponsive. | Device frozen; temporary software glitch. | Press the reset button (located on the side) with a thin object. |
8. Specifications
| Feature | Detail |
|---|---|
| Brand | AUTO-VOX |
| Model Name | A118C |
| Chipset | Novatek NT96650 |
| Photo Sensor Technology | CMOS (Aptina AR0330) |
| Video Resolution | 1080p (30 FPS), 720p (60 FPS) |
| Real Angle Of View | 170 Degrees |
| Screen Size | 1.5 Inches LCD |
| Storage | Micro SD card, up to 32GB (Class 10 recommended) |
| File Format | AVI |
| Special Features | WDR, G-Sensor, Motion Detection, Night Vision |
| Power Source | Capacitor (No Internal Battery) |
| Ports | USB, HDMI, AV, Micro SD card slot |
| Audio Recording | Built-in Microphone/Speaker (AAC) |
| Item Dimensions (D x W x H) | 1.69"D x 2.83"W x 2.05"H |
| Item Weight | 0.3 Kilograms |
9. Warranty and Support
For warranty information and technical support, please refer to the official AUTO-VOX website or contact their customer service directly. Keep your purchase receipt as proof of purchase for warranty claims.
Contact Information:
- Website: Visit the AUTO-VOX Store on Amazon
- Email: Refer to your product packaging or the official AUTO-VOX website for specific email support.