
1. Introduction
This manual provides essential information for the proper installation and maintenance of the DNJ VC705 Valve Cover Gasket Set. This gasket set is designed to provide a reliable seal for the valve cover, preventing oil leaks and ensuring the optimal performance of your engine. Adherence to these instructions will help ensure the longevity and effectiveness of the product.
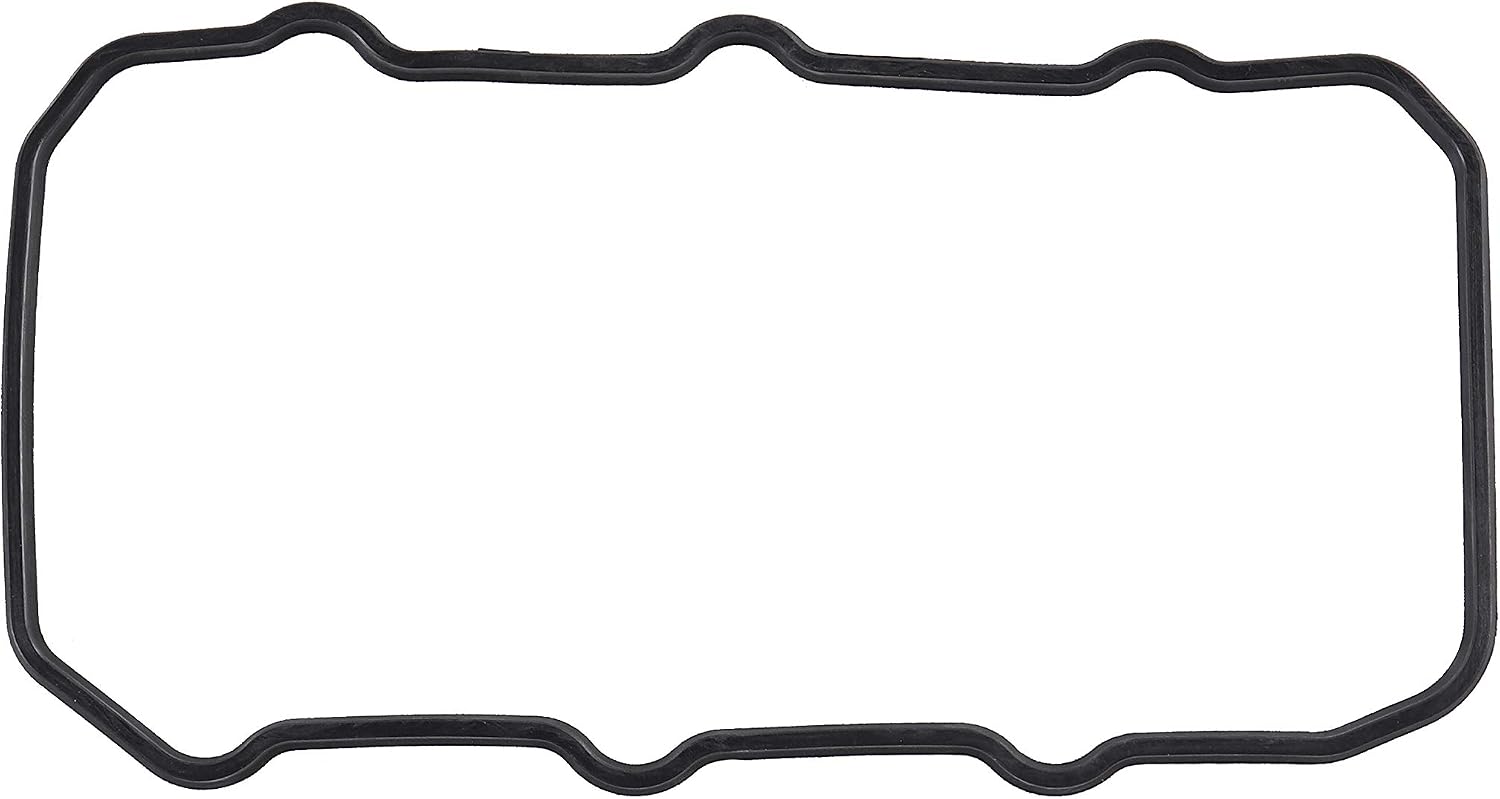
Image 1.1: The DNJ VC705 Valve Cover Gasket. This component is crucial for sealing the valve cover to the cylinder head, preventing oil leaks.
2. Compatibility
The DNJ VC705 Valve Cover Gasket Set is specifically engineered for the following vehicle applications:
- Make: Subaru
- Model: Justy
- Years: 1987, 1988, 1989, 1990, 1991, 1992, 1993, 1994
- Engine: 1.2L L3 SOHC (Single Overhead Camshaft)
- Engine Designation: EF12
- Displacement: 1189cc
Verify your vehicle's make, model, year, and engine specifications to ensure proper fitment before installation.
3. Components Included
The DNJ VC705 Valve Cover Gasket Set typically includes the following components:
- Valve Cover Gasket(s)
- Spark Plug Tube Seals (if applicable for the specific engine design)
- Grommets/Washers for valve cover bolts (if applicable)

Image 3.1: Example of a DNJ Valve Cover Gasket Set, showing multiple gaskets and O-rings. The exact contents may vary slightly based on the specific engine application.
Please inspect the package contents upon receipt to ensure all necessary components are present and undamaged.
4. Installation
Installation of a valve cover gasket requires mechanical knowledge and specific tools. It is highly recommended that this procedure be performed by a qualified automotive technician. Improper installation can lead to oil leaks and potential engine damage.
General Installation Steps (Consult a Service Manual for Specifics):
- Preparation: Ensure the engine is cool. Disconnect the negative battery terminal.
- Access: Remove any components obstructing access to the valve cover (e.g., air intake, ignition coils, wiring harnesses). Label connectors and hoses for correct reassembly.
- Remove Valve Cover: Loosen and remove the valve cover bolts. Carefully lift the valve cover off the cylinder head.
- Clean Surfaces: Remove the old gasket material from both the valve cover and the cylinder head mating surfaces. Use a plastic scraper or gasket remover chemical, being careful not to scratch or damage the surfaces. Ensure surfaces are clean and dry, free of oil residue.
- Install New Gasket: Place the new DNJ VC705 gasket into the groove on the valve cover. For some applications, a small amount of RTV sealant may be recommended at specific corners or junctions (refer to your vehicle's service manual).
- Reinstall Valve Cover: Carefully place the valve cover back onto the cylinder head, ensuring the gasket remains properly seated.
- Tighten Bolts: Reinstall the valve cover bolts. Tighten them gradually and evenly in a crisscross pattern to the manufacturer's specified torque settings. Overtightening can damage the gasket or valve cover.
- Reassemble: Reinstall all removed components, hoses, and wiring harnesses.
- Final Checks: Reconnect the battery. Start the engine and check for any oil leaks around the valve cover.

Image 4.1: A qualified automotive technician performing engine work. Professional installation is recommended for valve cover gasket replacement.
5. Post-Installation Checks and Engine Operation
After installing the DNJ VC705 Valve Cover Gasket Set, perform the following checks:
- Initial Start-up: Start the engine and allow it to reach operating temperature.
- Leak Inspection: Carefully inspect the perimeter of the valve cover for any signs of oil leaks. Use a flashlight if necessary.
- Fluid Levels: Check engine oil level and top up if needed.
- Test Drive: After confirming no immediate leaks, perform a short test drive and re-inspect for leaks.
The gasket is designed to maintain a seal under normal engine operating conditions. Avoid excessive engine temperatures or pressures that could compromise the seal.
6. Maintenance
Once installed, the DNJ VC705 Valve Cover Gasket Set requires minimal maintenance. However, periodic inspection is recommended:
- Visual Inspection: During routine oil changes or engine checks, visually inspect the valve cover gasket area for any signs of oil seepage or leaks.
- Engine Cleanliness: Keep the engine bay clean to easily spot any new leaks.
- Address Issues Promptly: If any leaks are detected, address them immediately to prevent further engine issues or damage.



Image 6.1: Icons illustrating the benefits of a quality gasket: minimizing leaks, enhancing longevity, and ensuring dependable sealing.
7. Troubleshooting
If you experience issues after installing the DNJ VC705 Valve Cover Gasket Set, consider the following:
- Oil Leaks:
- Cause: Improper installation, damaged gasket during installation, uneven bolt torque, warped valve cover.
- Solution: Re-check bolt torque to specifications. If leaks persist, the valve cover may need to be removed, surfaces re-cleaned, and a new gasket installed, ensuring proper seating and torque. Inspect the valve cover for warpage.
- Engine Misfires (after installation):
- Cause: Spark plug tube seals not properly seated, or ignition components (coils, wires) not reconnected correctly.
- Solution: Verify all electrical connections are secure. Inspect spark plug tube seals for proper installation and sealing.
For persistent issues, consult a professional automotive technician.
8. Specifications
| Attribute | Detail |
|---|---|
| Brand | DNJ |
| Model Number | VC705 |
| Manufacturer | DNJ ENGINE COMPONENTS |
| Item Weight | 4.8 ounces |
| Package Dimensions | 15 x 12 x 2 inches |
| Compatibility | 1987-1994 Subaru Justy 1.2L SOHC (EF12) |
9. Warranty and Support
For information regarding product warranty, please refer to the documentation included with your purchase or contact DNJ Engine Components directly. Warranty terms typically cover manufacturing defects but do not cover damage due to improper installation, misuse, or normal wear and tear.
For technical support or inquiries, please contact the manufacturer or your point of purchase. Ensure you have your product model number (VC705) and vehicle details ready when seeking support.