Introduction
This manual provides essential instructions for the safe and correct installation, operation, and maintenance of your Rotary Stiga Mower Blade, Model 1134-912. Please read this manual thoroughly before attempting any installation or maintenance procedures. Retain this manual for future reference.
Important Safety Information: Always wear appropriate personal protective equipment (PPE), including heavy-duty gloves and eye protection, when handling mower blades. Disconnect the spark plug wire or remove the battery from the mower before performing any service or maintenance to prevent accidental starting.
Product Overview
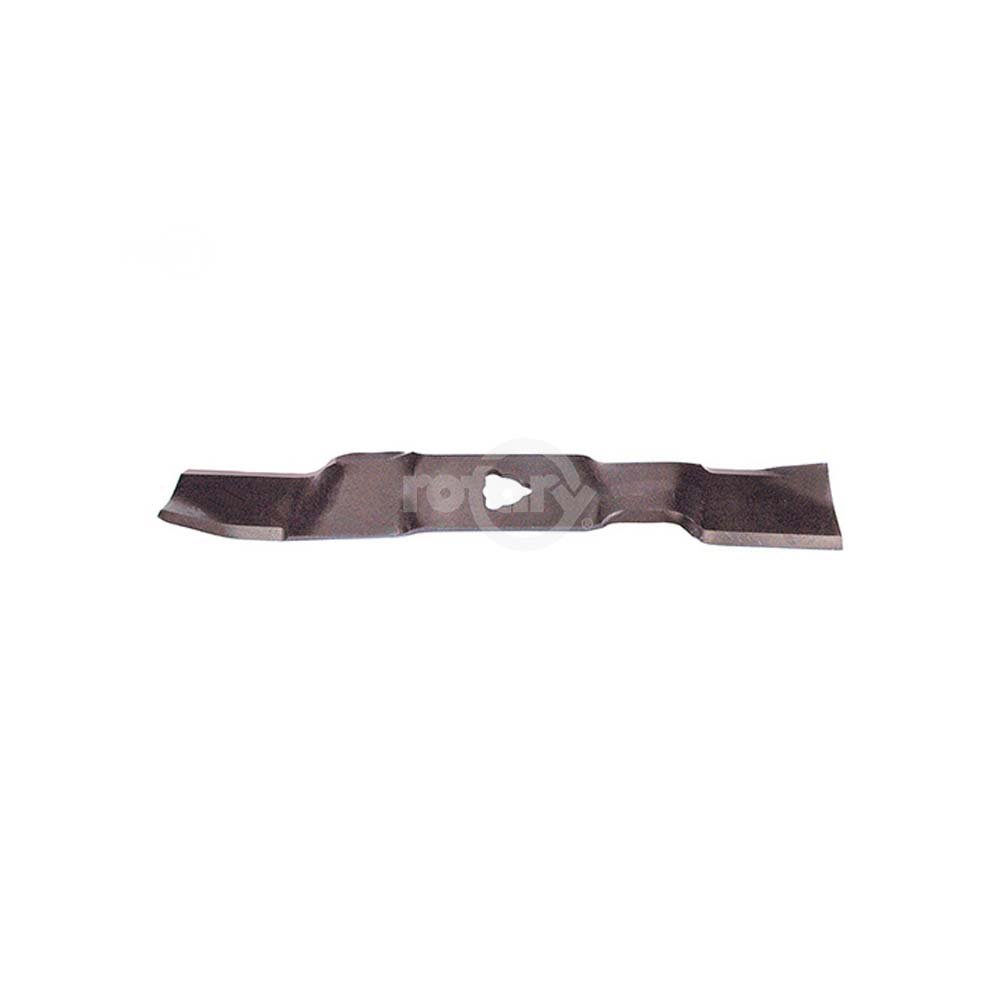
Figure 1: Rotary Stiga Mower Blade, Model 1134-912. This image shows the general shape and design of the replacement blade.
The Rotary Stiga Mower Blade, Model 1134-912, is a replacement blade designed for specific Stiga lawn mower models. It measures 16-11/16 inches in length and is engineered for efficient grass cutting and mulching.
Setup and Installation
Tools Required:
- Wrench (appropriate size for blade bolt)
- Wood block or blade removal tool
- Heavy-duty work gloves
- Safety glasses
Installation Steps:
- Prepare the Mower: Ensure the mower engine is off and cool. Disconnect the spark plug wire (for gasoline mowers) or remove the battery (for electric/battery mowers) to prevent accidental starting.
- Position the Mower: Tilt the mower onto its side with the carburetor/air filter facing upwards to prevent fuel or oil leakage. Secure the mower to prevent it from tipping over.
- Remove Old Blade: Place a wood block between the old blade and the mower deck to prevent the blade from turning. Using a wrench, loosen and remove the blade bolt. Note the orientation of the old blade for correct installation of the new blade. Remove the old blade and any washers or spacers.
- Inspect Components: Examine the blade mounting area for any damage or debris. Clean as necessary.
- Install New Blade: Position the new Rotary Stiga blade onto the blade adapter, ensuring the cutting edge faces the correct direction (typically upwards towards the mower deck). The blade should be installed with the curved ends pointing up towards the mower deck. Reinstall any washers or spacers in their original order.
- Secure the Blade: Insert the blade bolt and tighten it securely with the wrench. Use the wood block again to prevent the blade from turning while tightening. Refer to your mower's owner's manual for specific torque specifications, if available.
- Final Check: Ensure the blade is firmly attached and spins freely without obstruction. Reconnect the spark plug wire or reinstall the battery.
Operating Guidelines
After installing the new blade, ensure the mower is on a level surface before starting. Operate the mower according to its manufacturer's instructions. Periodically check the blade for balance and sharpness. An unbalanced or dull blade can lead to excessive vibration, poor cutting performance, and potential damage to the mower.
Safety during Operation:
- Clear the mowing area of any debris before starting.
- Keep hands and feet away from the rotating blade.
- Wear appropriate footwear and eye protection.
Maintenance
Regular maintenance of your mower blade ensures optimal performance and extends its lifespan.
- Blade Inspection: After each use, or at least once a month, inspect the blade for nicks, bends, cracks, or excessive wear. A damaged blade should be replaced immediately.
- Cleaning: Disconnect the spark plug wire/remove battery. Clean grass clippings and debris from the blade and underside of the mower deck. Built-up grass can reduce cutting efficiency and promote rust.
- Sharpening: A sharp blade provides a clean cut, which is healthier for your lawn. Sharpen the blade regularly, or as needed, using a blade sharpener or file. Ensure the blade remains balanced after sharpening. If you are unsure, have it professionally sharpened or replaced.
- Replacement: Replace the blade if it is severely bent, cracked, or worn down to the point where sharpening is no longer effective or safe.
- Storage: Before long-term storage, clean the blade thoroughly and apply a light coat of oil to prevent rust.
Troubleshooting
| Problem | Possible Cause | Solution |
|---|---|---|
| Uneven cut | Dull blade; Bent blade; Incorrect blade installation | Sharpen or replace blade; Inspect and replace bent blade; Reinstall blade correctly |
| Excessive vibration | Unbalanced blade; Bent blade; Loose blade bolt | Balance or replace blade; Inspect and replace bent blade; Tighten blade bolt to specifications |
| Poor mulching/clumping | Dull blade; Excessive grass buildup | Sharpen or replace blade; Clean underside of mower deck and blade |
If issues persist after troubleshooting, consult a qualified service technician or contact Rotary customer support.
Specifications
| Feature | Detail |
|---|---|
| Model Number | 1134-912 |
| Blade Length | 16-11/16 inches |
| Manufacturer | Rotary |
| Item Weight | 5 pounds |
| Package Dimensions | 17 x 2 x 1 inches |
| ASIN | B00TD8VI42 |
Warranty and Support
For warranty information or technical support regarding your Rotary Stiga Mower Blade, please contact the manufacturer, Rotary, directly. Keep your purchase receipt as proof of purchase.
Manufacturer Contact: Refer to the packaging or the official Rotary website for the most current contact information.