Introduction
This manual provides essential information for the proper installation, operation, and maintenance of your SpeakerCraft SC Pro Commercial 6 6.5-inch Loudspeaker. Please read these instructions thoroughly before installation and retain this manual for future reference. Adhering to these guidelines will ensure optimal performance and longevity of your loudspeaker.
Safety Information
Always observe the following safety precautions to prevent damage to the product or injury to yourself.
- Power: Ensure all power to the amplifier or receiver is turned off before making any connections.
- Wiring: Use appropriate gauge speaker wire for your installation. Incorrect wiring can lead to poor performance or damage.
- Mounting: Ensure the mounting surface is structurally sound and can support the weight of the loudspeaker. Use appropriate mounting hardware.
- Environment: This loudspeaker is designed for indoor commercial use. Do not expose it to moisture, extreme temperatures, or direct sunlight. It is not waterproof.
- Servicing: Do not attempt to service this product yourself. Refer all servicing to qualified service personnel.
Package Contents
Verify that all items are present in the package:
- SpeakerCraft SC Pro Commercial 6 6.5-inch Loudspeaker (1 unit)
- Mounting hardware (pre-attached or included)
- Instruction Manual (this document)

Image: The SpeakerCraft SC Pro Commercial 6 loudspeaker shown alongside its original packaging box, illustrating the typical contents upon unboxing.
Setup and Installation
Follow these steps for proper installation of your loudspeaker.
1. Planning and Placement
Determine the optimal location for your loudspeaker. Consider acoustic properties of the room and desired sound coverage. Ensure there is sufficient clearance behind the mounting surface for the speaker enclosure.
2. Mounting
The SC Pro Commercial 6 is designed for in-ceiling or in-wall installation. It features integrated mounting clamps for secure attachment.
- Cutout: Carefully mark and cut the appropriate size hole in the ceiling or wall. Refer to the specifications section for exact dimensions.
- Wiring Access: Ensure speaker wires are accessible through the cutout.
- Insert Speaker: Gently insert the loudspeaker into the cutout.
- Secure Clamps: Tighten the mounting screws (typically located on the front baffle) to engage the rotating clamps. These clamps will pivot outwards and secure the speaker to the mounting surface. Do not overtighten.

Image: A view of the SpeakerCraft SC Pro Commercial 6 loudspeaker, highlighting the integrated mounting clips designed to secure the unit within a ceiling or wall opening.
3. Wiring Connections
Connect the speaker wires from your amplifier or receiver to the terminals on the loudspeaker. Observe correct polarity (+ to + and - to -) for optimal sound performance.
- Identify Terminals: The loudspeaker will have clearly marked positive (+) and negative (-) terminals.
- Strip Wires: Carefully strip a small amount of insulation from the ends of your speaker wires.
- Connect: Insert the stripped wire ends into the corresponding terminals and ensure a secure connection.
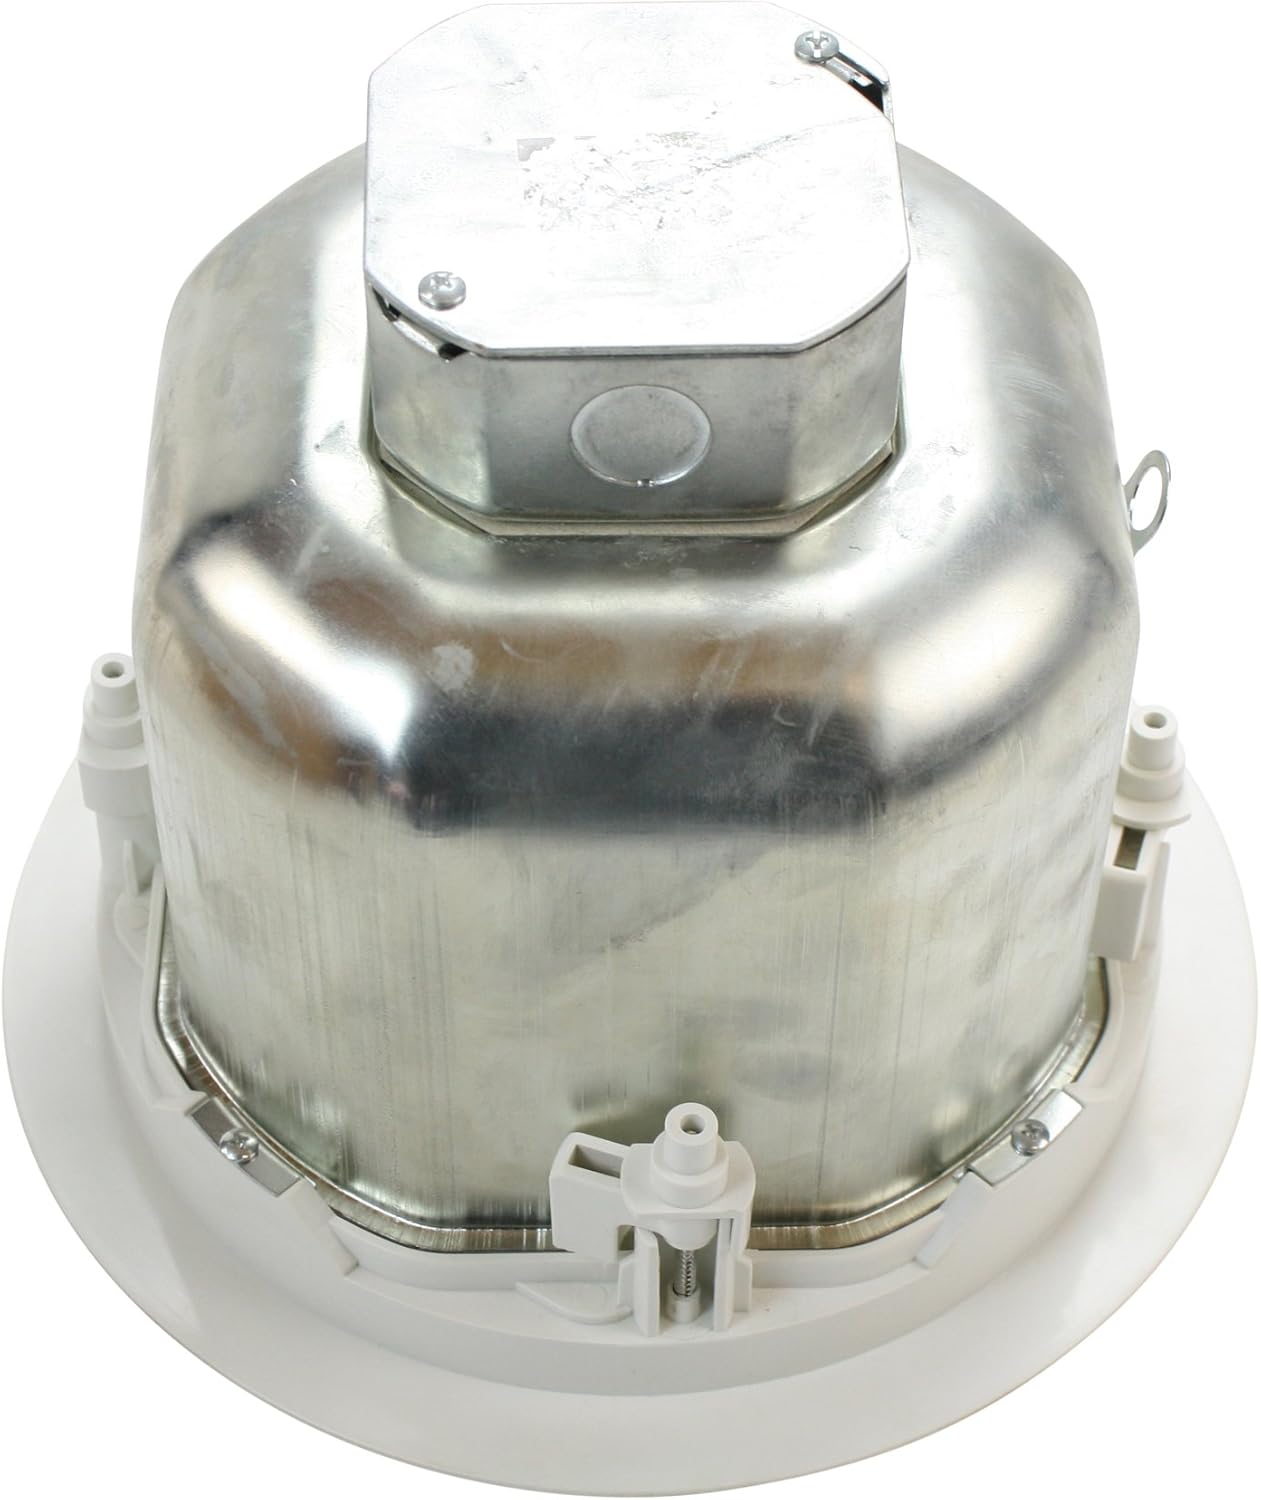
Image: The rear perspective of the SpeakerCraft SC Pro Commercial 6 loudspeaker, displaying the metal enclosure and the junction box where electrical connections are made.
4. Power Tap Settings
The SC Pro Commercial 6 features a selectable power tap for 70V/100V constant voltage systems. This allows you to adjust the wattage output of the speaker.
- Locate Selector: The power tap selector switch is typically found on the front baffle of the speaker, near the driver.
- Select Wattage: Using a small screwdriver, rotate the selector to the desired wattage setting (e.g., 16W, 32W, 64W, or 8Ω for low impedance). Ensure the selected wattage matches the requirements of your audio system and the total load on your amplifier.
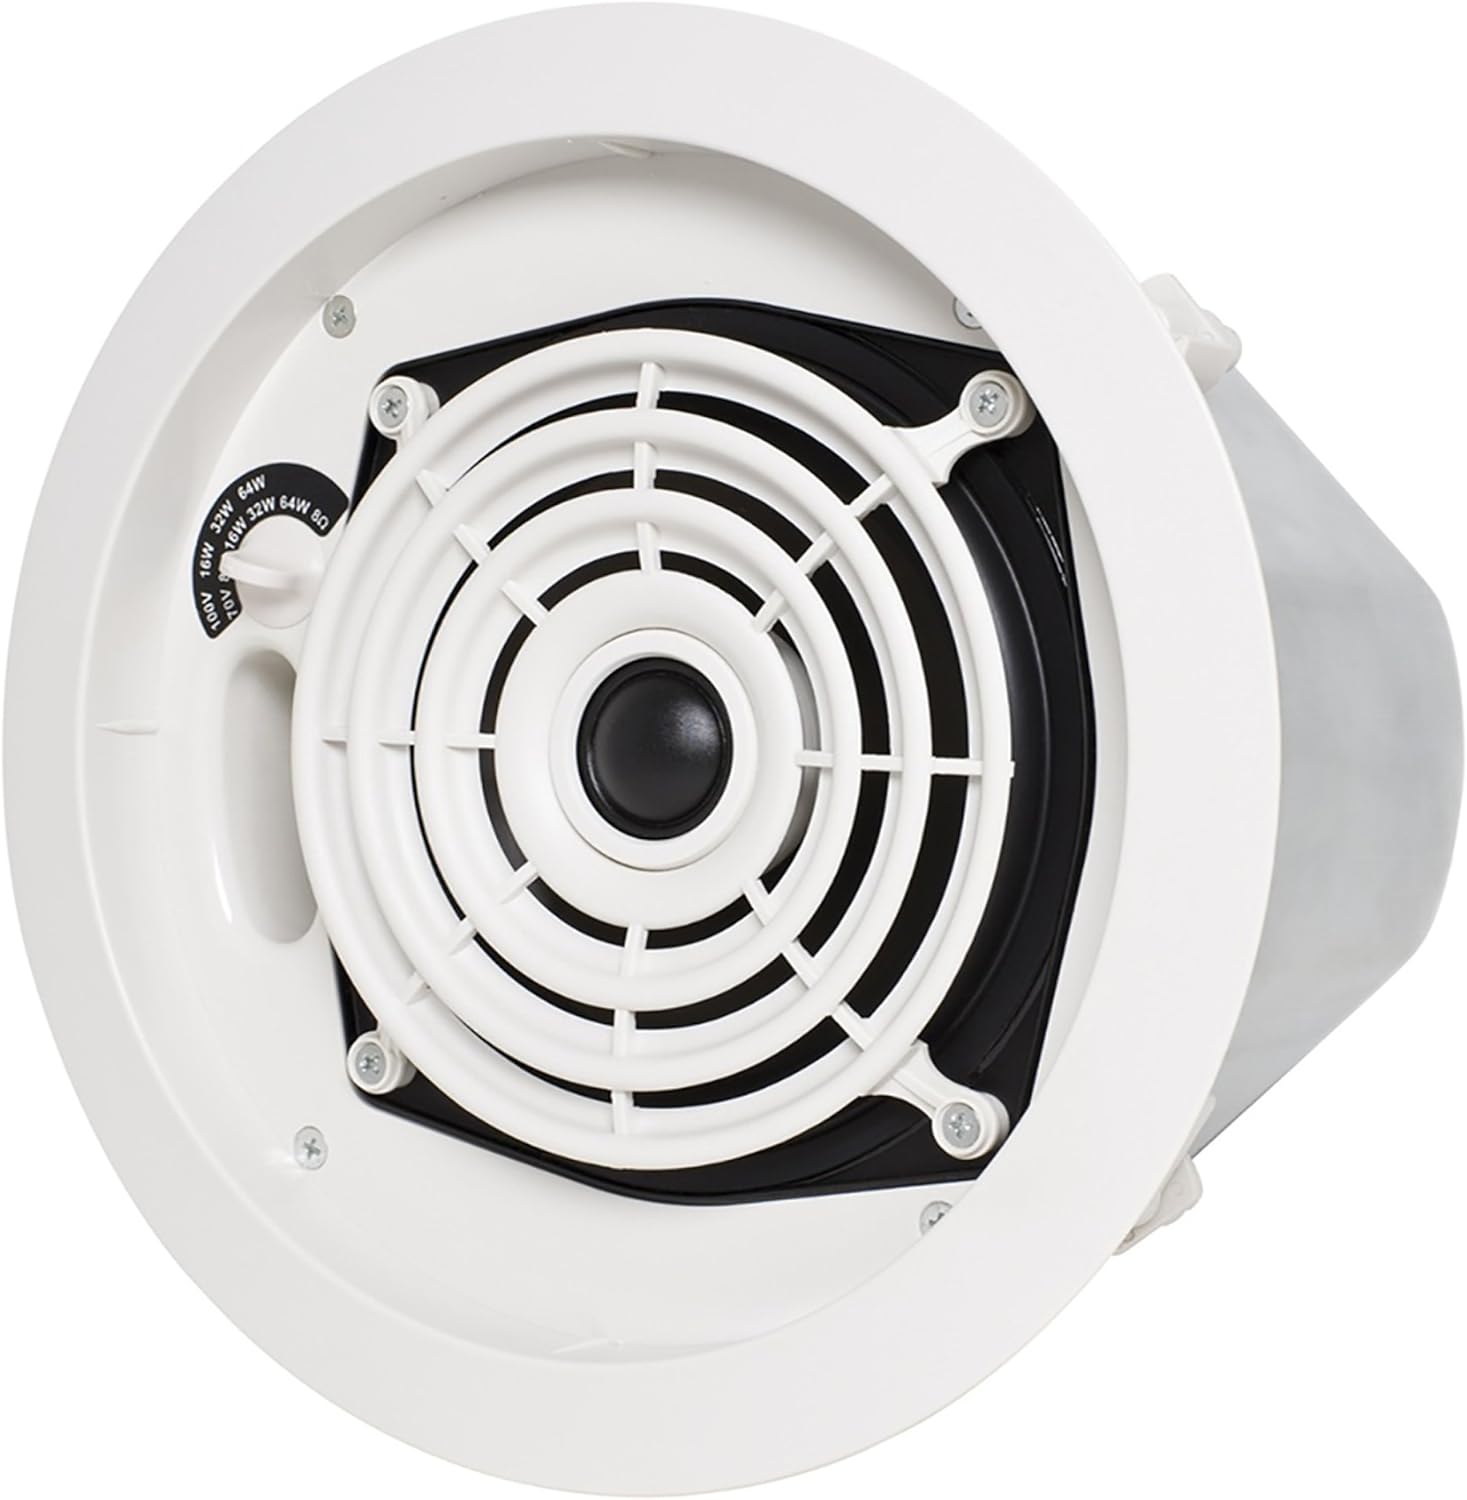
Image: A direct front view of the SpeakerCraft SC Pro Commercial 6 loudspeaker, clearly showing the speaker grille and the power tap selector switch for adjusting wattage in constant voltage systems.
Operating Instructions
Once installed and connected, your SpeakerCraft SC Pro Commercial 6 loudspeaker is ready for operation.
- Power On: Turn on your amplifier or receiver.
- Volume Control: Start with the volume at a low level and gradually increase it to your desired listening level.
- Sound Check: Verify that sound is coming from all connected loudspeakers and that the audio quality is as expected.
Maintenance
The SpeakerCraft SC Pro Commercial 6 loudspeaker requires minimal maintenance.
- Cleaning: Dust the speaker grille and surrounding areas periodically with a soft, dry cloth. Do not use harsh chemicals or abrasive cleaners.
- Inspection: Periodically check the mounting for security and the wiring connections for tightness.
- Avoid Moisture: Keep the loudspeaker away from sources of moisture.
Troubleshooting
If you encounter issues with your loudspeaker, refer to the following common problems and solutions:
| Problem | Possible Cause | Solution |
|---|---|---|
| No sound from speaker |
|
|
| Distorted sound |
|
|
| Speaker not securely mounted |
|
|
Specifications
Detailed technical specifications for the SpeakerCraft SC Pro Commercial 6 6.5-inch Loudspeaker:
| Feature | Specification |
|---|---|
| Brand | SpeakerCraft |
| Model | SC Pro Commercial 6 |
| Speaker Size | 6.5 Inches |
| Speaker Type | Woofer |
| Speaker Maximum Output Power | 100 Watts |
| Power Source | Corded Electric |
| Recommended Uses For Product | Commercial |
| Product Dimensions | 10.4 x 10.4 x 8.4 inches |
| Item Weight | 8.9 pounds |
| Is Waterproof | FALSE |
| UPC | 642337958953 |
| ASIN | B00SZFRVHM |
| Date First Available | January 1, 2014 |
Warranty and Support
SpeakerCraft products are designed for reliability and performance. For specific warranty details, please refer to the warranty card included with your product or visit the official SpeakerCraft website. For technical support or service inquiries, please contact SpeakerCraft customer service through their official channels.
Note: Unauthorized repairs or modifications may void your warranty.