Introduction
This manual provides detailed instructions for the setup, operation, maintenance, and troubleshooting of your GPX TCR340 Intelli-Set Clock with Digital Tune AM-FM Radio. Please read this manual thoroughly before using the device to ensure proper function and to maximize your user experience. Keep this manual for future reference.
Setup
1. Power Connection
Connect the provided AC power adapter to the DC input jack on the back of the unit and then plug the adapter into a standard wall outlet. The unit is designed for corded electric operation.
2. Battery Backup Installation
For battery backup, install the required batteries (not included) into the battery compartment located on the bottom of the unit. This will preserve time and alarm settings during a power outage. Refer to the battery compartment for correct polarity.
3. Automatic Time Setting (Intelli-Set)
The GPX TCR340 features Intelli-Set technology, which automatically sets the time upon initial power connection. Ensure the unit is connected to power, and the time should set itself. You may need to adjust the time zone manually if it does not match your location.
4. Antenna Setup
- FM Antenna: Extend the built-in FM wire antenna fully for optimal FM reception. Adjust its position for best signal.
- AM Antenna: The unit has a built-in AM antenna. Rotate the unit for best AM reception.
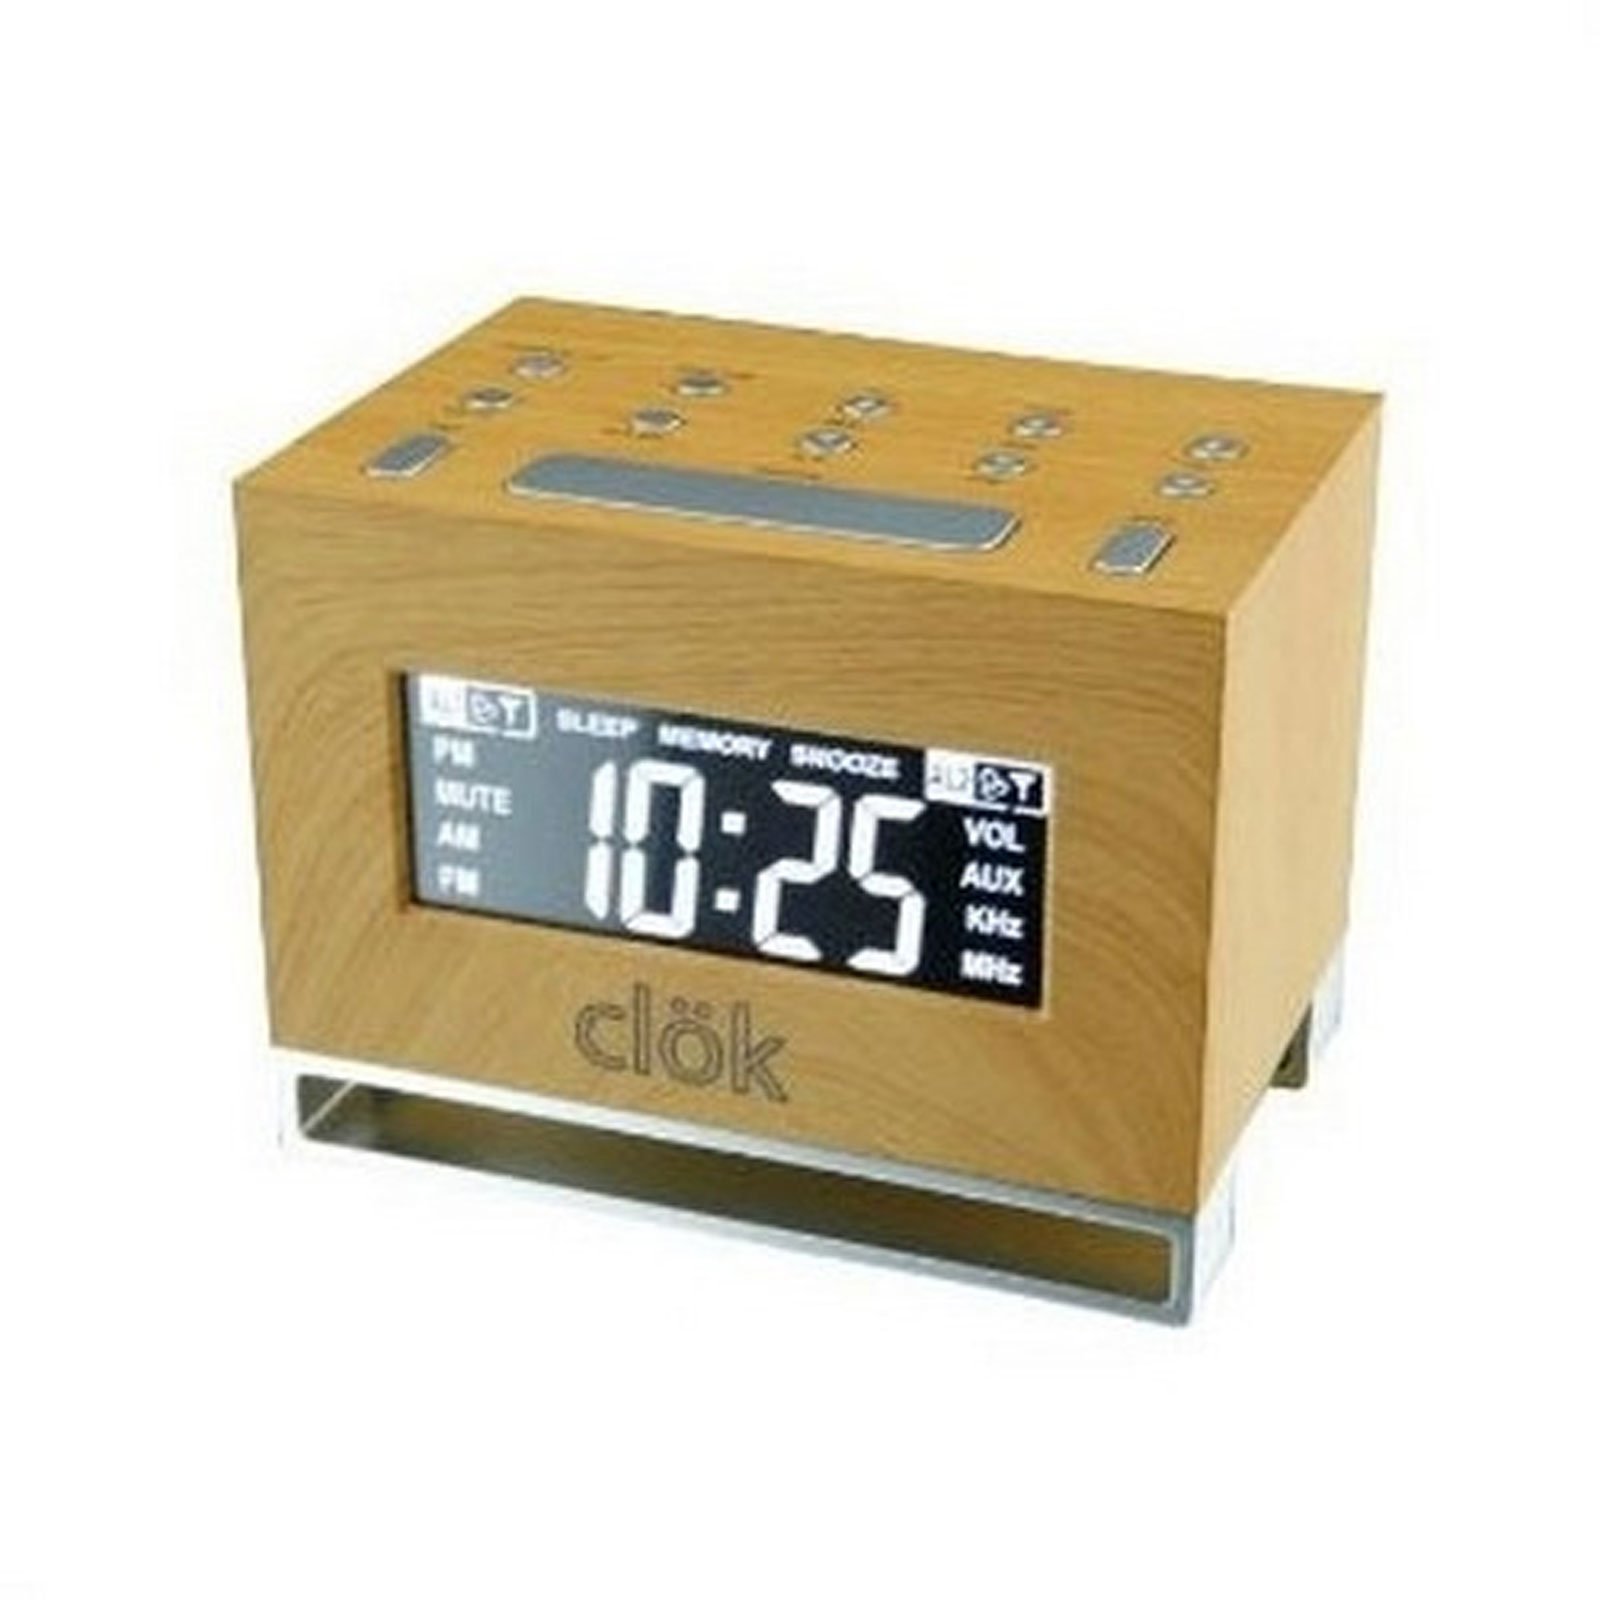
Figure 1: Front view of the GPX TCR340 Intelli-Set Clock Radio, showing the digital display and control buttons.
Operating Instructions
1. Basic Controls
Familiarize yourself with the buttons on the top and front of the unit. Common controls include Power, Volume Up/Down, Tune Up/Down, Alarm Set, Snooze, and Display Brightness.
2. Setting the Time
- Press and hold the TIME SET button (location may vary, typically on the back or top).
- While holding TIME SET, use the HOUR and MINUTE buttons (or TUNE +/-) to adjust the time.
- Release TIME SET to confirm.
- To adjust the time zone, press and hold the POWER button while simultaneously pressing a dedicated TIME ZONE button (if available) or a button on the back of the unit to cycle through zones.
3. Radio Operation (AM/FM)
- Press the POWER button to turn on the radio.
- Press the BAND button to switch between AM and FM.
- Use the TUNE +/- buttons to manually tune to a desired station. Press and hold for automatic scanning.
- Adjust volume using the VOLUME +/- buttons.
4. Setting Alarms
The unit supports dual alarms.
- Press and hold the ALARM 1 SET or ALARM 2 SET button.
- While holding, use the HOUR and MINUTE buttons (or TUNE +/-) to set the desired alarm time.
- Release the ALARM SET button.
- Press the ALARM 1 ON/OFF or ALARM 2 ON/OFF button repeatedly to select the alarm source (Radio, Nature Sound, or Buzzer) and activate the alarm. An alarm icon will appear on the display.
- The alarm features a gradual wake function, increasing in volume over time.
5. Snooze Function
When an alarm sounds, press the SNOOZE button to temporarily silence it for a few minutes. The alarm will sound again after the snooze period.
6. Display Brightness
Press the BRIGHTNESS button (or a similar labeled button) to cycle through different display brightness levels. This allows adjustment for various lighting conditions.
7. Nature Sounds
The unit includes pre-programmed nature sounds. To listen, press the NATURE SOUNDS button (if available) or select it as an alarm source. Use volume controls to adjust playback level.
Maintenance
1. Cleaning
Wipe the unit with a soft, dry cloth. Do not use abrasive cleaners, waxes, or solvents as they may damage the finish. Avoid spraying liquids directly onto the unit.
2. Battery Replacement
If the battery backup fails to maintain time during a power outage, replace the batteries in the compartment on the bottom of the unit. Ensure correct polarity when inserting new batteries.
3. General Care
- Keep the unit away from direct sunlight, heat sources, and excessive dust or moisture.
- Do not place heavy objects on top of the unit.
- Avoid dropping the unit or subjecting it to strong impacts.
Troubleshooting
| Problem | Possible Cause | Solution |
|---|---|---|
| Unit does not power on. | AC adapter not connected or faulty. | Ensure AC adapter is securely plugged into the unit and a working wall outlet. Test the outlet with another device. |
| Poor radio reception. | Antenna not properly positioned; interference. | Extend and reposition the FM wire antenna. Rotate the unit for better AM reception. Move away from other electronic devices that may cause interference. |
| Alarm does not sound. | Alarm not set or activated; volume too low. | Verify alarm time is set correctly and the alarm is activated (alarm icon visible). Increase alarm volume. Ensure alarm source is selected. |
| Display is too bright or completely dark. | Brightness setting; internal issue. | Press the BRIGHTNESS button to cycle through display levels. If the display remains dark or unresponsive, try unplugging the unit for a few minutes and then reconnecting power. |
| Time is incorrect after power outage. | Backup batteries are dead or not installed. | Install fresh batteries in the battery backup compartment. Ensure correct polarity. |
| One or more digits on the display are not lit. | Internal display component failure. | This indicates a potential hardware issue. If under warranty, contact customer support. Otherwise, repair may be required. |
Specifications
- Brand: GPX
- Model: TCR340
- Display Type: Digital LCD
- Radio Tuner: Digital AM/FM
- Power Source: AC Power Adapter (Corded Electric), Battery Backup (Batteries not included)
- Special Features: Intelli-Set Automatic Time Setting, Dual Alarm, Snooze Function, Gradual Wake, Nature Sounds, Adjustable Display Brightness
- Product Dimensions: 3.27"W x 4.84"H
- Indoor/Outdoor Usage: Indoor
Warranty and Support
For warranty information, please refer to the documentation included with your product packaging or visit the official GPX website. For technical support or service inquiries, please contact GPX customer service directly. Contact details are typically available on the manufacturer's website or in the product's original packaging.