
1. Introduction
The UAC CO 11312C A/C Compressor is a critical component in your vehicle's air conditioning system, responsible for circulating refrigerant. This compressor is designed as an OE replacement, ensuring compatibility and performance that meets or exceeds original equipment specifications. Manufactured in a Tier 1 facility, UAC compressors undergo rigorous quality control to provide reliable operation.
Key features include:
- OE replacement: UAC branded TRSE07 Compressor Assembly.
- Premium ISO/TS 16949 quality standards.
- Each unit is pressure tested with nitrogen to ensure leak-free performance.
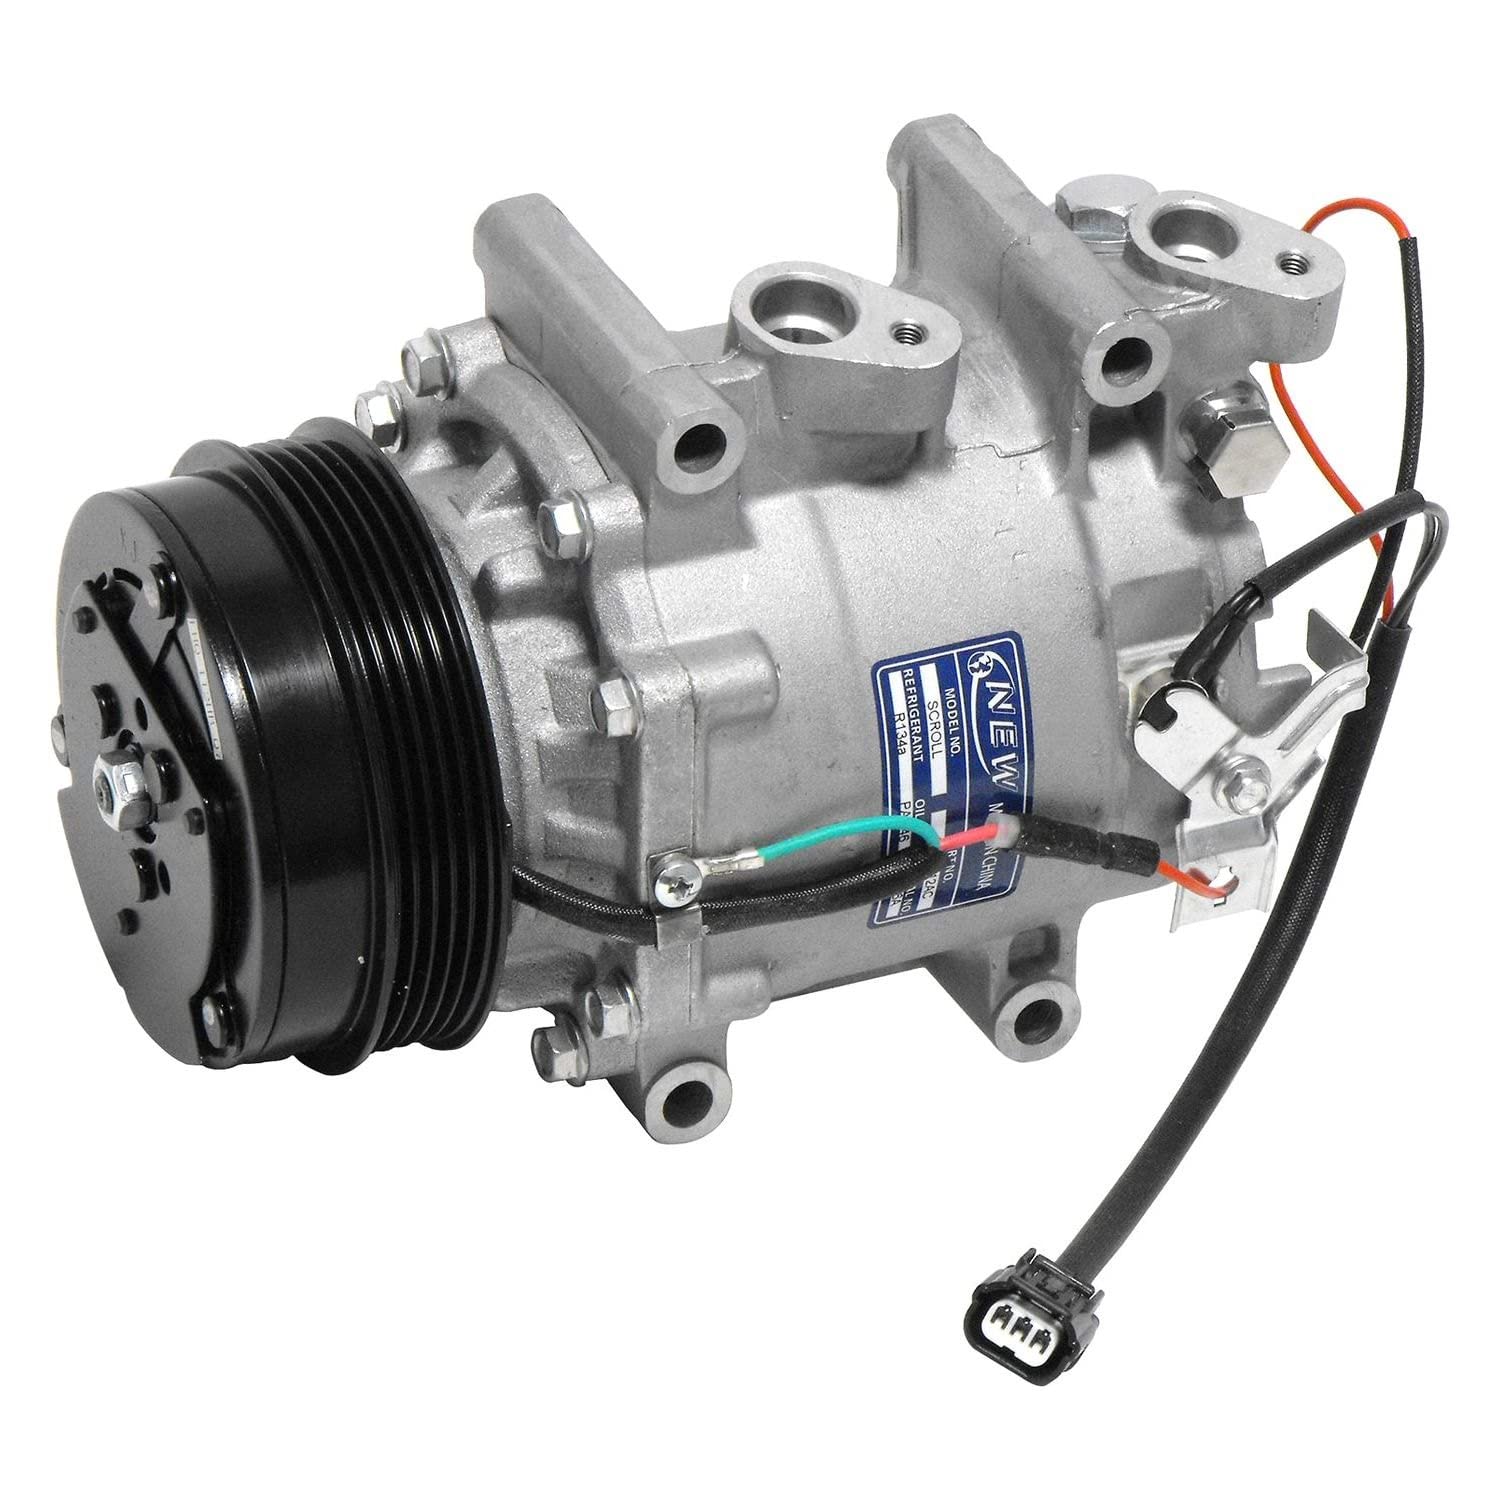
Figure 1: Front view of the UAC CO 11312C A/C Compressor, showing the main body and pulley assembly.
2. Setup and Installation
Installation of an A/C compressor requires specialized tools and knowledge of automotive air conditioning systems. It is highly recommended that installation be performed by a certified professional to ensure proper function and system integrity.
2.1 Pre-Installation Steps
- Verify Fitment: Confirm that the UAC CO 11312C compressor is compatible with your vehicle's year, make, and model.
- System Flush: Before installing the new compressor, the entire A/C system must be thoroughly flushed to remove any contaminants, debris, or old oil from the previous compressor failure. Failure to do so can lead to premature failure of the new compressor.
- Shipping Oil: The compressor may come charged with shipping oil to keep internal components lubricated during transit. This oil must be drained and replaced with the correct type and amount of refrigerant oil specified for your vehicle's A/C system. Refer to your vehicle's service manual for exact specifications.
- Component Replacement: It is often recommended to replace other A/C system components such as the accumulator/receiver drier and expansion valve/orifice tube when replacing the compressor.
2.2 Installation Procedure
Once pre-installation steps are complete, the compressor can be bolted into place. Ensure all connections are secure and properly torqued according to manufacturer specifications. After installation, the system must be evacuated to remove air and moisture, and then charged with the correct amount of refrigerant.
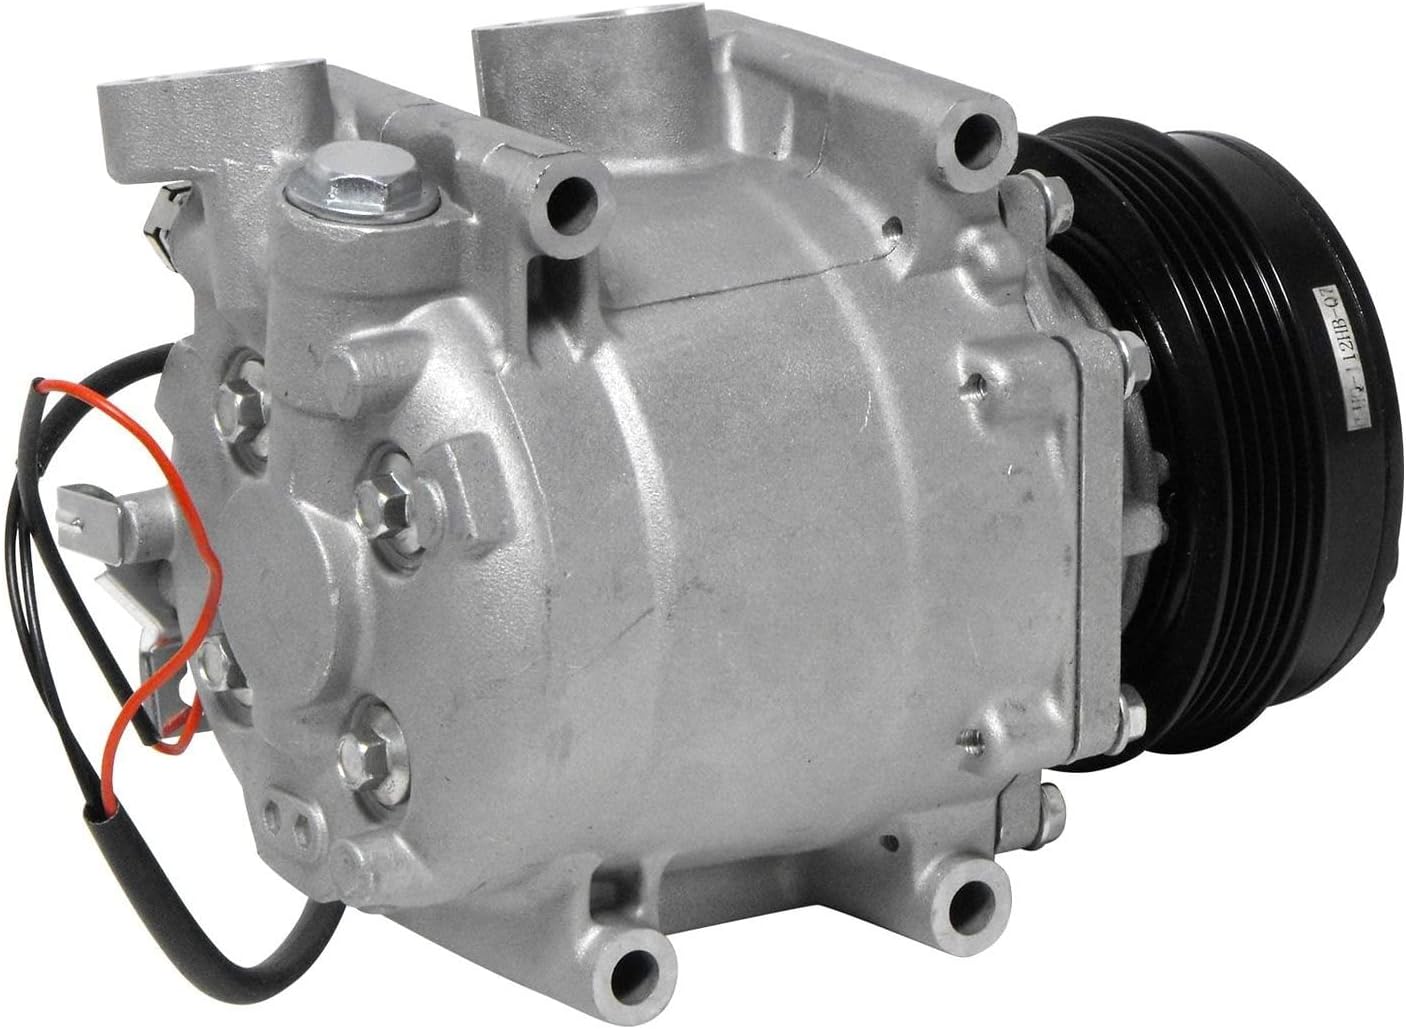
Figure 2: Side view of the UAC CO 11312C A/C Compressor, highlighting the electrical connections and mounting points.
3. Operating Principles
The A/C compressor is the core of the vehicle's air conditioning system. It functions by compressing low-pressure, low-temperature gaseous refrigerant from the evaporator into high-pressure, high-temperature gaseous refrigerant. This high-pressure gas then flows to the condenser, where it releases heat and changes into a high-pressure liquid. The liquid then passes through an expansion device, reducing its pressure and temperature before entering the evaporator to absorb heat from the cabin air, thus cooling the vehicle's interior.
4. Maintenance
Proper maintenance of your vehicle's A/C system is crucial for the longevity and efficiency of the compressor and the entire system.
- Regular System Checks: Have your A/C system inspected annually by a qualified technician. This includes checking refrigerant levels, system pressures, and overall component condition.
- Refrigerant and Oil: Ensure the correct type and amount of refrigerant and compressor oil are used. Incorrect types or levels can severely damage the compressor.
- Drive Belt Inspection: Periodically check the compressor's drive belt for wear, cracks, or proper tension. A worn or loose belt can affect compressor performance.
- Cabin Air Filter: Replace your cabin air filter regularly to maintain good airflow and reduce strain on the system.
5. Troubleshooting
If your vehicle's A/C system is not performing as expected, consider the following general troubleshooting points. For specific compressor issues, professional diagnosis is essential.
- No Cold Air: This could indicate low refrigerant, a faulty compressor clutch, a leak in the system, or an electrical issue.
- Unusual Noises: Grinding, squealing, or rattling noises from the compressor area may suggest internal compressor failure, a worn clutch, or a loose drive belt.
- Compressor Not Engaging: Check for proper electrical connection to the clutch, adequate refrigerant pressure, and fuse integrity.
- Leaks: All UAC compressors are pressure tested with nitrogen for leaks prior to shipment. However, leaks can occur at connection points or in other system components. A professional can use leak detection methods to pinpoint the source.
Always consult a qualified automotive technician for accurate diagnosis and repair of A/C system problems.
6. Specifications
| Feature | Specification |
|---|---|
| Brand | UAC |
| Model Name | CO 11312C |
| Item Model Number | CO 11312C |
| Manufacturer Part Number | CO 11312C |
| OEM Part Numbers | 639512; 98579; 38810RP3305; 140920C; 140920NC; 140920NEW; 6513016; 7513016; 97579; 2003423AM; TEM255751; TEM275764 |
| Recommended Uses For Product | Air Conditioner |
| Power Source | AC |
| Included Components | AUTO PART (Compressor body, clutch, pulley & coil) |
| Item Weight | 1.25 Pounds |
| Product Dimensions | 10 x 8 x 8 inches |
| Color | Grey |
| Exterior | Machined |
7. Warranty and Support
The UAC CO 11312C A/C Compressor is backed by an industry-leading warranty, reflecting UAC's commitment to quality and customer satisfaction. For specific warranty terms, conditions, and duration, please refer to the warranty documentation included with your purchase or contact UAC customer support directly.
For technical assistance, installation inquiries, or warranty claims, please contact UAC customer service through their official website or authorized distributors.