1. Introduction
Thank you for purchasing the Pioneer TS-G1020S 4-inch 2-Way G-Series Coaxial Car Speakers. These speakers are designed to provide enhanced audio performance in your vehicle. This manual provides essential information for proper installation, operation, and maintenance to ensure optimal performance and longevity of your speakers.
2. Safety Information
Please read all safety instructions before installing or operating these speakers. Failure to follow these guidelines may result in injury or damage to the product or vehicle.
- Professional Installation Recommended: If you are unsure about any aspect of installation, consult a qualified professional.
- Disconnect Battery: Always disconnect the vehicle's negative battery terminal before beginning any electrical work to prevent short circuits.
- Proper Wiring: Ensure all wiring connections are secure and correctly polarized. Incorrect wiring can damage the speakers or your vehicle's audio system.
- Avoid Overdriving: Do not operate speakers at excessively high volumes for extended periods, as this can cause damage to the speakers and potentially your hearing.
- Mounting Security: Securely mount the speakers to prevent them from becoming loose during vehicle operation, which could cause injury or damage.
- Environmental Conditions: Avoid exposing speakers to extreme moisture, heat, or direct sunlight, which can degrade performance and lifespan.
3. Package Contents
Verify that all items are present in the package:
- Pioneer TS-G1020S 4-inch 2-Way Coaxial Speakers (1 pair)
- Mounting screws and clips
- Speaker wire (may vary by region/package)
- Instruction Manual (this document)
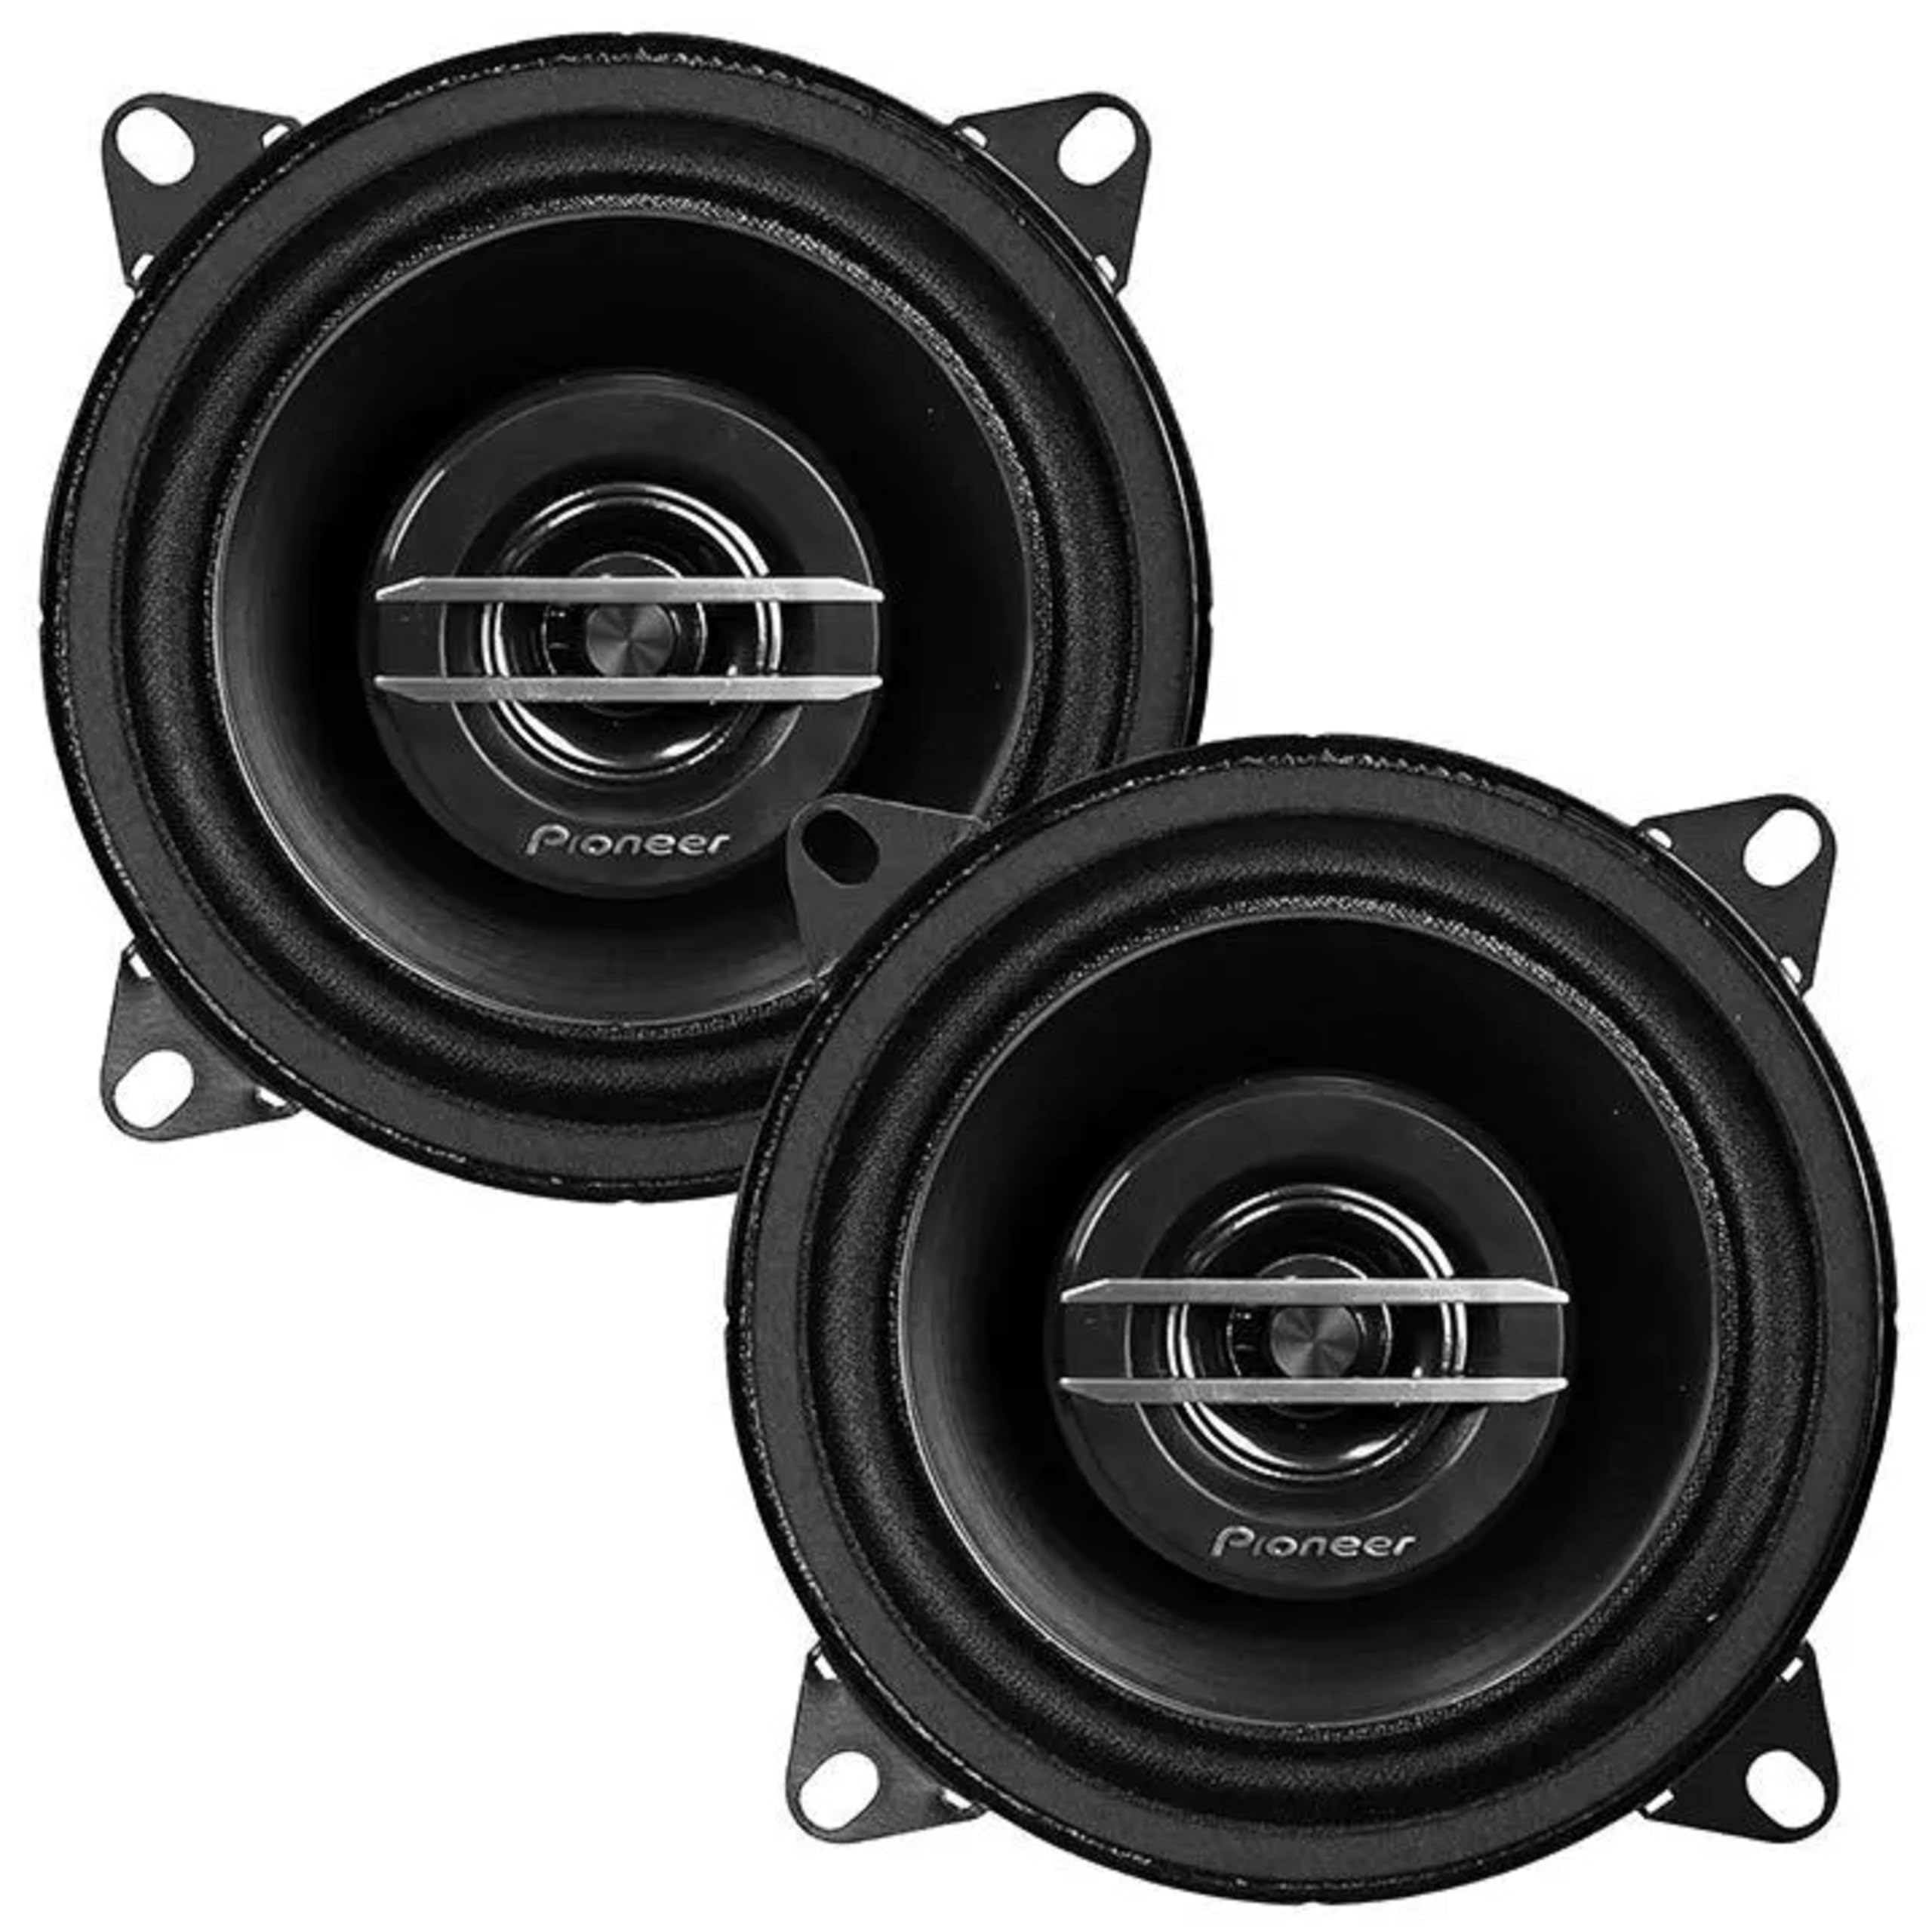
Image: Front and back view of the Pioneer TS-G1020S 4-inch coaxial speakers, showing the cone, tweeter, and magnet structure.
4. Setup and Installation
Proper installation is crucial for optimal sound quality and speaker longevity. Follow these general steps for installing your TS-G1020S speakers.
4.1 Pre-Installation Checks
- Vehicle Compatibility: Confirm that the 4-inch speaker size is compatible with your vehicle's speaker locations.
- Clearance: Ensure there is sufficient mounting depth and clearance behind the speaker location. The top-mount depth is 1-3/4 inches.
- Tools: Gather necessary tools including screwdrivers, wire strippers, crimpers, and a drill (if new holes are required).
4.2 Mounting Dimensions

Image: Technical diagram illustrating the dimensions of the Pioneer TS-G1020S speaker, including a 4-5/8 inch diameter and 1-3/4 inch top-mount depth.
- Top-mount Depth: 1-3/4 inches (44 mm)
- Cutout Dimensions: 4-1/4 inches (108 mm) diameter
- Overall Diameter: 4-5/8 inches (117 mm)
4.3 Wiring Connections
The TS-G1020S speakers have a 4 ohms impedance. Ensure your amplifier or head unit is stable at this impedance. Connect the speaker wires to the corresponding positive (+) and negative (-) terminals. Incorrect polarity will result in poor sound quality and reduced bass response.
- Connect the positive (+) terminal of the speaker to the positive (+) output of your amplifier/head unit.
- Connect the negative (-) terminal of the speaker to the negative (-) output of your amplifier/head unit.
- Use appropriate gauge speaker wire for your installation.
4.4 Installation Steps
- Remove the existing speakers or trim panels from the desired installation location.
- Carefully place the new Pioneer speakers into the opening. Ensure a snug fit.
- Align the mounting holes and secure the speakers using the provided screws. Do not overtighten.
- Connect the speaker wires as described in Section 4.3.
- Test the speakers before reassembling any removed panels.
- Reassemble all panels and grilles.
5. Operating Instructions
Once installed, your Pioneer TS-G1020S speakers are ready for use. Follow these guidelines for optimal performance.
- Power Handling: These speakers have a peak power handling of 210 watts per speaker (420 watts per pair) and an RMS power handling of 30 watts per speaker (60 watts per pair). Ensure your amplifier's output matches these specifications to prevent damage.
- Volume Control: Start with a low volume level and gradually increase it to a comfortable listening level. Avoid pushing the speakers to distortion.
- Audio Settings: Adjust your head unit's equalizer and audio settings to fine-tune the sound to your preference. The speakers have a frequency response of 35 Hz to 27,000 Hz.
- Break-in Period: New speakers may benefit from a short break-in period (a few hours of moderate listening) to allow the cone and surround materials to loosen up, potentially improving sound quality.
6. Maintenance
Regular maintenance helps preserve the appearance and performance of your speakers.
- Cleaning: Use a soft, dry cloth to wipe dust from the speaker cones and grilles. For stubborn dirt, a slightly damp cloth can be used, but ensure no moisture enters the speaker components.
- Avoid Chemicals: Do not use harsh chemicals, solvents, or abrasive cleaners, as these can damage the speaker materials.
- Inspection: Periodically check speaker connections for tightness and inspect the speaker surrounds for any signs of wear or damage.
7. Troubleshooting
If you experience issues with your speakers, refer to the following common problems and solutions.
- No Sound:
- Check all wiring connections at both the speaker and the amplifier/head unit. Ensure they are secure and correctly polarized.
- Verify that the amplifier/head unit is powered on and functioning correctly.
- Check the audio source (radio, CD, Bluetooth) for proper operation.
- Distorted Sound:
- Reduce the volume level. Overdriving the speakers can cause distortion.
- Check for loose connections or frayed wires.
- Ensure the amplifier's gain settings are not set too high.
- Inspect the speaker cone and surround for any physical damage.
- Weak or No Bass:
- Check speaker wire polarity. Reversed polarity will cause bass cancellation.
- Ensure the speakers are securely mounted and there are no air leaks around the mounting area.
- Adjust the bass settings on your head unit or amplifier.
8. Specifications
Detailed technical specifications for the Pioneer TS-G1020S speakers:
| Feature | Specification |
|---|---|
| Speaker Type | Coaxial, 2-Way |
| Speaker Size | 4 Inches (10 cm) |
| Peak Power Handling | 420 Watts (per pair) / 210 Watts (each) |
| RMS Power Handling | 60 Watts (per pair) / 30 Watts (each) |
| Impedance | 4 Ohms |
| Frequency Response | 35 Hz - 27,000 Hz |
| Sensitivity | 87 dB |
| Woofer Material | Injection Molded Polypropylene with Mica Cone |
| Surround Material | Rubber Coated Cloth |
| Tweeter Type | 1-3/16 inch Balanced Dome Tweeter |
| Magnet Structure | Ferrite |
| Top-mount Depth | 1-3/4 inches (44 mm) |
| Cutout Dimensions | 4-1/4 inches (108 mm) |
| Item Weight | 2.24 ounces (per speaker, approximate) |
9. Warranty Information
Pioneer provides a limited warranty for the TS-G1020S speakers. The specific terms and duration of the warranty may vary by region and purchase location. Please retain your proof of purchase for warranty claims.
For detailed warranty information, including coverage, limitations, and the process for making a claim, please refer to the official Pioneer website or contact Pioneer customer support directly.
10. Support
If you require further assistance with your Pioneer TS-G1020S speakers, please contact Pioneer customer support. You can typically find contact information on the official Pioneer website or through your local dealer.
When contacting support, please have your product model number (TS-G1020S) and proof of purchase readily available.