Introduction
The Godox EZA-N3 Digital Timer Shutter Remote Controller is designed to provide precise control over your camera's shutter functions, enabling advanced photographic techniques such as time-lapse, long exposures, and continuous shooting. This remote offers programmable delay, exposure time, interval time, and shot count, enhancing your creative possibilities.
Key Features
- Programmable delay, exposure time, interval time, and number of shots.
- Supports manual shutter release with half-press for focus.
- Timing precision to 1 second.
- Time settings from 1 second up to 99 hours, 59 minutes, 59 seconds.
- Large, illuminated LCD panel for operation in low-light conditions.
- Designed for group shots, macro photography, long exposures, and continuous shooting.
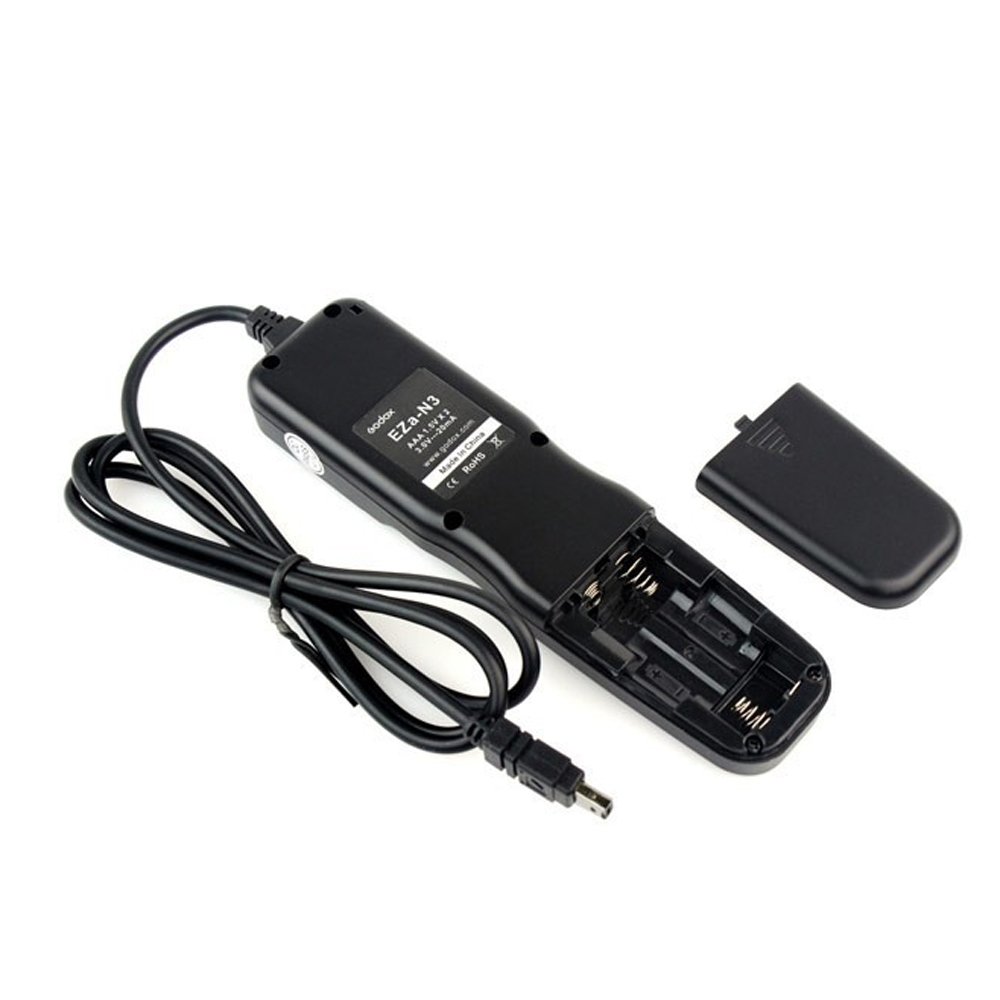
Image: The Godox EZA-N3 Digital Timer Shutter Remote Controller with its connecting cable.
Parts of the Remote
Familiarize yourself with the components of your EZA-N3 remote controller:

Image: Diagram illustrating the various parts and controls of the Godox EZA-N3 remote.
- Battery-channel cover: Access point for battery installation.
- Cord: Connects the remote to the camera.
- Focus and Release Indicator Light: Two-color LED indicating focus (half-press) and shutter release (full-press).
- Display Panel: LCD screen showing timer settings and status.
- Timer Start/Stop Button: Initiates or halts timer functions.
- SET Button: Used to confirm settings and enter parameter adjustment modes.
- Light/Lock Button: Activates the display backlight or locks the remote's controls.
- Arrow Buttons (Up/Down/Left/Right): Navigates menus and adjusts numerical values.
- Shutter Release Button: Manually triggers the camera shutter.
Setup
Battery Installation
- Locate the battery-channel cover on the back of the remote.
- Slide or open the cover to access the battery compartment.
- Insert two AAA batteries, ensuring correct polarity (+/-).
- Close the battery cover securely.
Connecting to Camera
- Ensure your camera is powered off before connecting the remote.
- Locate the remote control terminal on your Nikon camera.
- Connect the EZA-N3's cable connector firmly into the camera's remote terminal.
- The remote is compatible with Nikon models including D2H, D2Hs, D1x, D1h, D1, D2x, D2Xs, D200, D300, D3, D3x, and E5120A.
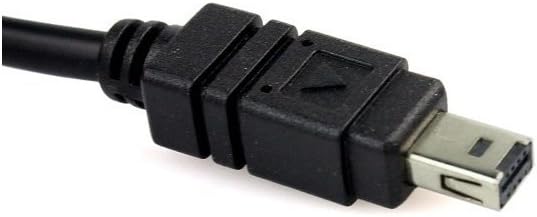
Image: Close-up view of the remote controller's cable connector, designed for compatible Nikon cameras.
Operating the Remote
Basic Shutter Release
- Half-Press: Press the Shutter Release Button halfway down to activate your camera's autofocus and metering system. The focus indicator light will illuminate.
- Full-Press: Press the Shutter Release Button fully down to trigger the camera's shutter. The release indicator light will illuminate.
Timer Functions Overview
The EZA-N3 offers four primary timer settings, displayed on the LCD:
- DELAY: Self-timer function, setting a delay before the first shot.
- LONG: Controls the exposure duration for BULB mode.
- INTVL (Interval): Sets the time between consecutive shots in a series.
- N (Number): Specifies the total number of shots to be taken.
Setting Timer Parameters
- Press the SET button to cycle through the DELAY, LONG, INTVL, and N parameters. The currently selected parameter will blink.
- Use the Arrow Buttons (Up/Down/Left/Right) to adjust the hours, minutes, and seconds for the blinking parameter.
- Press SET again to confirm the value and move to the next parameter, or to exit the setting mode.
- Once all desired parameters are set, press the Timer Start/Stop Button to begin the timed sequence.
Delay / Self-Timer (DELAY)
Sets the initial delay before the first exposure. Useful for avoiding camera shake or allowing time to get into a shot. Adjustable from 1 second to 99 hours, 59 minutes, 59 seconds.
Long Exposure (BULB)
Determines the duration of the shutter opening for long exposure photography. This function is active when your camera is set to BULB mode. Adjustable from 1 second to 99 hours, 59 minutes, 59 seconds.
Interval Timer (INTVL)
Sets the time gap between each consecutive exposure in a series. This is crucial for time-lapse photography. Adjustable from 1 second to 99 hours, 59 minutes, 59 seconds.
Number of Shots (N)
Specifies how many photos the remote will take in a timed sequence. Can be set from 1 to 399, or to infinite (indicated by '--').
Display and Controls
LCD Backlight
Press the Light/Lock Button briefly to activate the LCD backlight. The backlight will remain on for approximately 6 seconds, aiding visibility in dark environments.
Lock Function
Press and hold the Light/Lock Button for a few seconds to lock the remote's controls. This prevents accidental changes to settings during a timed sequence or while carrying the remote. Repeat the action to unlock.
Troubleshooting
- Remote does not power on: Check if batteries are inserted correctly and have sufficient charge. Replace with fresh AAA batteries if necessary.
- Camera does not respond to shutter release: Ensure the cable is securely connected to both the remote and the camera. Verify the camera is powered on and in a compatible mode (e.g., single shot, continuous, or BULB). Check if the remote's controls are locked.
- Timer sequence does not start: Confirm that all timer parameters (DELAY, LONG, INTVL, N) are set correctly and not at '0' if a value is required. Ensure the Timer Start/Stop button was pressed.
- LCD display is dim or flickering: This may indicate low battery power. Replace the AAA batteries.
Specifications
- Model: Godox EZA-N3
- Timer Functions: Delay, Long Exposure (BULB), Interval, Number of Shots
- Timer Range: 1 second to 99 hours, 59 minutes, 59 seconds
- Exposure Count: 1 to 399, or unlimited
- Display: LCD with 6-second backlight
- Shutter Release: Two-stage button (half-press for focus, full-press for release)
- Cable Length: Approximately 80 cm
- Power Source: 2 x AAA batteries (not included)
- Compatible Nikon Models: D2H, D2Hs, D1x, D1h, D1, D2x, D2Xs, D200, D300, D3, D3x, E5120A
Maintenance
- Cleaning: Use a soft, dry cloth to clean the remote. Avoid using liquid cleaners or solvents.
- Storage: Store the remote in a cool, dry place away from direct sunlight and extreme temperatures.
- Battery Care: Remove batteries if the remote will not be used for an extended period to prevent leakage.
- Cable Care: Avoid sharp bends or excessive pulling on the connecting cable to prevent damage.
Warranty and Support
For warranty information or technical support, please refer to the documentation provided with your purchase or contact your retailer or the manufacturer directly. Keep your proof of purchase for warranty claims.