Introduction
This manual provides instructions for the safe and efficient operation of your Toastmaster TM-121CM 12-Cup Digital Coffeemaker. Please read all instructions carefully before use and retain this manual for future reference.
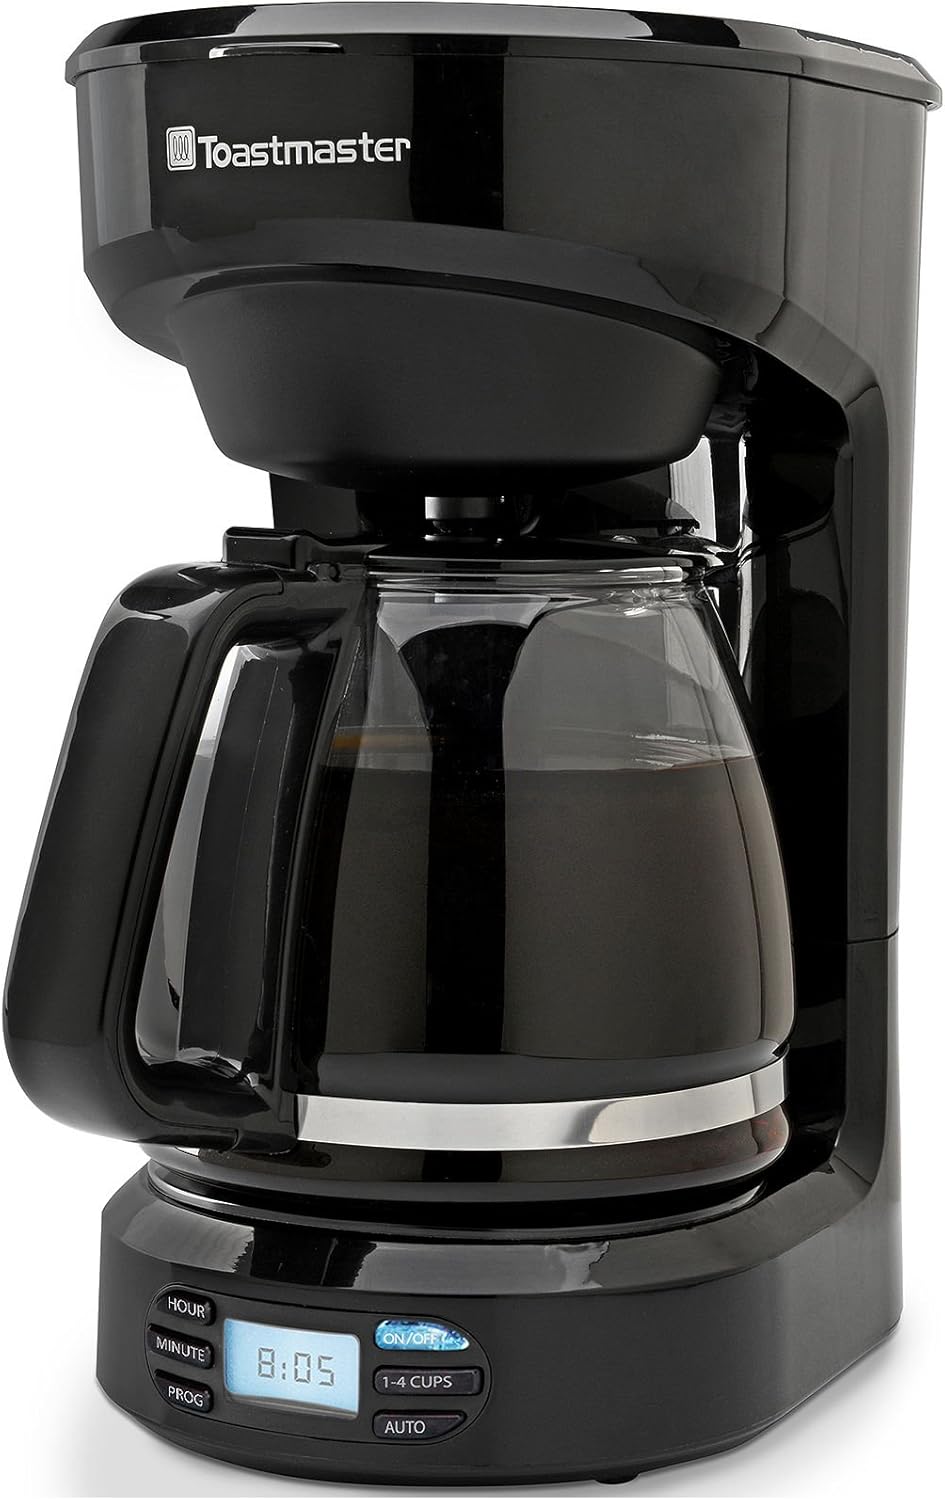
The Toastmaster TM-121CM is designed to brew up to 12 cups of coffee. It features programmable brew control, a 1-4 cup brewing option, a pause and serve function, and an automatic shut-off for convenience and safety.
Important Safeguards
When using electrical appliances, basic safety precautions should always be followed to reduce the risk of fire, electric shock, and/or injury to persons, including the following:
- Read all instructions.
- Do not touch hot surfaces. Use handles or knobs.
- To protect against electric shock, do not immerse cord, plugs, or coffeemaker in water or other liquid.
- Close supervision is necessary when any appliance is used by or near children.
- Unplug from outlet when not in use and before cleaning. Allow to cool before putting on or taking off parts, and before cleaning the appliance.
- Do not operate any appliance with a damaged cord or plug or after the appliance malfunctions, or has been damaged in any manner.
- The use of accessory attachments not recommended by the appliance manufacturer may result in fire, electric shock, or injury to persons.
- Do not use outdoors.
- Do not let cord hang over edge of table or counter, or touch hot surfaces.
- Do not place on or near a hot gas or electric burner, or in a heated oven.
- Always attach plug to appliance first, then plug cord into the wall outlet. To disconnect, turn any control to "off", then remove plug from wall outlet.
- Do not use appliance for other than intended use.
- Scalding may occur if the lid is removed during the brewing cycle.
Parts Identification

- Water Reservoir Lid
- Water Reservoir
- Shower Head
- Filter Basket Holder
- Removable Filter Basket
- Glass Carafe with Handle
- Warming Plate
- Control Panel with LCD Display
- Power Cord (with built-in storage at the back)
Setup and First Use
- Unpacking: Carefully remove all packaging materials from the coffeemaker.
- Cleaning: Before first use, wash the glass carafe, carafe lid, and removable filter basket in warm, soapy water. Rinse thoroughly and dry. Wipe the exterior of the coffeemaker with a soft, damp cloth.
- Initial Rinse Cycle:
- Fill the water reservoir with fresh, cold water up to the 12-cup mark.
- Place the empty filter basket into its holder. Do not add coffee grounds.
- Place the carafe with its lid on the warming plate.
- Plug the coffeemaker into a standard electrical outlet.
- Press the ON/OFF button to start a brewing cycle. Allow the full cycle to complete.
- Discard the water from the carafe. Your coffeemaker is now ready for use.
- Setting the Clock:
- Ensure the coffeemaker is plugged in. The LCD display will show "12:00" or the current time if already set.
- Press the HOUR button repeatedly until the correct hour is displayed. Pay attention to the AM/PM indicator.
- Press the MINUTE button repeatedly until the correct minute is displayed.
- The clock is now set.
Operating Instructions
Brewing Coffee
- Fill Water Reservoir: Open the water reservoir lid and fill the reservoir with fresh, cold water to the desired level, indicated by the cup markings. Do not exceed the 12-cup maximum fill line.
- Add Coffee Grounds: Place a standard basket-style paper filter (not included) into the removable filter basket. Add the desired amount of ground coffee. A general guideline is one level tablespoon of coffee grounds per cup of water, but adjust to personal preference.
- Position Carafe: Close the water reservoir lid and ensure the removable filter basket is securely in place. Place the glass carafe with its lid onto the warming plate.
- Start Brewing: Press the ON/OFF button. The indicator light will illuminate, and the brewing cycle will begin.
- Pause and Serve: The coffeemaker features a pause and serve function, allowing you to temporarily remove the carafe during brewing to pour a cup of coffee. The flow of coffee will stop automatically. Replace the carafe within 20 seconds to prevent overflow.
- Keep Warm: After brewing is complete, the coffeemaker will automatically switch to a keep-warm mode for 2 hours. The warming plate will keep the coffee hot during this period.
- Automatic Shut-off: After 2 hours, the coffeemaker will automatically shut off.
Using the 1-4 Cup Feature
This feature optimizes the brewing process for smaller quantities of coffee (1-4 cups) to ensure full flavor extraction.
- Follow steps 1-3 for "Brewing Coffee," ensuring you fill the water reservoir and add coffee grounds for 1-4 cups.
- Press the 1-4 CUPS button. An indicator light will illuminate, signifying the feature is active.
- Press the ON/OFF button to start brewing.
Programming Auto Brew
You can program the coffeemaker to start brewing at a specific time.
- Follow steps 1-3 for "Brewing Coffee."
- Press the PROG button. The display will flash "12:00" or the previously set program time.
- Press the HOUR and MINUTE buttons to set your desired brew start time. Pay attention to the AM/PM indicator.
- Press the PROG button again to confirm the programmed time. The AUTO indicator light will illuminate.
- At the programmed time, the coffeemaker will automatically begin brewing.
- To cancel the auto brew function, press the ON/OFF button.
Maintenance and Cleaning
Regular cleaning helps maintain the performance and longevity of your coffeemaker.
- Daily Cleaning:
- Always unplug the coffeemaker before cleaning and allow it to cool completely.
- Discard used coffee grounds and paper filter.
- Wash the glass carafe, carafe lid, and removable filter basket in warm, soapy water. These parts can also be washed on the top rack of a dishwasher.
- Wipe the exterior of the coffeemaker with a soft, damp cloth. Do not use abrasive cleaners or scouring pads.
- Do not immerse the coffeemaker base in water or any other liquid.
- Decalcification (Mineral Deposit Removal):
Mineral deposits (calcium) can build up in your coffeemaker over time, affecting its performance. Decalcify your coffeemaker every 2-3 months, or more frequently if you have hard water.
- Fill the carafe with one part white vinegar and two parts cold water.
- Pour the vinegar solution into the water reservoir.
- Place the empty filter basket (without a paper filter or coffee) and the carafe onto the warming plate.
- Press the ON/OFF button to start a brewing cycle.
- Allow half of the solution to brew through, then press the ON/OFF button to turn off the coffeemaker and let it soak for at least 15 minutes.
- Press the ON/OFF button again to complete the brewing cycle.
- Discard the vinegar solution from the carafe.
- Run 2-3 cycles with fresh, cold water only to rinse out any remaining vinegar taste.
Troubleshooting
| Problem | Possible Cause | Solution |
|---|---|---|
| Coffeemaker does not turn on. | Not plugged in; power outage; faulty outlet. | Ensure the coffeemaker is securely plugged into a working electrical outlet. Check your circuit breaker. |
| Coffee does not brew. | No water in reservoir; filter basket not properly seated; coffeemaker not turned on. | Fill water reservoir. Ensure filter basket is correctly placed. Press the ON/OFF button. |
| Coffee overflows from filter basket. | Too much coffee grounds; filter basket clogged; carafe not properly placed on warming plate; carafe removed for too long during pause and serve. | Use less coffee grounds. Clean filter basket. Ensure carafe is centered. Replace carafe quickly after using pause and serve. |
| Coffee tastes weak or too strong. | Incorrect coffee-to-water ratio; coffee grounds too fine/coarse; decalcification needed. | Adjust coffee grounds amount. Use medium grind coffee. Decalcify the coffeemaker. |
| Clock runs fast or loses time. | Internal clock mechanism variation. | This may indicate a manufacturing variation. Reset the clock as needed. If persistent and severe, contact customer support. |
| Coffee is not hot enough. | Decalcification needed; warming plate issue. | Decalcify the coffeemaker. Ensure the coffeemaker has completed its brew cycle and is in keep-warm mode. |
Specifications

- Brand: Toastmaster
- Model Number: TM-121CM
- Color: Black
- Capacity: 12 Cups
- Product Dimensions: 12"D x 6.8"W x 12.5"H
- Item Weight: 4.55 pounds
- Operation Mode: Fully Automatic
- Special Feature: Programmable, 1-4 Cup Brew Option, Pause and Serve, 2-Hour Automatic Shut-off
- UPC: 655772009791
Warranty and Support
Manufacturer's Warranty
This Toastmaster TM-121CM 12-Cup Digital Coffeemaker carries a one-year manufacturer's warranty from the date of purchase. This warranty covers defects in materials and workmanship under normal household use. It does not cover damage resulting from misuse, accident, commercial use, or unauthorized modification.
Please retain your original purchase receipt as proof of purchase for any warranty claims.
Customer Support
For technical assistance, warranty service, or to inquire about replacement parts, please contact Toastmaster Customer Service. Contact information can typically be found on the manufacturer's official website or on the product packaging.
When contacting support, please have your model number (TM-121CM) and date of purchase available.