
1. Introduction
This manual provides essential instructions for the proper installation, operation, and maintenance of your UAC KT 1561 A/C Compressor and Component Kit. This kit is designed as an OE replacement for specific 1997-2001 Ford Expedition models. Adhering to these guidelines will help ensure optimal performance and longevity of your vehicle's air conditioning system. Professional installation is highly recommended due to the complexity of automotive A/C systems and the specialized tools required.
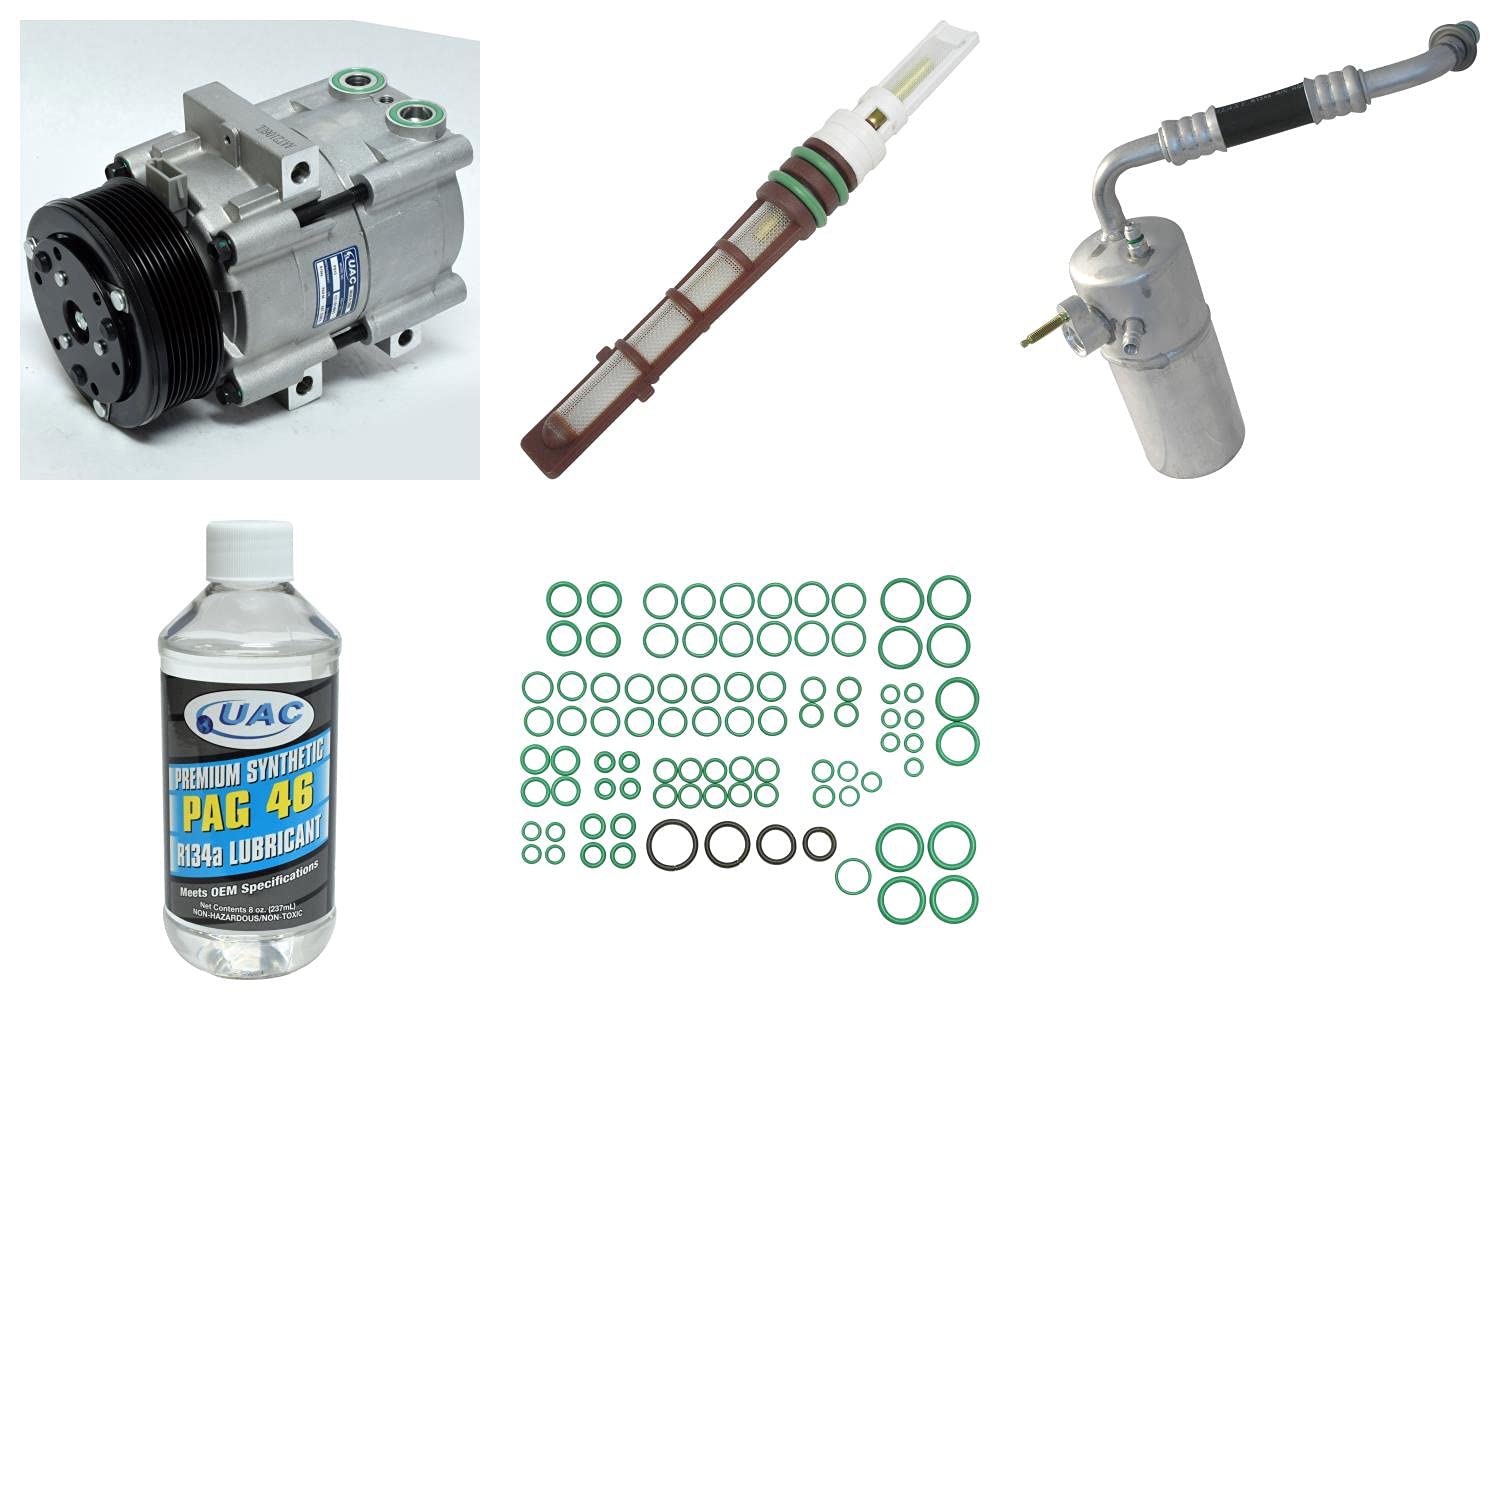
Image 1.1: Overview of the UAC KT 1561 A/C Compressor and Component Kit.
2. Safety Information
WARNING: Automotive air conditioning systems contain refrigerants under high pressure. Improper handling can cause severe injury, including frostbite and chemical burns. Always wear appropriate personal protective equipment (PPE), including safety glasses and gloves, when working on A/C systems. Only qualified technicians should perform A/C system service.
- Always disconnect the vehicle's battery before beginning any work.
- Ensure the A/C system is properly discharged by a certified technician before opening any lines.
- Use only R134a refrigerant and compatible PAG oil as specified for your vehicle.
- Avoid contact with refrigerant and compressor oil. In case of contact, flush with water immediately and seek medical attention if irritation persists.
- Do not expose components to open flames or high temperatures.
- Dispose of old refrigerant and components according to local environmental regulations.
3. Package Contents
Your UAC KT 1561 A/C Compressor and Component Kit includes the following items:
- A/C Compressor with Clutch: The primary component responsible for circulating refrigerant.
- Drier / Accumulator: Removes moisture and contaminants from the refrigerant.
- Expansion Device (Orifice Tube): Regulates refrigerant flow into the evaporator.
- 8oz Bottle of PAG Oil: Lubricant for the compressor and system.
- Seal Kit: Various O-rings and gaskets for sealing connections.

Image 3.1: The A/C Compressor with clutch, a key component for refrigerant circulation.

Image 3.2: The Drier/Accumulator, essential for moisture and contaminant removal.
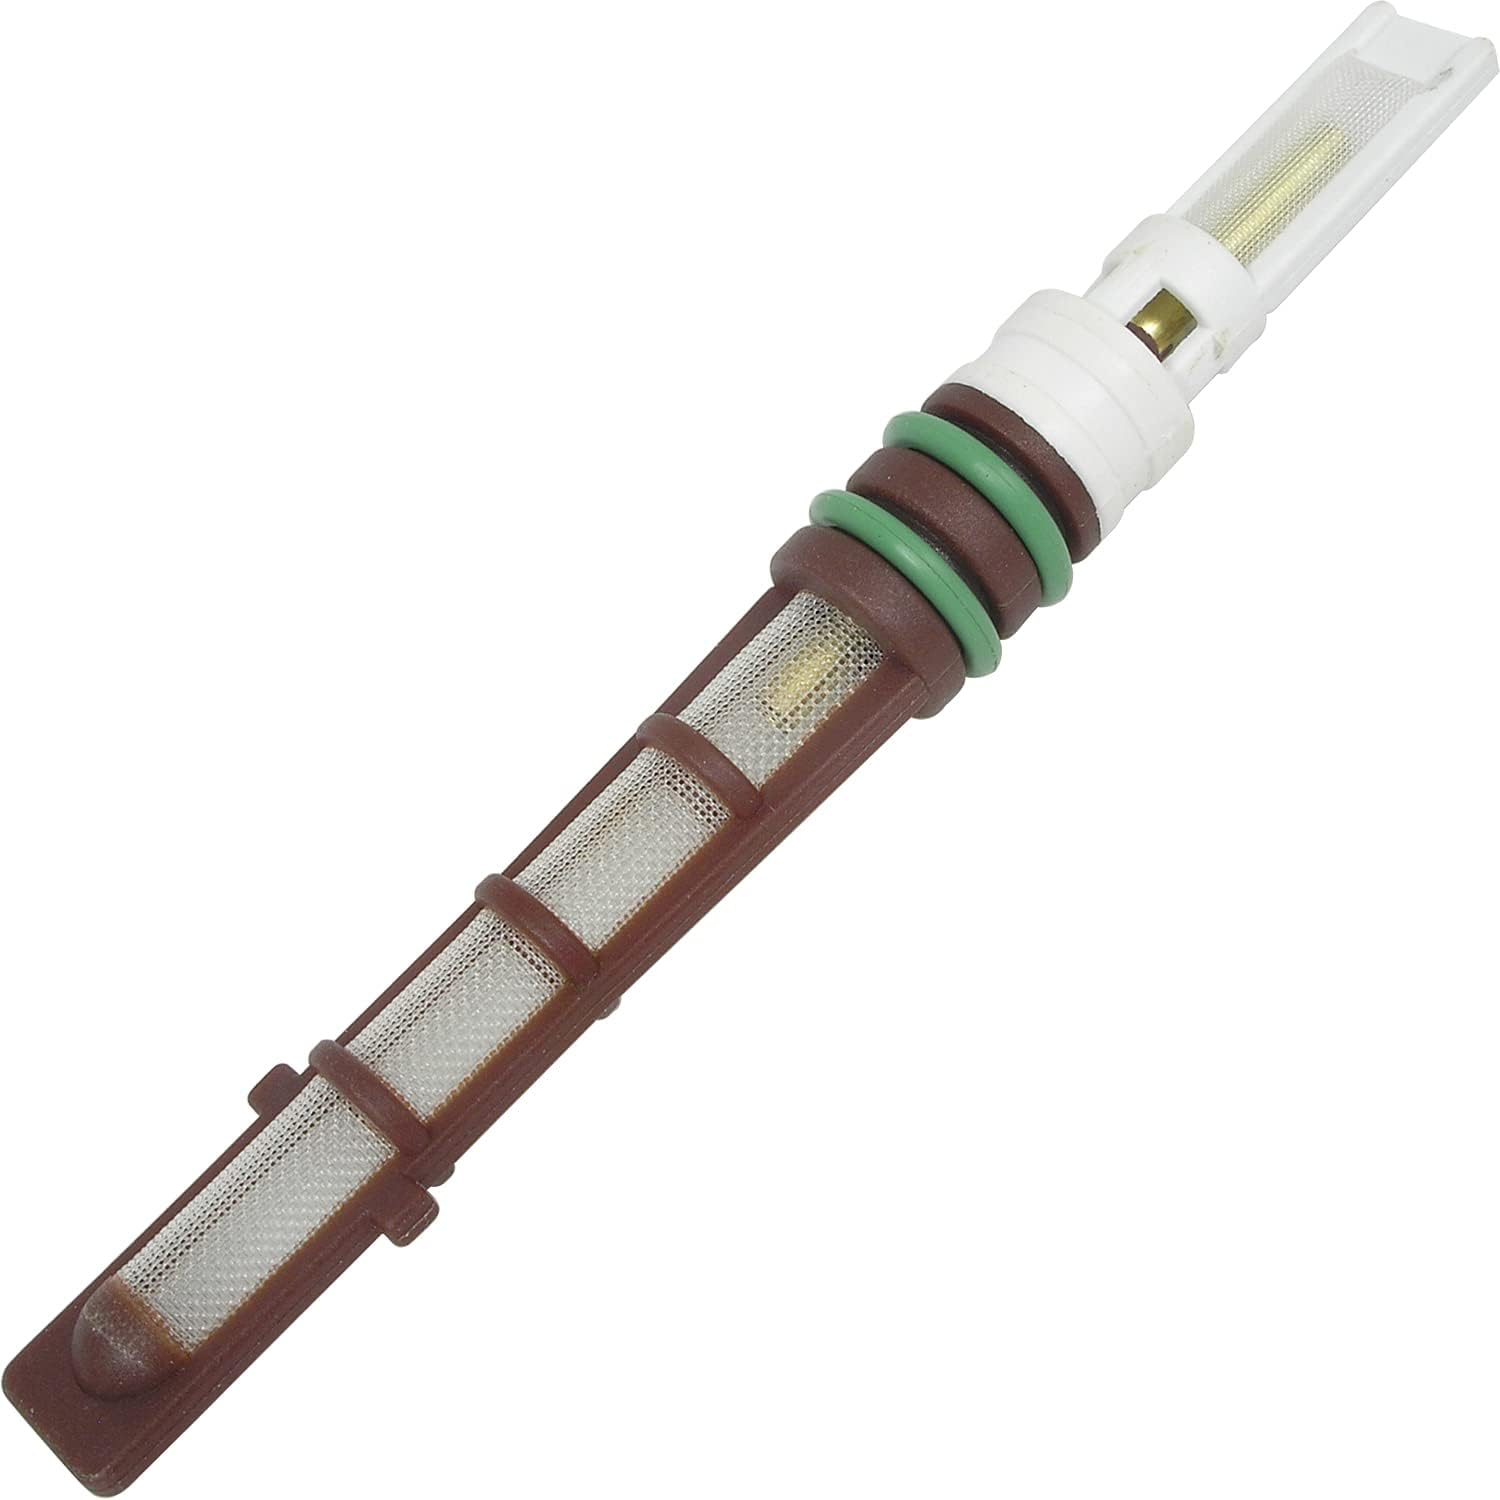
Image 3.3: The Expansion Device (Orifice Tube), which controls refrigerant flow.

Image 3.4: An 8oz bottle of PAG oil, used for compressor lubrication.

Image 3.5: The Seal Kit, containing various O-rings and gaskets for system integrity.
4. Installation Instructions
IMPORTANT: This procedure requires specialized tools and knowledge of automotive A/C systems. It is strongly recommended that installation be performed by a certified automotive technician.
4.1 Pre-Installation Steps
- System Discharge: Ensure the existing A/C system is completely discharged by a certified professional using proper recovery equipment.
- Old Component Removal: Carefully remove the old compressor, drier/accumulator, and expansion device. Note the routing of all lines and electrical connections.
- System Flush: It is critical to flush the entire A/C system (condenser, evaporator, and lines) to remove any debris, metal shavings, or contaminated oil from the previous compressor failure. Failure to properly flush the system will void the warranty and lead to premature failure of the new compressor.
- Oil Management: The new compressor may come charged with shipping oil. This oil must be drained and replaced with the correct amount and type of PAG oil (PAG 46 for R134a systems) as specified by your vehicle manufacturer. Refer to your vehicle's service manual for the exact system oil capacity.
4.2 Component Installation
- Install New Expansion Device: Replace the old expansion device (orifice tube) with the new one provided in the kit. Ensure proper orientation.
- Install New Drier/Accumulator: Install the new drier/accumulator. Keep its ports sealed until just before connecting the lines to prevent moisture absorption.
- Install New Compressor: Mount the new compressor securely in its original location. Connect all electrical connectors and drive belt.
- Replace Seals: Use the new O-rings and seals from the kit for all connections. Lubricate O-rings with clean PAG oil before installation to prevent pinching and ensure a proper seal.
- Connect Lines: Reconnect all A/C lines to the compressor, drier/accumulator, and expansion device. Tighten fittings to manufacturer specifications.
4.3 Post-Installation Steps
- Vacuum System: Evacuate the A/C system using a vacuum pump for at least 30-45 minutes (or longer depending on system size and ambient temperature) to remove all air and moisture. The system should hold a vacuum for at least 15-30 minutes after the pump is turned off, indicating no leaks.
- Refrigerant Charge: Recharge the system with the correct amount of R134a refrigerant as specified by your vehicle manufacturer. Do not overcharge or undercharge the system.
- Leak Test: Perform a leak test using an electronic leak detector or UV dye to confirm all connections are sealed.
- Test Operation: Start the vehicle and test the A/C system for proper cooling and operation. Monitor pressures to ensure they are within specifications.
5. Operating Instructions
Once the UAC KT 1561 A/C Compressor and Component Kit is correctly installed and the system is charged, the air conditioning system operates automatically when activated via your vehicle's climate control. The compressor engages to circulate refrigerant, which absorbs heat from the passenger cabin and releases it outside the vehicle, providing cooling.

Image 5.1: Diagram illustrating the flow of refrigerant in an automotive A/C system.
To operate your vehicle's A/C system, refer to your vehicle's owner's manual for specific controls and settings. Ensure the system is turned off when not needed to conserve fuel and reduce wear on components.
6. Maintenance
Regular maintenance helps prolong the life and efficiency of your A/C system.
- Regular Use: Operate your A/C system for at least 10 minutes once a month, even in cold weather, to keep seals lubricated and prevent refrigerant leaks.
- System Checks: Have your A/C system inspected annually by a qualified technician. They can check refrigerant levels, system pressures, and overall component health.
- Cabin Air Filter: Replace your vehicle's cabin air filter regularly (typically every 15,000-30,000 miles or as recommended by your vehicle manufacturer) to ensure good airflow and prevent evaporator contamination.
- Belt Inspection: Periodically check the compressor drive belt for cracks, fraying, or excessive wear. Replace as needed.
- Condenser Cleaning: Keep the condenser (located in front of the radiator) free of debris (leaves, bugs, dirt) to ensure efficient heat exchange.
7. Troubleshooting
If you experience issues with your A/C system after installation, consider the following common problems and potential solutions. For complex issues, consult a professional technician.
| Problem | Possible Cause | Solution |
|---|---|---|
| No Cold Air | Low refrigerant charge, faulty compressor clutch, electrical issue, clogged expansion device. | Check refrigerant levels and for leaks. Inspect compressor clutch engagement. Verify electrical connections. Professional diagnosis recommended. |
| Weak Airflow | Clogged cabin air filter, blocked evaporator or condenser, fan motor issue. | Replace cabin air filter. Clean condenser. Inspect blower motor. |
| Unusual Noises | Worn compressor bearings, loose drive belt, foreign object in blower motor. | Inspect compressor and drive belt. Professional inspection for internal compressor issues. |
| A/C Cycles On/Off Rapidly | Low or high refrigerant charge, faulty pressure switch. | Verify correct refrigerant charge. Test pressure switches. |
8. Specifications
- Model: KT 1561
- Brand: UAC
- Compatible Refrigerant: R134a
- Recommended Oil Type: PAG 46
- Product Dimensions: 50.8 x 50.8 x 48.26 cm (20 x 20 x 19 inches)
- Item Weight: 8.23 kg (18.14 lbs)
- OE Replacement: Designed to meet or exceed OEM specifications
- ISO/TS 16949 Quality: Premium quality certification
9. Warranty and Support
The UAC KT 1561 A/C Compressor and Component Kit is backed by an industry-leading warranty. For specific warranty terms and conditions, please refer to the documentation included with your purchase or contact UAC customer support directly. Warranty claims typically require proof of professional installation and proper system flushing.
For technical support, installation questions, or warranty inquiries, please contact UAC customer service through their official website or the retailer from whom the product was purchased. Have your product model number (KT 1561) and purchase details ready when contacting support.

Image 9.1: UAC Brand Logo.
