Onkyo T-422M(S)
ONKYO Tuner Intec 275 T-422M(S) User Manual
Model: T-422M(S)
1. Introduction
Thank you for purchasing the ONKYO Intec 275 T-422M(S) Tuner. This manual provides detailed instructions for the proper setup, operation, and maintenance of your new tuner. Please read this manual thoroughly before using the unit and keep it for future reference.
The T-422M(S) is designed to provide high-quality FM and AM radio reception, including support for FM supplementary broadcasting (Wide FM), which allows for stereo reception of AM radio broadcasts with reduced noise.
2. Safety Precautions
To ensure safe operation and prevent damage, please observe the following precautions:
- Do not expose the unit to rain or moisture.
- Do not block ventilation openings. Ensure adequate space around the unit for proper airflow.
- Do not place the unit near heat sources such as radiators, heat registers, stoves, or other apparatus that produce heat.
- Use only attachments/accessories specified by the manufacturer.
- Unplug this unit during lightning storms or when unused for long periods of time.
- Refer all servicing to qualified service personnel.
- Ensure the power cord is connected to an outlet with the correct voltage and polarity.
3. Package Contents
Please check that all items are included in the package:
- ONKYO T-422M(S) Tuner Unit
- FM Indoor Antenna
- AM Loop Antenna
- Power Cord
- User Manual (this document)
4. Product Overview
4.1 Front Panel
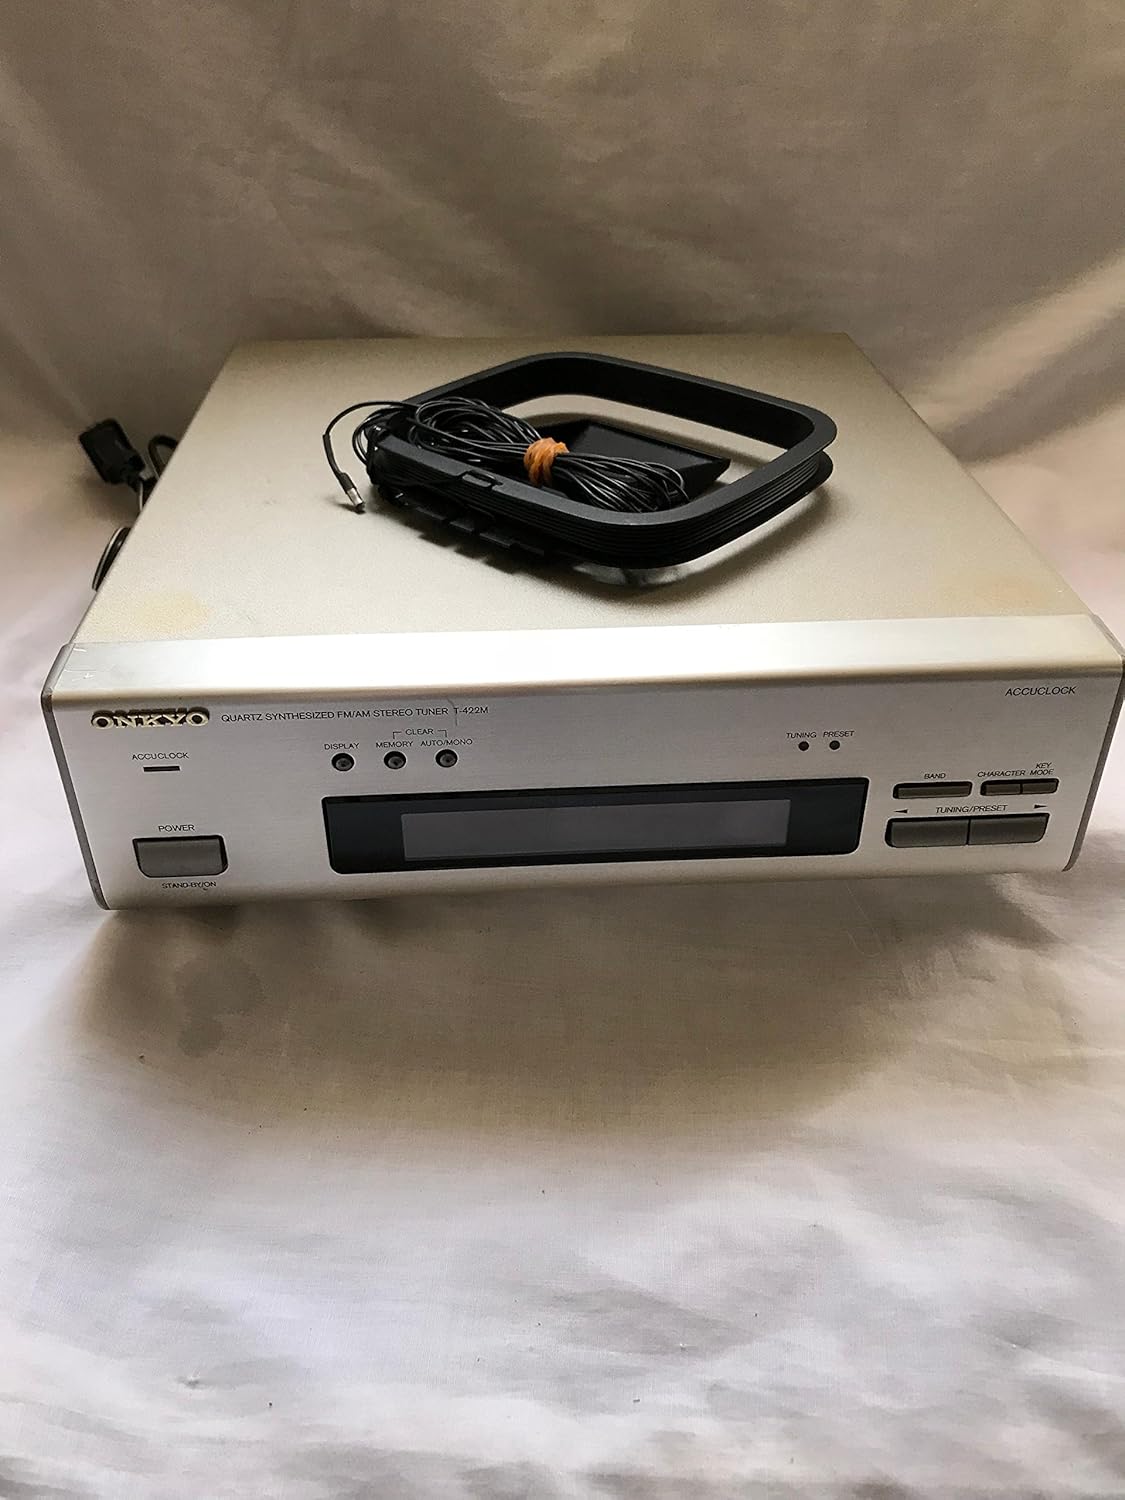
Figure 4.1: Front View of the Tuner. This image displays the front panel of the ONKYO T-422M(S) Tuner, showing the power button, display screen, tuning controls, and an AM loop antenna resting on the top surface of the unit.
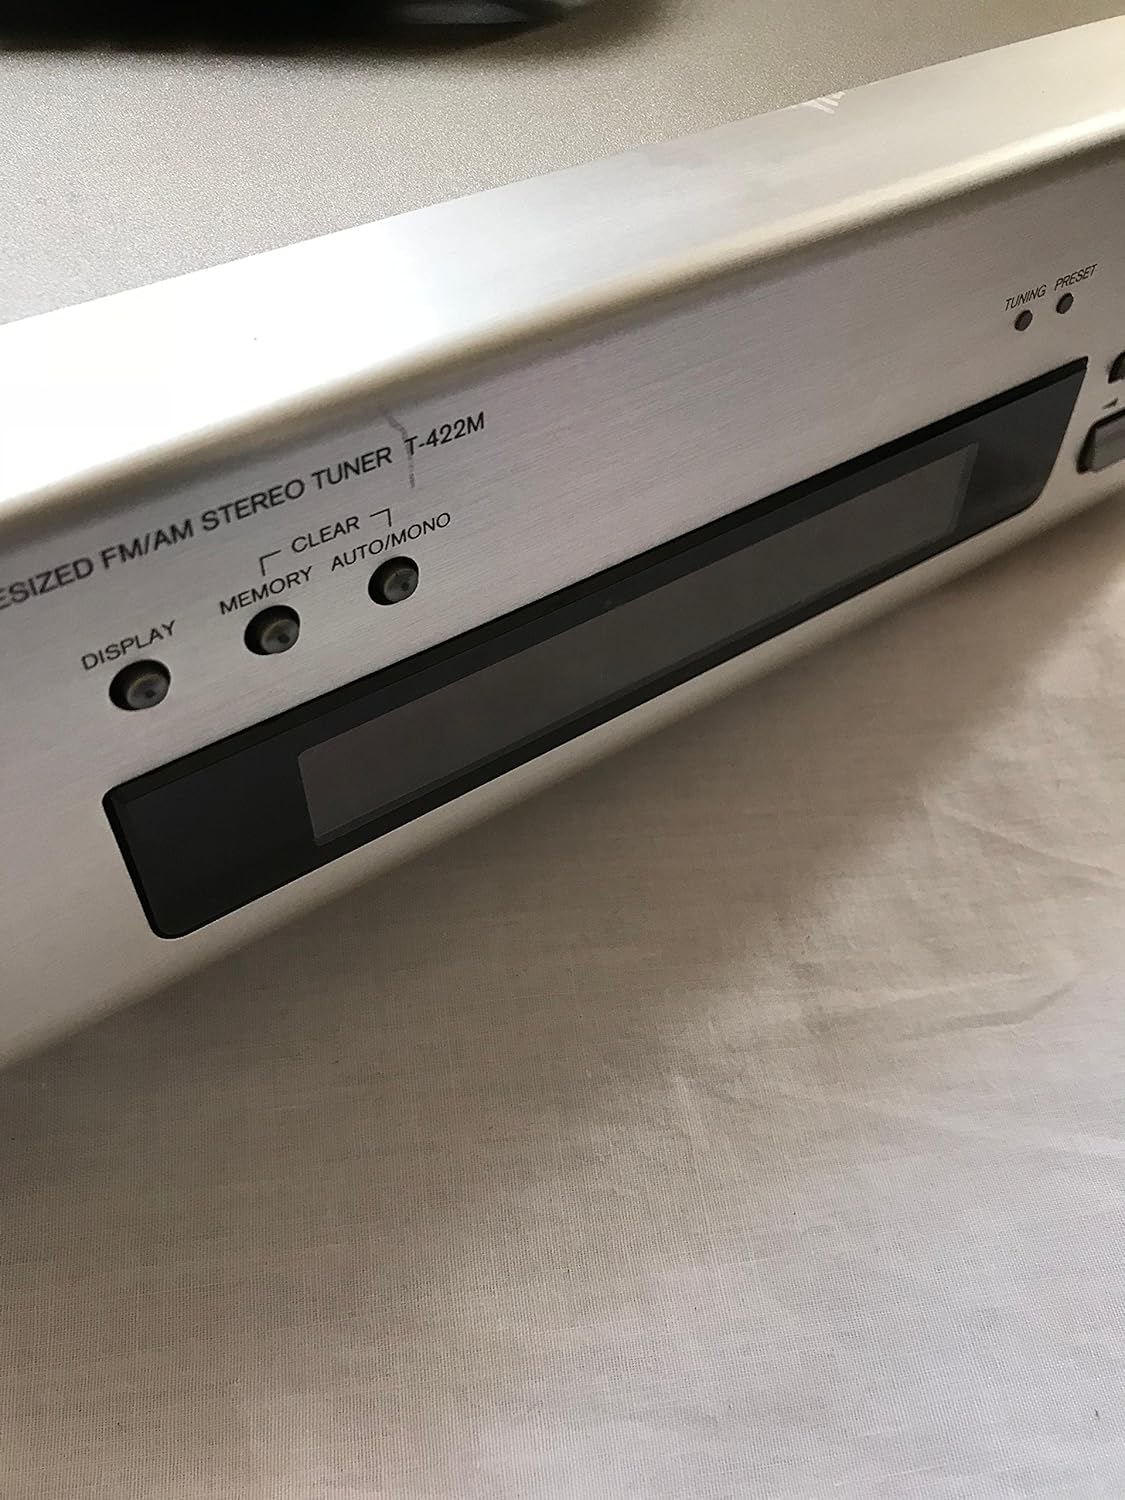
Figure 4.2: Front Panel Controls. A detailed view of the tuner's front panel, highlighting the display area and control buttons such as DISPLAY, CLEAR, MEMORY, and AUTO/MONO. The model name "QUARTZ SYNTHESIZED FM/AM STEREO TUNER T-422M" is clearly visible.
- POWER Button: Turns the unit on or off.
- DISPLAY Button: Toggles display modes.
- CLEAR Button: Clears preset memory.
- MEMORY Button: Stores current station to memory.
- AUTO/MONO Button: Switches between auto stereo and monaural reception.
- TUNING/PRESET Buttons: Adjusts frequency or selects preset stations.
- BAND Button: Switches between FM and AM bands.
- CHARACTER INPUT: For 8-digit character input function.
4.2 Rear Panel

Figure 4.3: Rear Panel Connections. This image shows the rear panel of the ONKYO T-422M(S) Tuner, detailing the antenna input terminals (FM and AM), audio output jacks (L/R), and a remote control port. Important warning labels are also visible.
- FM Antenna Terminal: Connects to an FM antenna.
- AM Antenna Terminals: Connects to an AM loop antenna.
- OUTPUT (L/R): Audio output jacks for connecting to an amplifier or receiver.
- REMOTE CONTROL: Port for connecting to other ONKYO components for integrated control.
- AC IN: Power cord input.
5. Setup
5.1 Placement
Place the tuner on a stable, level surface away from direct sunlight, heat sources, and excessive dust or moisture. Ensure adequate ventilation around the unit.
5.2 Antenna Connections
Proper antenna connection is crucial for optimal reception.
5.2.1 FM Antenna
Connect the supplied FM indoor antenna to the FM antenna terminal on the rear panel. For improved reception, especially in areas with weak signals, consider using an outdoor FM antenna.
5.2.2 AM Antenna
Assemble the supplied AM loop antenna and connect its wires to the AM antenna terminals on the rear panel. Position the AM loop antenna away from the main unit and other electronic devices to minimize interference. Rotate the antenna for best reception.
5.3 Audio Connections
Connect the OUTPUT (L/R) jacks on the rear panel of the tuner to the corresponding audio input jacks (e.g., "TUNER IN" or "AUX IN") on your amplifier or receiver using RCA audio cables.
5.4 Power Connection
After all other connections are made, connect the power cord to the AC IN terminal on the rear of the tuner, and then plug the other end into a wall outlet. The unit features a power cord with polarity indication; ensure correct insertion.
6. Operating Instructions
6.1 Basic Operation
- Press the POWER button to turn on the tuner.
- Press the BAND button to select either FM or AM.
- Use the TUNING/PRESET buttons to tune to your desired station.

Figure 6.1: FM Frequency Display. This image shows the tuner's display indicating "FM" and a frequency of "76.00 MHz", demonstrating FM band reception.
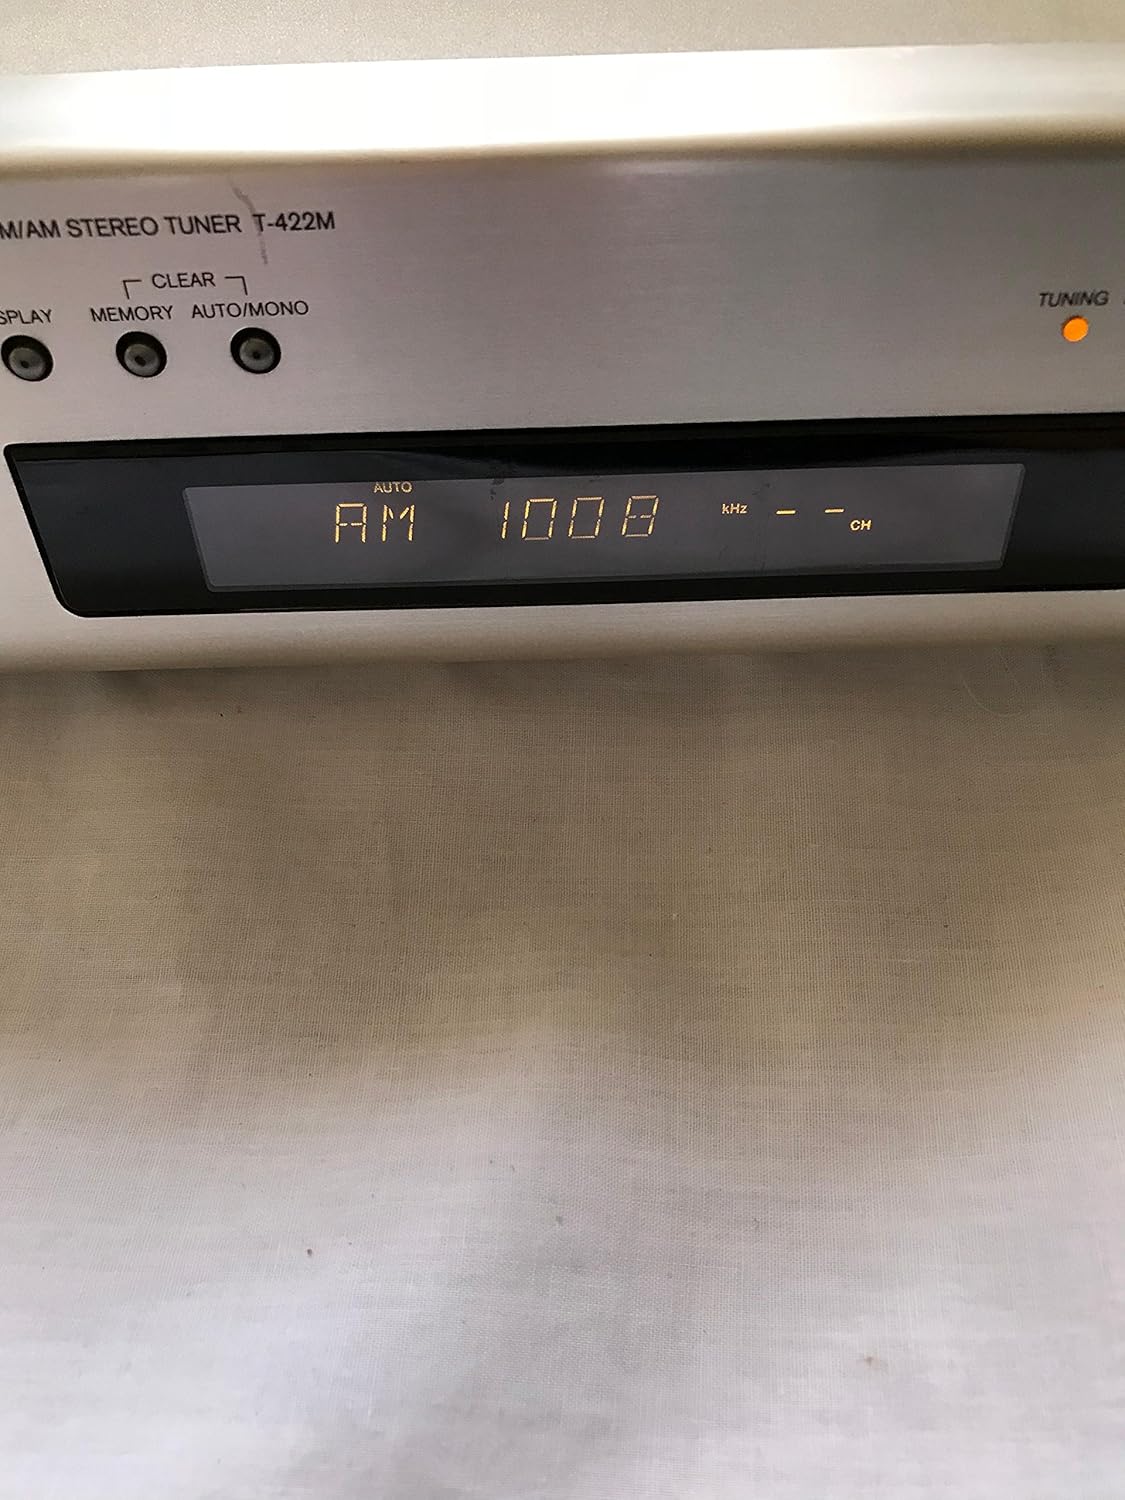
Figure 6.2: AM Frequency Display. This image shows the tuner's display indicating "AM" and a frequency of "1008 kHz", demonstrating AM band reception.
- Adjust the volume on your connected amplifier/receiver.
6.2 Preset Memory
The tuner can store up to 30 preset stations.
- Tune to the desired station.
- Press the MEMORY button. The preset number will flash on the display.
- Use the TUNING/PRESET buttons to select the desired preset number (1-30).
- Press the MEMORY button again to confirm and store the station.
To recall a preset station, simply use the TUNING/PRESET buttons to cycle through the stored stations.
6.3 FM Wide Band Support (76.00-108.00MHz)
This tuner supports FM wide band reception, including FM supplementary broadcasting (Wide FM). This feature allows for clearer, stereo reception of AM radio programs broadcast over the FM band. No special operation is required; simply tune to the relevant FM frequency.
6.4 Sleep Timer Function
The sleep timer allows the unit to automatically turn off after a set period. Refer to the specific instructions in your full manual for setting the sleep timer duration.
6.5 8-Digit Character Input Function
This function allows for inputting 8-digit characters, likely for station names or other display customization. Consult the detailed instructions in your full manual for how to utilize this feature.
7. Maintenance
To keep your tuner in optimal condition:
- Cleaning: Wipe the unit with a soft, dry cloth. For stubborn stains, use a cloth lightly dampened with water or a mild, non-abrasive cleaner. Do not use strong chemicals or abrasive cleaning pads.
- Ventilation: Regularly check that the ventilation openings are not blocked by dust or debris.
- Storage: If storing the unit for an extended period, disconnect the power cord and store it in a cool, dry place away from direct sunlight.
8. Troubleshooting
Before contacting service, please check the following common issues:
| Problem | Possible Cause | Solution |
|---|---|---|
| No power | Power cord not connected securely. | Check power cord connection to unit and wall outlet. |
| No sound | Incorrect audio cable connection; Amplifier/receiver not selected to correct input; Volume too low. | Verify audio cable connections; Select correct input on amplifier; Increase volume. |
| Poor reception (FM/AM) | Antenna not connected or poorly positioned; Weak signal area; Interference from other electronics. | Connect/adjust antenna position; Try an outdoor antenna; Move unit away from other electronics. |
| Display not working | Unit malfunction. | Unplug the unit for a few minutes, then plug it back in. If problem persists, contact service. |
9. Specifications
| Feature | Detail |
|---|---|
| Model Number | T-422M(S) |
| FM Reception Range | 76.0 - 108.0 MHz |
| FM Sensitivity | 18.8 dBf (2.4 µV, 75Ω, S/N 50dB) |
| Preset Memory | 30 stations |
| Power Supply | AC 100V, 50/60Hz (Isohex Power Supply) |
| Power Consumption | 10W |
| Dimensions (W x H x D) | 275mm x 79mm x 308mm |
| Color | Silver |
| Features | Auto Preset Memory, 8-digit Character Input, Sleep Timer Function, Power Cord with Polarity Indicator |
10. Warranty and Support
For warranty information and customer support, please refer to the warranty card included with your product or visit the official Onkyo website. Keep your purchase receipt as proof of purchase for warranty claims.
Onkyo Official Website: www.onkyo.com
Ask a question about this manual
Ask about setup, troubleshooting, compatibility, parts, safety, or missing instructions. Manuals+ will review the question and use this page’s manual context to help answer it.