1. Introduction
This manual provides instructions for setting up, operating, and maintaining your D-Link Wi-Fi AC750 Dual Band Router (DIR-813). The DIR-813 is designed to deliver high-speed wireless connectivity for your home network, supporting both 2.4 GHz and 5 GHz bands for optimal performance.
Key features include:
- Wireless AC750 Technology: Optimized performance for HD video streaming, fast file transfers, and lag-free video chatting.
- Dual Band Performance: Up to 300Mbps (2.4GHz) + 433Mbps (5GHz) for fast wireless speeds and reduced interference.
- Backward Compatibility: Works with older 802.11a/b/g/n devices.
- Wired Connectivity: Four Fast Ethernet ports for connecting wired devices.
- High-Performance Antennas: Three external antennas for maximum range.
2. Package Contents
Verify that your package contains the following items:
- D-Link Wi-Fi AC750 Dual Band Router (DIR-813)
- Power Adapter
- Ethernet Cable
- Quick Installation Guide (not included in this digital manual)
If any of the above items are missing or damaged, please contact your local D-Link reseller.
3. Hardware Overview
3.1 Front Panel
The front panel of the DIR-813 router features LED indicators that provide status information.
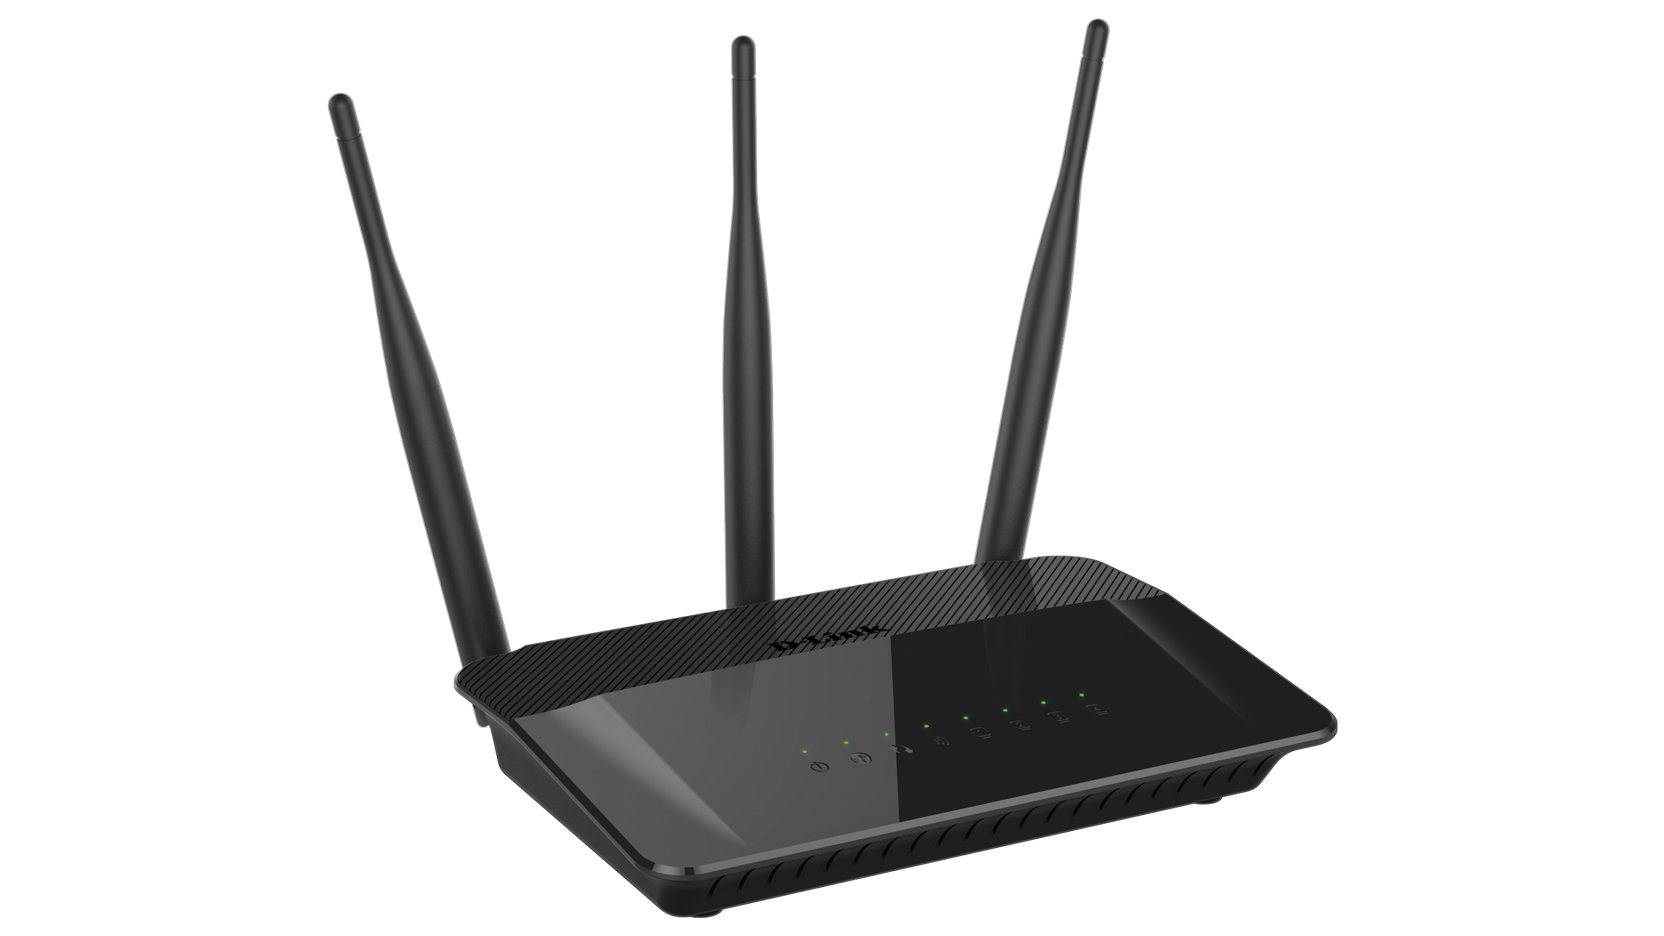
Figure 1: Front view of the D-Link DIR-813 router. This image shows the router's top surface with three external antennas and a row of LED indicators for power, internet, and wireless status.
- Power LED: Indicates power status.
- Internet LED: Indicates internet connection status.
- WLAN LEDs (2.4GHz/5GHz): Indicate wireless activity for each band.
- LAN LEDs: Indicate activity on the wired Ethernet ports.
3.2 Rear Panel
The rear panel contains all the physical connection ports and buttons.
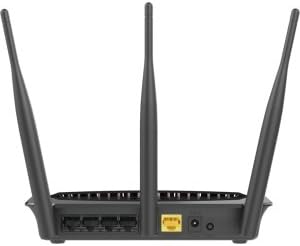
Figure 2: Rear view of the D-Link DIR-813 router. This image displays the back of the router, showing the power input, WAN port (yellow), four LAN ports, and a WPS/Reset button.
- Power Connector: Connect the included power adapter here.
- WAN Port (Yellow): Connect your modem to this port using an Ethernet cable.
- LAN Ports (1-4): Connect your wired devices (computers, gaming consoles, etc.) to these ports.
- WPS/Reset Button:
- Press and hold for 2 seconds to activate WPS (Wi-Fi Protected Setup).
- Press and hold for 10 seconds to perform a factory reset.
4. Setup
4.1 Before You Begin
Ensure you have an active internet connection from your Internet Service Provider (ISP) and a modem (if required by your ISP).
4.2 Hardware Installation
- Power Off: Disconnect the power from your modem and router (if replacing an old router).
- Connect Modem: Connect an Ethernet cable from your modem's Ethernet port to the yellow WAN port on the back of your DIR-813 router.
- Connect Power: Connect the included power adapter to the power connector on the router and then plug it into a power outlet.
- Power On: Power on your modem first, wait for it to fully boot up (usually indicated by stable internet lights). Then, power on your DIR-813 router.
- Verify LEDs: Wait for the Power LED and Internet LED on the router's front panel to turn solid.
4.3 Initial Configuration (Web-based Setup)
You can configure your router using a web browser.
- Connect to Router:
- Wired: Connect an Ethernet cable from one of the router's LAN ports to your computer's Ethernet port.
- Wireless: Connect to the default Wi-Fi network name (SSID) printed on the label at the bottom of your router. The default Wi-Fi password (WPA Key) is also on this label.
- Open Web Browser: Open a web browser (e.g., Chrome, Firefox, Edge) and type
http://dlinkrouter.localor192.168.0.1into the address bar. - Login: The default username is
admin. Leave the password field blank. Click Login. - Run Setup Wizard: Follow the on-screen instructions of the D-Link Setup Wizard to configure your internet connection and wireless settings. It is recommended to change the default Wi-Fi name (SSID) and password for security.
- Save Settings: After completing the wizard, save your settings.
4.4 Connecting Devices
Once the router is configured, you can connect your devices.
- Wired Devices: Connect computers, gaming consoles, or other network devices to the available LAN ports using Ethernet cables.
- Wireless Devices: Connect smartphones, tablets, laptops, and other Wi-Fi enabled devices to your new Wi-Fi network using the SSID and password you configured.
5. Operating Your Router
Access the router's web-based interface (http://dlinkrouter.local or 192.168.0.1) to manage its settings.
5.1 Wireless Settings
You can modify the Wi-Fi network name (SSID), password, and security type for both 2.4 GHz and 5 GHz bands.
- Navigate to Settings > Wireless in the web interface.
- Select the 2.4 GHz or 5 GHz band to modify its settings.
- Change the Wi-Fi Name (SSID) and Wi-Fi Password as desired.
- Ensure WPA2-PSK or WPA2/WPA3 Mixed Mode is selected for optimal security.
- Click Save to apply changes.
5.2 Guest Wi-Fi
Create a separate Wi-Fi network for guests to provide internet access without giving them access to your main network.
- Go to Settings > Guest Wi-Fi.
- Enable the Guest Wi-Fi network.
- Set a unique SSID and password for the guest network.
- Configure access restrictions if needed (e.g., internet only).
- Click Save.
5.3 Security Settings
Manage firewall rules, VPN passthrough, and other security features.
- Access Features > Firewall to configure firewall rules.
- Review Advanced > Port Forwarding if you need to open specific ports for applications or gaming.
5.4 Parental Controls
Control internet access for specific devices or users on your network.
- Navigate to Features > Parental Control.
- Set up schedules for internet access or block specific websites for selected devices.
- Click Save after making changes.
6. Maintenance
6.1 Firmware Update
Keeping your router's firmware up to date ensures optimal performance and security.
- Download the latest firmware for your DIR-813 model from the official D-Link support website.
- Log in to the router's web interface.
- Go to Management > Firmware Update.
- Browse to the downloaded firmware file and follow the on-screen instructions to upload and update.
- Do not power off the router during the firmware update process.
6.2 Backup and Restore Configuration
Save your router's configuration settings to a file, which can be restored later if needed.
- Log in to the router's web interface.
- Navigate to Management > System > Configuration Backup and Restore.
- Click Backup to save the current configuration to your computer.
- To restore, click Browse, select your saved configuration file, and click Restore.
6.3 Factory Reset
A factory reset restores the router to its original default settings. This will erase all custom configurations.
- Software Reset: Log in to the router's web interface, go to Management > System > Restore to Factory Defaults, and confirm.
- Hardware Reset: With the router powered on, use a paperclip to press and hold the WPS/Reset button on the rear panel for 10 seconds. Release the button when the Power LED starts blinking. The router will restart with factory defaults.
7. Troubleshooting
7.1 No Internet Connection
- Check if the Internet LED on the router is solid green. If not, ensure the Ethernet cable from your modem is securely connected to the router's yellow WAN port.
- Restart your modem and then your router.
- Verify your ISP connection is active.
- Log in to the router's web interface and check the internet connection status. Run the setup wizard again if necessary.
7.2 Cannot Connect to Wi-Fi
- Ensure the router's WLAN LEDs are on.
- Verify you are using the correct Wi-Fi network name (SSID) and password. These are case-sensitive.
- Try restarting your wireless device and the router.
- If you recently changed Wi-Fi settings, ensure your device has forgotten the old network and is trying to connect to the new one.
7.3 Slow Wireless Speed
- Ensure your devices are connected to the appropriate band (5 GHz for faster speeds, 2.4 GHz for better range).
- Reduce interference by moving the router away from other electronic devices (cordless phones, microwaves).
- Consider changing the wireless channel in the router's settings to a less congested one.
- Ensure your device's wireless adapter supports 802.11ac for optimal performance.
7.4 Forgot Router Login Password
If you forgot the password for the router's web interface, you will need to perform a factory reset. Refer to section 6.3 for instructions. After a factory reset, the username will be admin and the password field will be blank.
8. Specifications
| Feature | Description |
|---|---|
| Brand | D-Link |
| Model Name | DIR-813 |
| Wireless Standard | 802.11ac (backward compatible with a/b/g/n) |
| Frequency Band Class | Dual-Band (2.4 GHz and 5 GHz) |
| Wireless Speed | Up to 300Mbps (2.4GHz) + 433Mbps (5GHz) = AC750 |
| Ethernet Ports | 4 x Fast Ethernet LAN, 1 x Fast Ethernet WAN |
| Antennas | 3 x External High-Performance Antennas |
| Special Feature | WPS (Wi-Fi Protected Setup) |
| Connectivity Technology | WiFi, Wired |
| Color | Black |
| Item Weight | 0.5 Pounds |
| Recommended Use | Home |
9. Warranty and Support
For detailed warranty information, please refer to the warranty card included with your product or visit the official D-Link website.
For technical support, product registration, or to download the latest firmware and documentation, please visit the D-Link support portal:
When contacting support, please have your router's model number (DIR-813) and serial number ready.


