1. Introduction
This manual provides essential information for the proper installation, use, and maintenance of your Easton EC90 SL Handlebar. Please read these instructions carefully before installation and retain them for future reference.
The Easton EC90 SL Handlebar is engineered from advanced carbon composite, offering an optimal balance of low weight, high stiffness, and durability for mountain biking.
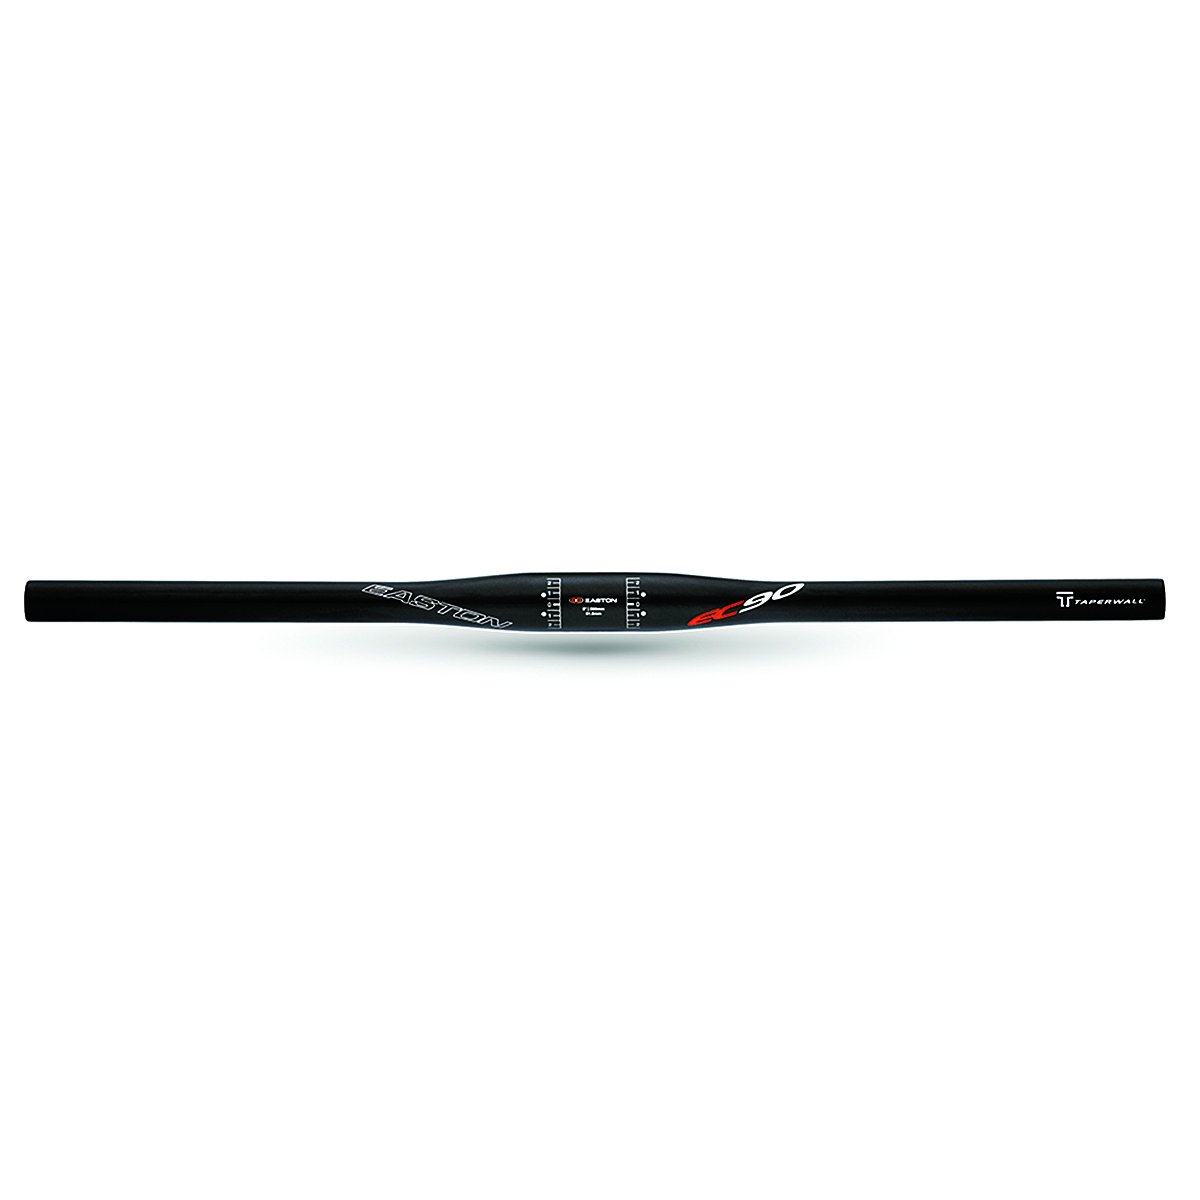
Figure 1: Easton EC90 SL Handlebar, showing its lightweight carbon construction.
2. Safety Information
WARNING: Improper installation or maintenance of bicycle components can lead to serious injury or death. If you are unsure about any part of the installation process, seek assistance from a qualified bicycle mechanic.
- Always wear appropriate safety gear when working on your bicycle.
- Ensure all bolts are tightened to the manufacturer's specified torque settings. Overtightening can damage components; undertightening can lead to component failure.
- Regularly inspect your handlebar for any signs of damage, cracks, or stress. Carbon components can fail catastrophically if damaged.
- Do not modify the handlebar in any way (e.g., cutting, drilling) unless explicitly instructed by the manufacturer.
3. Setup and Installation
3.1 Required Tools
- Torque wrench with appropriate bits (e.g., Hex keys)
- Carbon assembly paste (recommended for carbon-to-carbon or carbon-to-alloy interfaces)
- Clean rags
3.2 Installation Steps
- Remove Old Handlebar (if applicable): Loosen and remove the stem faceplate bolts. Carefully remove brake levers, shifters, and grips from the old handlebar. Slide the old handlebar out of the stem clamp.
- Clean Stem Clamp Area: Thoroughly clean the stem clamp area to remove any grease or debris.
- Apply Carbon Assembly Paste: Apply a thin, even layer of carbon assembly paste to the clamping surface of the stem and the center section of the new Easton EC90 SL Handlebar. This helps prevent slippage and reduces the required clamping force.
- Position Handlebar: Carefully slide the Easton EC90 SL Handlebar into the stem clamp. Ensure the handlebar is centered and rotated to your preferred ergonomic position. Many handlebars have alignment marks for centering.
- Install Stem Faceplate: Place the stem faceplate over the handlebar and loosely install the faceplate bolts.
- Tighten Stem Bolts: Using a torque wrench, tighten the stem faceplate bolts gradually and evenly in a cross-pattern (if applicable) to the manufacturer's specified torque. For Easton EC90 SL handlebars, the typical stem clamp torque is 5-6 Nm. Refer to your stem manufacturer's specifications for precise torque values. Do not overtighten.
- Install Components: Reinstall your brake levers, shifters, and grips onto the new handlebar. Adjust their positions for comfort and accessibility.
- Tighten Component Clamps: Tighten the clamps for brake levers and shifters to their respective manufacturer's torque specifications. These are typically lower than stem clamp torques.
After installation, perform a thorough check to ensure all components are secure and functioning correctly before riding.
4. Operating and Usage
The Easton EC90 SL Handlebar is designed for mountain biking. Proper usage involves maintaining a secure grip and appropriate body positioning for control and comfort.
- Always maintain a firm but relaxed grip on the handlebars.
- Adjust your riding posture to distribute weight evenly and reduce fatigue.
- Familiarize yourself with the feel of your new handlebar, especially if you have changed its width or sweep.
5. Maintenance
Regular maintenance ensures the longevity and safe operation of your Easton EC90 SL Handlebar.
- Cleaning: Clean the handlebar regularly with mild soap and water. Avoid harsh chemicals, abrasive cleaners, or solvents, as these can damage the carbon finish. Rinse thoroughly and dry with a soft cloth.
- Inspection: Before each ride, visually inspect the handlebar for any signs of damage, such as cracks, chips, deep scratches, or delamination. Pay close attention to the stem clamp area and where other components are clamped.
- Bolt Torque Check: Periodically check the torque of the stem faceplate bolts and component clamps (brake levers, shifters) using a torque wrench. Vibrations from riding can cause bolts to loosen over time.
- Impact Damage: If the handlebar sustains any impact, even if no visible damage is apparent, it is recommended to have it inspected by a qualified mechanic. Carbon fiber can suffer internal damage that is not immediately visible.
6. Troubleshooting
6.1 Handlebar Slippage
If the handlebar slips in the stem clamp:
- Ensure the stem clamp bolts are tightened to the correct torque specification using a torque wrench.
- Verify that carbon assembly paste was applied to the clamping surfaces. If not, remove the handlebar, clean the surfaces, apply paste, and reinstall.
- Inspect the stem and handlebar for any damage that might prevent proper clamping.
6.2 Creaking Noises
Creaking noises from the handlebar area can indicate several issues:
- Stem/Handlebar Interface: Loosen stem bolts, clean surfaces, reapply carbon assembly paste, and retighten to correct torque.
- Component Clamps: Check torque on brake levers, shifters, and grips. Loosen, clean, and retighten if necessary.
- Headset: Ensure your headset is properly adjusted and tightened.
7. Specifications
| Feature | Specification |
|---|---|
| Model Name | Easton EC90 SL Mountain Handlebar |
| Material | UD Matte Carbon |
| Weight | 135g (as specified by manufacturer) |
| Clamp Diameter | 31.8mm |
| Width | 720mm |
| Sweep | 9-Degree |
| Part Number | 7051379 |
8. Warranty and Support
Easton products are manufactured to high standards and are covered by a limited warranty against defects in materials and workmanship. For specific warranty terms and conditions, please refer to the official Easton website or contact Easton customer support.
For technical assistance, replacement parts, or warranty claims, please visit the official Easton website or contact their customer service department.


