1. Introduction
The Schneider Electric 8910DPA43V09 is a 600-Vac, 40-Amp DPA Plus Contactor designed for controlling electrical circuits, particularly in motor control applications. This manual provides essential information for the safe and efficient installation, operation, and maintenance of this device.
2. Safety Information
WARNING: Risk of electric shock. Disconnect power before installation or servicing. Installation must be performed by qualified personnel in accordance with all local and national electrical codes.
- Ensure proper grounding of the electrical system.
- Do not operate the contactor with damaged components or wiring.
- Always use appropriate personal protective equipment (PPE) when working with electrical systems.
- Verify that the voltage and current ratings of the contactor match the application requirements.
3. Product Overview
The 8910DPA43V09 Contactor is a robust electrical switching device. Its primary function is to switch an electrical power circuit, similar to a relay, but with higher current ratings. It is commonly used for controlling electric motors, lighting, heating, and other electrical loads.
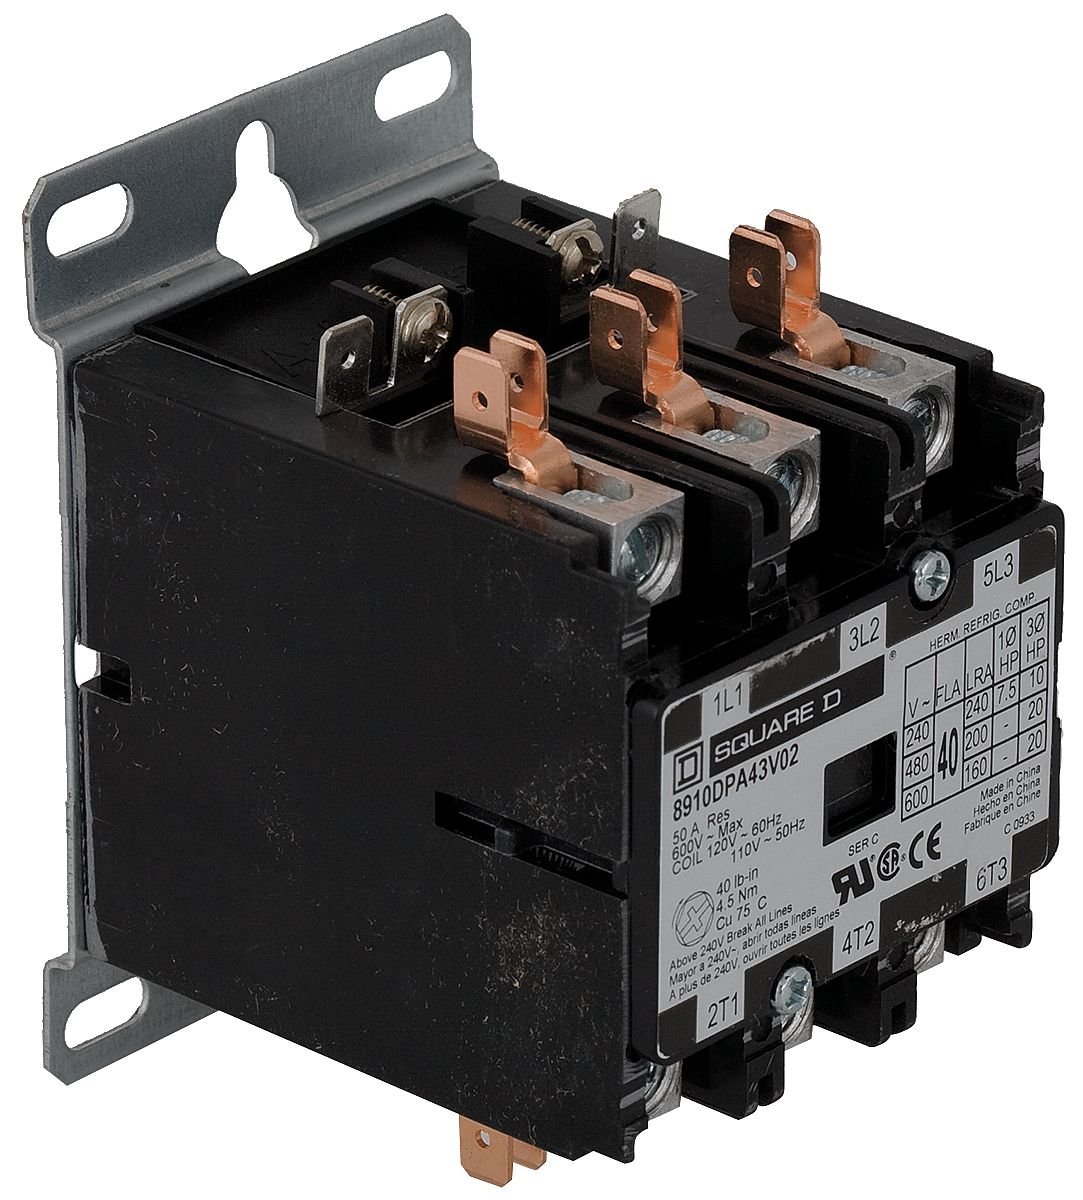
Image of the Schneider Electric 8910DPA43V09 Contactor, showing its black housing and terminal connections.
Key features include:
- Voltage Rating: 600-Vac
- Current Rating: 40-Amp
- Series: DPA Plus
- Material: Copper
- Color: Black
4. Setup and Installation
Proper installation is crucial for the safe and reliable operation of the contactor. Follow these steps carefully:
- Mounting: The contactor is designed for DIN rail mounting. Securely attach the unit to a standard DIN rail in an appropriate electrical enclosure. Ensure adequate space for ventilation and wiring.
- Wiring: Connect the power supply and load wires to the appropriate terminals. The contactor typically has main power terminals (L1, L2, L3 for input; T1, T2, T3 for output) and control coil terminals (A1, A2). Ensure all connections are tight and secure to prevent loose contacts and overheating. Refer to the wiring diagram located on the unit or in supplementary documentation for specific terminal assignments and control circuit connections.
- Control Circuit: Connect the control circuit to the coil terminals (A1, A2). Ensure the control circuit voltage matches the coil voltage rating of the contactor.
- Verification: After wiring, double-check all connections for correctness and tightness. Ensure no bare wires are exposed.
5. Operating Instructions
The 8910DPA43V09 Contactor operates by energizing its coil, which in turn closes the main power contacts, allowing current to flow to the connected load. De-energizing the coil opens the contacts, interrupting the power flow.
- Energizing the Coil: Apply the rated control voltage to the coil terminals (A1, A2). This will cause the main power contacts to close, connecting the load to the power supply.
- De-energizing the Coil: Remove the control voltage from the coil terminals. This will cause the main power contacts to open, disconnecting the load from the power supply.
- Indicator: Some contactors may include a visual indicator to show the status of the contacts (open or closed).
6. Maintenance
Regular maintenance helps ensure the longevity and reliable performance of your contactor.
- Inspection: Periodically inspect the contactor for signs of wear, damage, discoloration, or overheating. Check for loose connections or foreign objects.
- Cleaning: Disconnect power before cleaning. Clean the exterior of the unit with a dry, lint-free cloth. Do not use solvents, abrasive cleaners, or liquids that could enter the contactor.
- Terminal Tightness: Re-tighten terminal screws as necessary, ensuring they meet specified torque values (if available). Loose connections can lead to overheating and arcing.
- Contact Wear: While internal contacts are generally not user-serviceable, excessive arcing or pitting may indicate the need for replacement.
7. Troubleshooting
If the contactor is not functioning as expected, perform the following basic checks:
- Contactor Not Engaging:
- Check if control circuit voltage is present at coil terminals (A1, A2).
- Verify the coil continuity with a multimeter (after disconnecting power).
- Ensure there are no mechanical obstructions preventing the contacts from closing.
- Contactor Overheating:
- Verify that the load current does not exceed the contactor's 40-Amp rating.
- Check for loose or corroded terminal connections.
- Ensure proper ventilation around the contactor.
- Noisy Operation (Humming/Buzzing):
- Inspect for loose mounting or foreign objects.
- Ensure the contactor is securely mounted to the DIN rail.
- Check for proper alignment of the armature.
If issues persist after performing these checks, consult a qualified electrician or contact Schneider Electric support.
8. Specifications
| Specification | Value |
|---|---|
| Manufacturer | SCHNEIDER ELECTRIC |
| Part Number | 8910DPA43V09 |
| Item Model Number | 8910DPA43V09 |
| Voltage Rating | 600-Vac |
| Current Rating | 40-Amp |
| Product Dimensions | 2.6 x 4.1 x 3.2 inches |
| Item Weight | 1.03 pounds |
| Color | Black |
| Material | Copper |
| Mounting Type | DIN Rail |
| Item Package Quantity | 1 |
| Batteries Included? | No |
| Batteries Required? | No |
9. Warranty and Support
Warranty: This Schneider Electric 8910DPA43V09 Contactor is covered by a 1-year manufacturer's warranty from the date of purchase. This warranty covers defects in materials and workmanship under normal use. Please retain your proof of purchase for warranty claims.
Support: For technical assistance, troubleshooting beyond this manual, or to inquire about service and replacement parts, please visit the official Schneider Electric website or contact their customer service department directly. Provide your product model number (8910DPA43V09) when seeking support.


