
Introduction
The BELL Air Attack 350 High Volume Floor Pump is engineered for efficient and rapid inflation of bicycle tires. Its wide barrel design is particularly effective for quickly inflating larger volume tires commonly found on mountain bikes, cruisers, BMX bikes, and children's bicycles. This manual provides essential information for the proper setup, operation, and maintenance of your pump.
Key Features
- Reversible Schrader / Presta Head: Compatible with both common valve types without needing adapters.
- Bonus Ball Needle and Inflation Cone: Included for inflating sports balls and other inflatables.
- High Volume Capacity: 567 cm3 volume for quick inflation.
- Maximum Pressure: Supports up to 100 PSI.
Setup and Assembly
Your BELL Air Attack 350 pump comes largely pre-assembled. Before first use, ensure all components are securely connected.

Identifying Valve Types
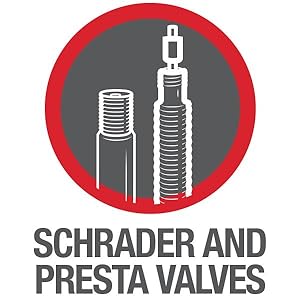
It is crucial to identify the valve type on your bicycle tire before attempting to inflate it. The two most common types are Schrader and Presta.
Video 1: This manufacturer video provides an overview of different pump types and demonstrates how to identify and use pumps with both Presta and Schrader valves, ensuring you select the correct pump for your bicycle.
Operating Instructions
Attaching the Pump Head
The BELL Air Attack 350 features a reversible pump head designed to work with both Schrader and Presta valves. No internal adjustments are typically needed for switching between valve types.
- For Schrader Valves: Firmly push the pump head straight onto the valve stem until it is fully seated. Then, flip the lever on the pump head to the locked position to secure it.
- For Presta Valves: First, unscrew the small nut at the top of the Presta valve stem counter-clockwise until it is loose. Press down briefly on the valve to release a small amount of air. Then, firmly push the pump head straight onto the valve stem until it is fully seated. Flip the lever on the pump head to the locked position.

Inflating Tires
Once the pump head is securely attached to the valve:
- Place the pump's base on a flat, stable surface.
- Use your foot to hold the base firmly in place.
- Grip the handle with both hands and push down firmly and smoothly to inflate the tire.
- Pull the handle up completely to draw more air into the pump.
- Repeat the pumping motion until the desired tire pressure (PSI) is reached. Refer to the recommended PSI printed on your tire sidewall.
- After reaching the desired pressure, flip the lever on the pump head to unlock it and carefully remove the head from the valve stem. For Presta valves, remember to screw the small nut back down to seal the valve.
Using the Bonus Accessories
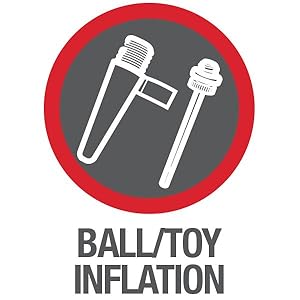
The included ball needle and inflation cone can be used to inflate various sports equipment and small inflatables. To use them, simply thread the appropriate accessory onto the pump head in place of the bicycle valve connection, or insert it into the correct opening if the pump head has multiple ports.
Maintenance
- Cleaning: Keep the pump clean by wiping it with a damp cloth. Avoid using harsh chemicals or abrasive cleaners.
- Storage: Store the pump in a dry, cool place away from direct sunlight and extreme temperatures.
- Hose and Head Inspection: Periodically inspect the hose and pump head for any signs of wear, cracks, or damage. Replace components if necessary to ensure optimal performance and safety.
Troubleshooting
Pump Not Inflating
- Check Connection: Ensure the pump head is fully seated on the valve stem and the locking lever is securely engaged.
- Valve Type: Confirm you are using the correct side of the reversible head for your valve type (Schrader or Presta).
- Leaks: Listen for any hissing sounds indicating air leakage around the valve stem or from the hose.
- Presta Valve Nut: For Presta valves, ensure the small nut at the top of the valve stem is unscrewed before attaching the pump.
Difficulty Pumping
- Stable Surface: Ensure the pump is on a stable, flat surface and the base is held firmly with your foot.
- Pumping Technique: Use smooth, consistent strokes. As tire pressure increases, more effort will be required to push the handle down.
- Internal Seal: If pumping becomes excessively difficult or ineffective at low pressures, the internal seals may need inspection or lubrication.
Specifications
| Brand | BELL |
| Model Number | 7057393 |
| Material | Plastic |
| Power Source | Handheld |
| Air Flow Capacity | 56.7 cubic centimeters per second |
| Maximum Pressure | 100 psi |
| Operation Mode | Manual |
| UPC | 035011959733 |
Warranty and Support
For detailed warranty information, product registration, or technical support, please visit the official BELL Sports website or contact their customer service department. Keep your purchase receipt as proof of purchase for any warranty claims.
Manufacturer: Bell Sports