Introduction
The Skytech SKY-3301 is a remote control system designed for gas heating appliances, offering safe, reliable, and user-friendly operation. This system includes a remote transmitter with a timer and thermostat function, and a receiver unit. This manual provides detailed instructions for installation, operation, maintenance, and troubleshooting to ensure optimal performance and safety.
Safety Information
- Read all instructions carefully before installation and operation.
- Ensure all wiring is performed by a qualified technician if you are unsure.
- Do not expose the remote or receiver to water or excessive humidity.
- Keep batteries out of reach of children.
- Always turn off the gas supply to the appliance before performing any wiring or maintenance.
Package Contents
Verify that all components are present in your package:
- SKY-3301 Remote Control Transmitter
- Receiver Unit
- AAA Batteries (2 for remote, 4 for receiver)
- Wall Mount Plate for Receiver (optional)
- Wiring Harness with Connectors
Setup and Installation
1. Install Batteries in Remote Transmitter
Open the battery compartment on the back of the remote control. Insert two (2) AAA batteries, ensuring correct polarity. Close the compartment securely.
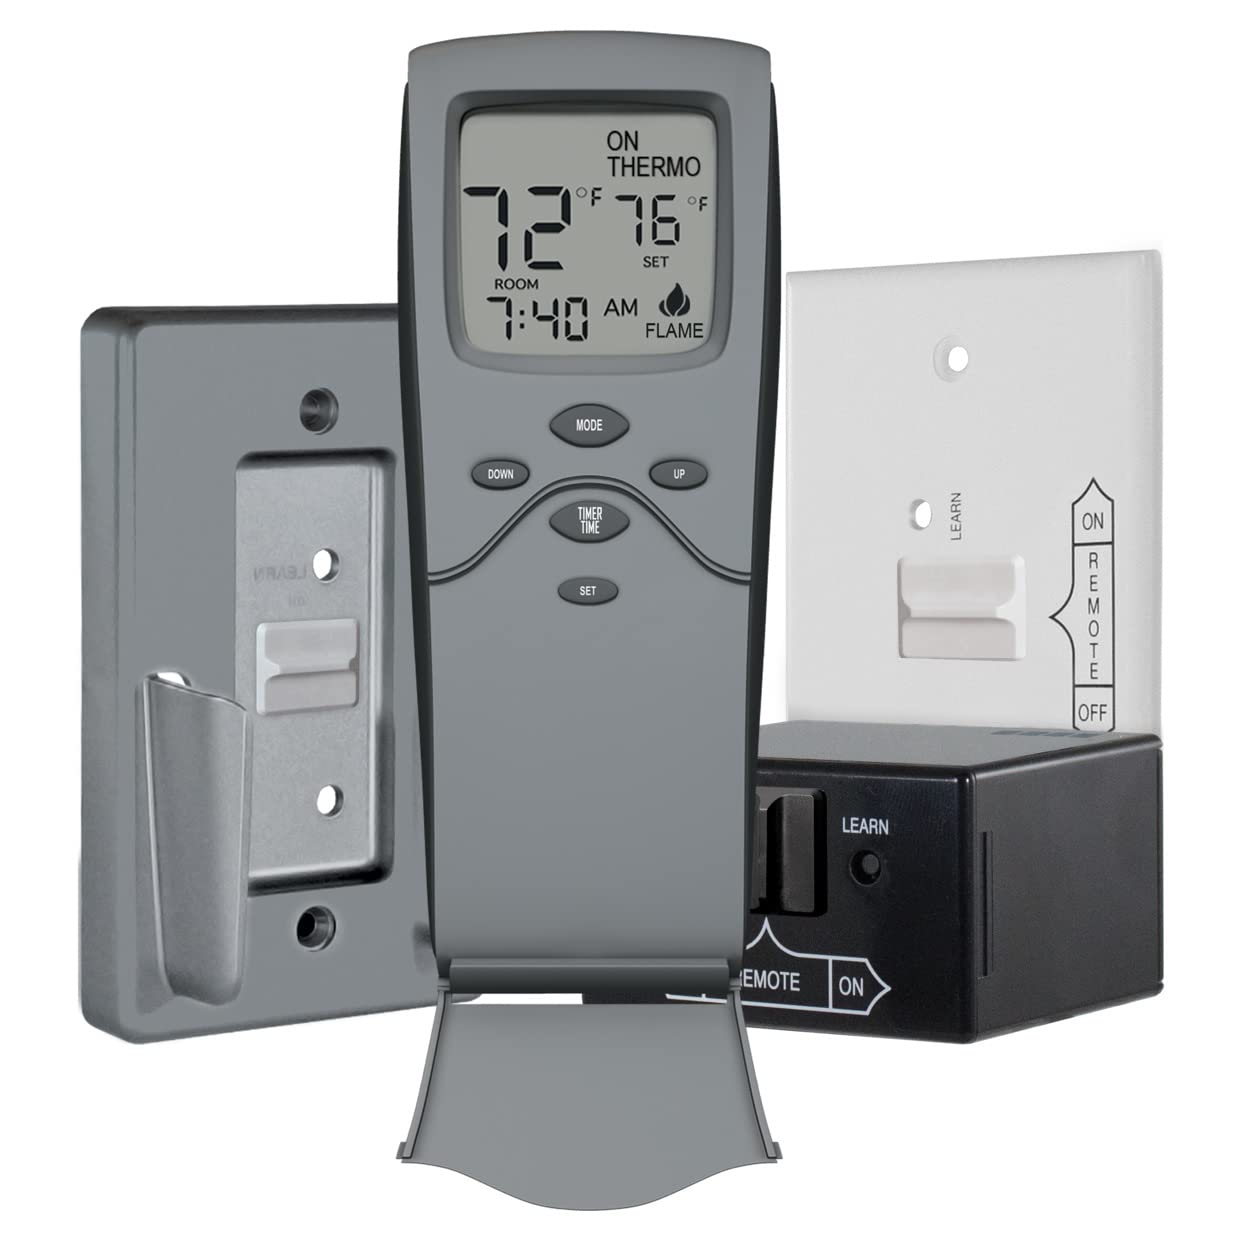
Image: Skytech SKY-3301 Remote Control Transmitter. This image shows the front of the remote control with its LCD display and control buttons.
2. Install Batteries in Receiver Unit
The receiver unit requires four (4) AA batteries. Open the battery compartment on the receiver and insert the batteries, observing the correct polarity. Close the compartment.
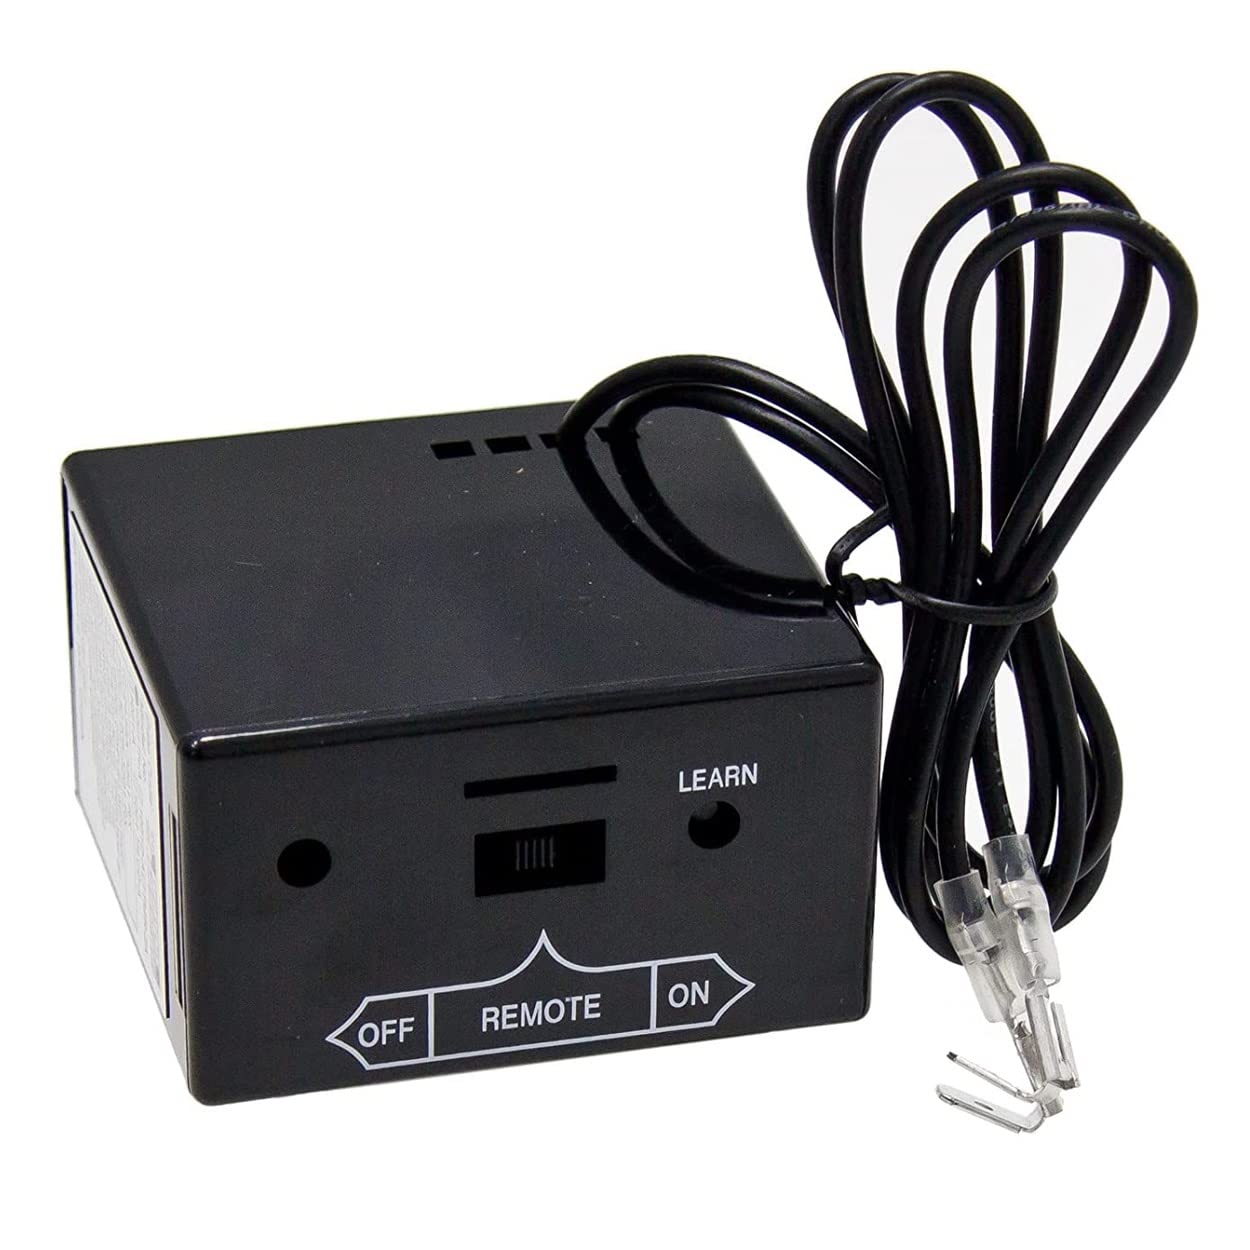
Image: Skytech SKY-3301 Receiver Unit. This image displays the black receiver box with a 'LEARN' button, an OFF/REMOTE/ON switch, and wiring connections.
3. Connect Receiver to Fireplace Gas Valve
The receiver connects to the millivolt gas valve of your fireplace. Ensure the gas supply to the fireplace is turned off before proceeding.
- Locate the terminal block on your millivolt gas valve. It typically has terminals labeled TH (Thermostat) and TP (Thermopile).
- Connect the two wires from the receiver unit to the TH and TP terminals on the gas valve. The polarity does not matter for these connections.
- If your fireplace has a pilot light, ensure it is lit according to your fireplace manufacturer's instructions.
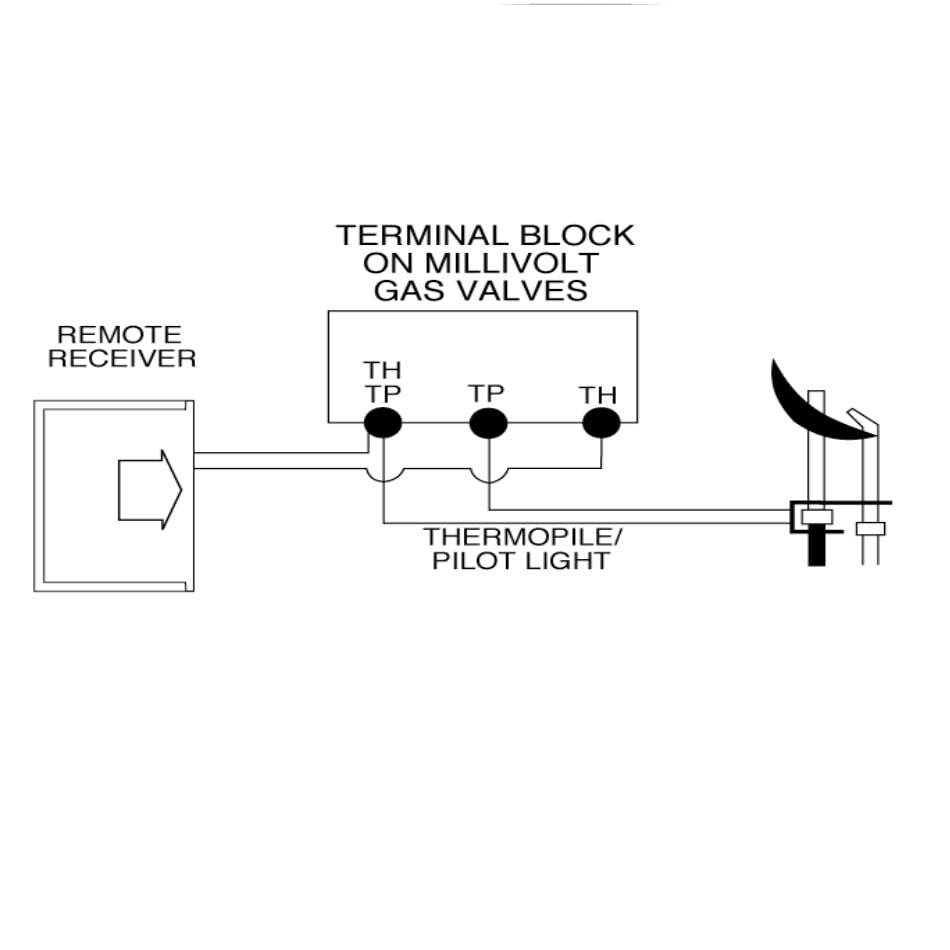
Image: Wiring Diagram for Skytech SKY-3301 Receiver. This diagram illustrates how to connect the remote receiver to the terminal block on a millivolt gas valve and the thermopile/pilot light.
4. Pairing the Remote Transmitter and Receiver (Learning Function)
The remote and receiver must be paired for communication. This is often referred to as the 'learning' function.
- Ensure the receiver's slide switch is in the 'REMOTE' position.
- Press and hold the 'LEARN' button on the receiver unit for approximately 3 seconds until you hear a beep.
- Within 10 seconds, press any button on the remote control transmitter.
- The receiver will emit a series of beeps, confirming that the remote and receiver are paired.
Operating Instructions
Remote Control Display and Buttons
The remote control features an LCD display and several buttons for various functions:
- LCD Display: Shows current room temperature, set temperature, time, and operational mode (ON, THERMO, FLAME).
- MODE Button: Cycles through ON, THERMO, and OFF modes.
- UP / DOWN Buttons: Adjust temperature settings, time, or timer duration.
- TIMER / TIME Button: Used to set the current time and activate the countdown timer.
- SET Button: Confirms settings for time, timer, and temperature.
Operating Modes
- ON Mode: Press the MODE button until 'ON' appears on the display. The fireplace will turn on and remain on until manually turned off or switched to another mode.
- THERMO Mode: Press the MODE button until 'THERMO' appears. The fireplace will cycle on and off to maintain the set temperature. Use the UP/DOWN buttons to adjust the desired temperature, then press SET.
- OFF Mode: Press the MODE button until 'OFF' appears. The fireplace will turn off.
Setting the Time
- Press and hold the TIMER/TIME button until the time display flashes.
- Use the UP/DOWN buttons to adjust the hour, then press SET.
- Use the UP/DOWN buttons to adjust the minutes, then press SET.
Setting the Countdown Timer
- With the fireplace in ON or THERMO mode, press the TIMER/TIME button once. The timer display will flash.
- Use the UP/DOWN buttons to set the desired countdown duration (e.g., 1 hour, 30 minutes).
- Press SET to confirm. The fireplace will turn off automatically after the set time expires.
Maintenance
Battery Replacement
Replace batteries in both the remote transmitter and receiver unit annually, or when the display becomes dim or the range decreases. Always replace all batteries at the same time with new ones of the same type.
- Remote: Two (2) AAA batteries.
- Receiver: Four (4) AA batteries.
Cleaning
Wipe the remote and receiver with a soft, dry cloth. Do not use abrasive cleaners or immerse in water.
Troubleshooting
| Problem | Possible Cause | Solution |
|---|---|---|
| Fireplace does not turn on/off with remote. |
|
|
| Remote display is dim or blank. | Low batteries in remote. | Replace remote batteries. |
| Temperature reading seems inaccurate. | Remote placed in an area with drafts or direct heat. | Relocate the remote to a central area away from drafts, windows, or heat sources. |
| Remote range is reduced. | Low batteries or interference. | Replace batteries. Ensure no large metal objects or other RF devices are blocking the signal. |
Specifications
| Feature | Detail |
|---|---|
| Brand | SkyTech |
| Model Name | SKY-3301 |
| Controller Type | Hand Control |
| Special Feature | Ergonomic design, Programmable Thermostat, Timer |
| Color | Gray |
| Connectivity Technology | RF (Radio Frequency) |
| Included Components | Remote, Receiver, Batteries |
| Power Source | Battery Powered |
| Remote Batteries | 2 x AAA (included) |
| Receiver Batteries | 4 x AA (included) |
| Material | Plastic |
| Display Type | LCD with Backlight |
| Control Method | Remote, Button Control |
| Mounting Type (Receiver) | Wall Mount (optional) |
| Product Dimensions (approx.) | 3 x 3 x 6 inches (Receiver) |
| Item Weight (approx.) | 12.8 ounces |
Warranty and Support
This Skytech product is covered by the manufacturer's warranty. Please refer to the warranty card included in your product packaging for specific terms and conditions. For technical support or warranty claims, please contact Skytech customer service directly.
For further assistance, visit the official Skytech website or contact their customer support line. Keep your purchase receipt and model number (SKY-3301) handy when contacting support.


