Introduction
Thank you for purchasing the SUBSONIC SRC1000 Driving Cockpit. This manual provides essential information for the safe and efficient assembly, operation, and maintenance of your new racing simulator seat. Please read this manual thoroughly before use and retain it for future reference.
Package Contents
Before beginning assembly, please verify that all components are present and undamaged. Refer to the product packaging for a detailed list of included parts.
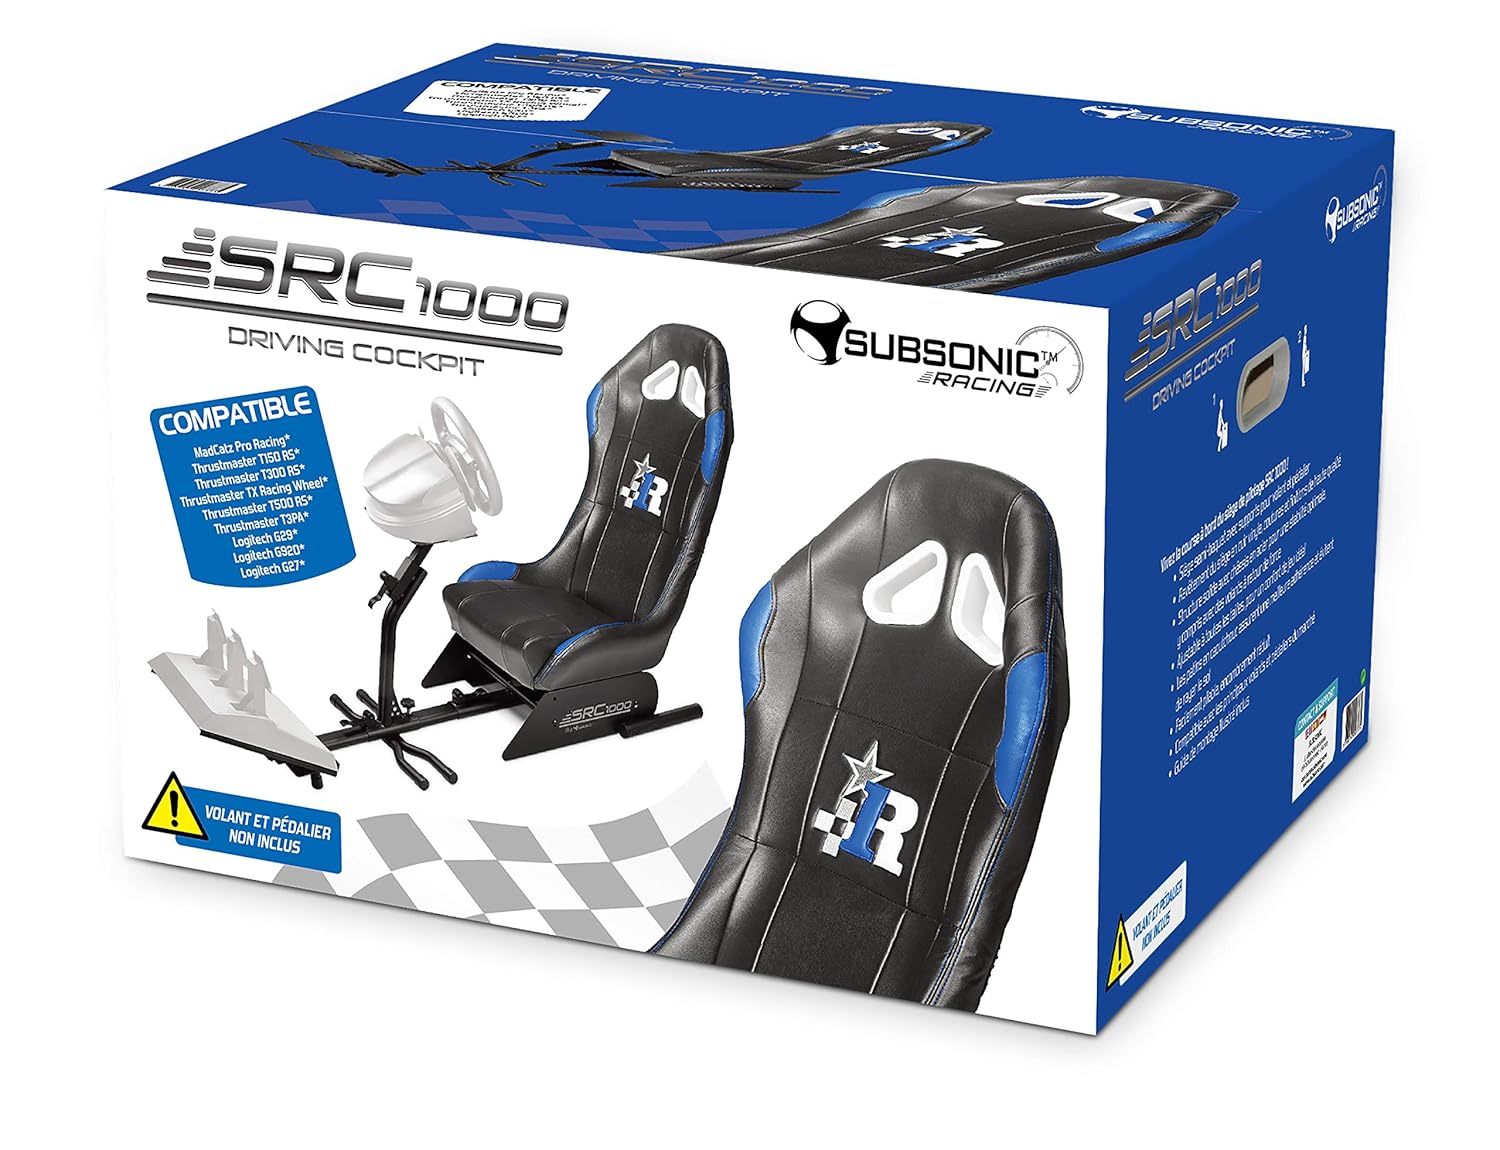
Image: The SUBSONIC SRC1000 Driving Cockpit product box, illustrating the main components and compatibility information. This image helps identify the product packaging.
Setup and Assembly
Follow these steps to assemble your SRC1000 Driving Cockpit. It is recommended to have a second person assist with certain steps for ease and safety.
- Unpack Components: Carefully remove all parts from the packaging and lay them out on a clean, flat surface. Ensure all screws, bolts, and tools (if included) are accounted for.
- Assemble Base Frame: Connect the main frame sections using the provided bolts and nuts. Ensure all connections are secure but do not overtighten initially.
- Attach Seat: Mount the racing seat onto the base frame. Align the mounting holes and secure with the designated hardware.
- Install Pedal Support: Attach the pedal support platform to the front section of the base frame. Adjust its position for comfortable pedal access.
- Mount Steering Wheel Support: Secure the steering wheel support column to the main frame. This column often includes an adjustable plate for mounting your steering wheel.
- Final Tightening: Once all components are in place and aligned, systematically tighten all bolts and screws. Do not overtighten to avoid damaging threads.

Image: A fully assembled SUBSONIC SRC1000 Driving Cockpit, showcasing the seat, pedal support, and steering wheel mount. This image provides a visual reference for the completed setup.
Operating Instructions
The SRC1000 Driving Cockpit is designed for adjustability to suit various user preferences and racing setups.
Adjusting the Cockpit
- Seat Position: The seat can typically be adjusted forward and backward using a lever located underneath the front of the seat. Pull the lever, slide the seat to the desired position, and release the lever to lock it in place.
- Pedal Plate Angle/Distance: The pedal support plate often features adjustable angles and distances. Loosen the securing knobs or bolts, set the plate to your preferred angle and distance from the seat, then retighten.
- Steering Wheel Height/Angle: The steering wheel support column usually has height and angle adjustments. Loosen the adjustment knobs, position your steering wheel at a comfortable height and angle, and then securely tighten the knobs.

Image: A side view of a SUBSONIC driving cockpit (SRC900-S, similar to SRC1000), highlighting the various adjustment points for the seat, pedal plate, and steering wheel support. Arrows indicate directions of movement and rotation.
Folding for Storage (if applicable)
Some models of the SUBSONIC driving cockpit are designed for compact storage. If your SRC1000 model supports folding, follow these general steps:
- Remove Peripherals: Disconnect and remove your steering wheel, pedals, and any other attached accessories.
- Unlock Folding Mechanisms: Locate and disengage any locking pins or levers that secure the cockpit in its open position.
- Fold Components: Carefully fold the pedal support and steering wheel support towards the seat, following the design of the cockpit.
- Secure in Folded Position: Engage any locking mechanisms to keep the cockpit securely folded for storage.

Image: A side view illustrating a SUBSONIC driving cockpit (SRC900-S, similar to SRC1000) in both its fully extended, ready-to-use configuration and its compact, folded state for storage.
Maintenance
Regular maintenance ensures the longevity and optimal performance of your SRC1000 Driving Cockpit.
- Cleaning: Wipe down the frame with a damp cloth. For the seat, use a mild upholstery cleaner if necessary, following the cleaner's instructions. Avoid harsh chemicals or abrasive materials.
- Check Connections: Periodically inspect all bolts, screws, and adjustment knobs to ensure they are securely tightened. Retighten any loose fasteners to maintain stability.
- Storage: When not in use for extended periods, store the cockpit in a clean, dry environment, away from direct sunlight and extreme temperatures. If your model is foldable, utilize this feature for compact storage.
Troubleshooting
If you encounter issues with your SRC1000 Driving Cockpit, refer to the following common solutions:
- Cockpit feels unstable:
- Ensure all assembly bolts and screws are fully tightened.
- Verify that the cockpit is placed on a flat, stable surface.
- Difficulty adjusting seat/pedal/wheel positions:
- Ensure all locking levers or knobs for the specific adjustment are fully loosened before attempting to move the component.
- Check for any obstructions preventing movement.
- Squeaking noises:
- Identify the source of the noise. It may be a loose connection that needs tightening.
- Apply a small amount of silicone-based lubricant to moving parts if necessary, avoiding contact with upholstery.
Specifications
| Feature | Detail |
|---|---|
| Brand | SUBSONIC |
| Model | SRC1000 (Based on product packaging) |
| ASIN | B07SF8DV3C |
| Manufacturer | subsonic |
| Package Quantity | 1 |
| Compatibility | Compatible with various racing wheels and pedals (refer to product packaging for specific models like MadCatz Pro Racing, Thrustmaster T150 RS, T300 RS, T500 RS, TMX, TMX Pro, T80, T150, T300, T3PA, T3PA Pro, TSSH, TH8A, Logitech G29, G920, G27, G25, Driving Force GT, Driving Force Pro, Fanatec Clubsport, CSL Elite, Forza Motorsport, CSR, Porsche, etc. - See product page for details) |
Warranty and Support
For detailed warranty information, technical support, or to inquire about replacement parts, please visit the official SUBSONIC website or contact their customer service directly. Contact information can typically be found on the product packaging or the manufacturer's official website.
You can also visit the SUBSONIC Store on Amazon for more product information.