1. Introduction
This manual provides instructions for the installation, operation, and maintenance of the ALEKO LM137 Universal Gate Garage Door Opener Remote Control. This device is designed to integrate with existing gate or garage door openers and is compatible with HomeLink systems, allowing for convenient control from your vehicle.
2. Safety Information
- Ensure all power is disconnected from the gate or garage door opener before beginning installation to prevent electrical shock.
- Follow all local electrical codes and regulations.
- Keep the remote control out of reach of children.
- Do not attempt to modify the device or its components. Unauthorized modifications may void the warranty and pose safety risks.
- Operate the gate or garage door only when it is in clear view and free of obstructions.
3. Package Contents
Verify that all items are present in the package:
- 1 x ALEKO LM137 Receiver Unit
- 1 x Remote Control Transmitter (keychain style)

Image: The ALEKO LM137 receiver unit (white box) and the included keychain remote control with 'A' and 'B' buttons.
4. Specifications
| Feature | Specification |
|---|---|
| Model Number | LM137 |
| Power Input | 12-24V DC |
| Compatibility | Universal Gate/Garage Door Openers, HomeLink Systems |
| Dimensions | Approximately 2 x 2 x 2 inches |
| Item Weight | 3.2 ounces |
5. Setup and Installation
The LM137 receiver connects in parallel with your existing garage door or gate opener's wall switch terminals. This allows both the original switch and the new remote system to function simultaneously.
5.1. Power Connection
- The LM137 requires a 12-24V DC power source. This can often be sourced directly from your existing gate or garage door opener's control board (refer to your opener's manual for available power outputs).
- Connect the power wires from the LM137 receiver to the appropriate 12-24V DC terminals on your opener. Observe correct polarity if specified by your opener.
5.2. Opener Connection
- The LM137 receiver features relay outputs. These outputs act as a momentary switch closure, mimicking your wall button.
- Connect the relay output terminals (typically labeled 'A' or 'B' for channels) from the LM137 to the wall switch terminals on your gate or garage door opener. The polarity for these connections is generally irrelevant as they are simple switch closures.
- Ensure connections are secure and insulated.
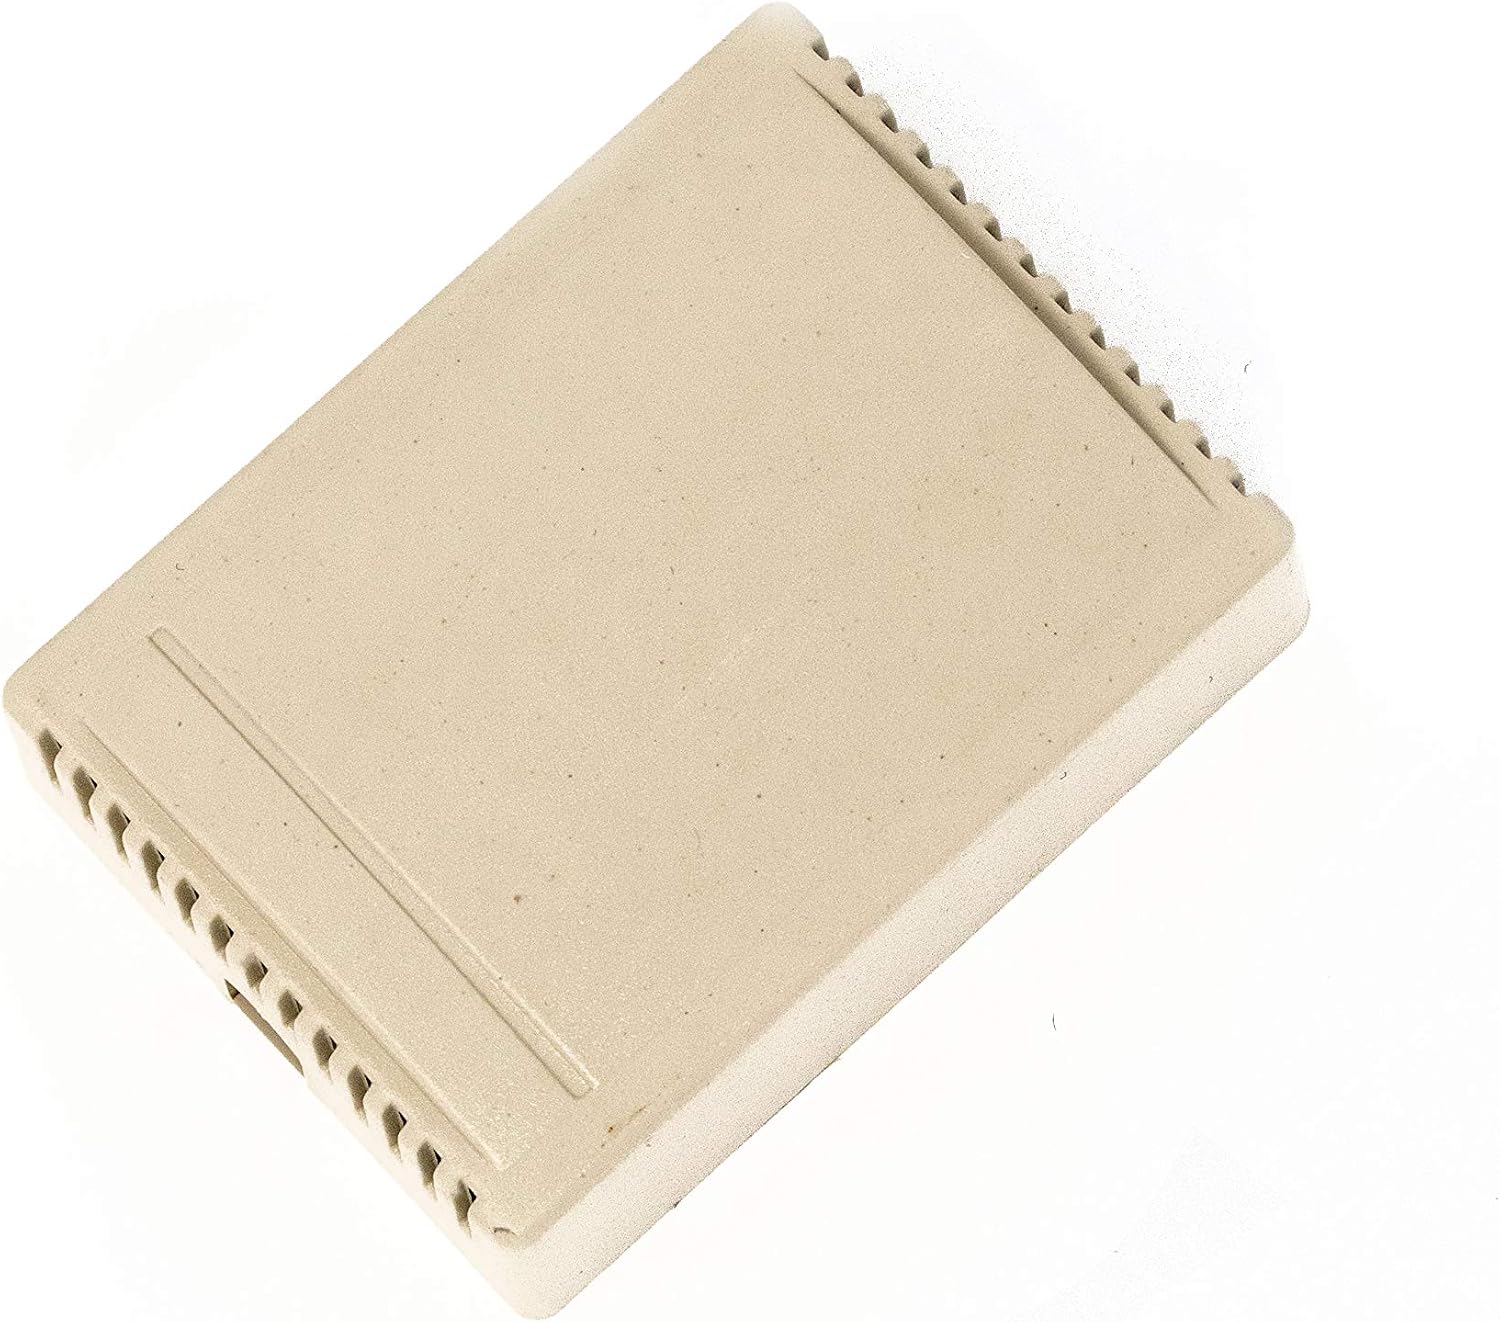
Image: Top view of the ALEKO LM137 receiver unit, showing the casing and ventilation slots.
6. Operating Instructions
The LM137 system operates using the included remote control and can be programmed to compatible HomeLink systems in vehicles.
6.1. Using the Included Remote Control
- The included remote control is pre-programmed to operate the LM137 receiver.
- Press button 'A' or 'B' on the remote to activate the corresponding channel on the receiver, which will trigger your gate or garage door opener.

Image: A close-up view of the ALEKO remote control, highlighting its four operational buttons.
6.2. Programming to HomeLink Systems
The LM137 is designed to be compatible with HomeLink systems found in many vehicles. The programming process typically involves using the included remote control to teach your vehicle's HomeLink buttons.
- Refer to your vehicle's owner's manual for specific HomeLink programming instructions.
- Generally, you will need to clear your HomeLink system's memory first.
- Hold the included LM137 remote control near your vehicle's HomeLink buttons.
- Simultaneously press and hold the desired HomeLink button in your vehicle and the corresponding button on the LM137 remote control.
- Continue holding until the HomeLink indicator light changes (e.g., from slow flash to rapid flash or solid), indicating successful programming.
- Test the programmed HomeLink button to ensure it operates the gate or garage door.

Image: A hand holding a remote control, with an automated gate opening in the background, illustrating typical product use.
7. Maintenance
- Cleaning: Wipe the receiver unit and remote control with a soft, dry cloth. Avoid using abrasive cleaners or solvents.
- Battery Replacement: The included remote control uses a standard small battery (e.g., CR2032 coin cell). If the remote's range decreases or it stops functioning, replace the battery. Refer to the remote's casing for instructions on opening and battery type.
- Antenna: Ensure the receiver's antenna wire is not damaged or coiled excessively, as this can affect range. Extending the antenna may improve range in some installations.
8. Troubleshooting
- No Power to Receiver: Check the 12-24V DC power connections. Ensure the power source from the opener is active.
- Remote Not Working: Replace the battery in the remote control. Ensure the remote is within range of the receiver.
- HomeLink Programming Issues:
- Ensure your vehicle's HomeLink system is cleared before attempting to program.
- Hold the LM137 remote very close to the HomeLink buttons during programming.
- Some HomeLink systems may require the LM137 receiver's cover to be open during programming for optimal signal reception. If experiencing difficulty, try programming with the receiver cover removed.
- Verify that the LM137 remote itself is functioning correctly before attempting HomeLink programming.
- Limited Range:
- Ensure the receiver's antenna is fully extended and not obstructed by metal objects.
- Check for sources of radio interference in the vicinity.
- Replace the battery in the remote control.
- Gate/Door Operates Automatically or Incorrectly: Double-check the wiring connections to your gate/garage door opener. Ensure the correct terminals are used and there are no short circuits.
9. Warranty Information
ALEKO products are typically covered by a limited manufacturer's warranty. For specific details regarding the warranty period and terms for your LM137 unit, please refer to the warranty card included with your purchase or visit the official ALEKO website. Keep your proof of purchase for warranty claims.
10. Customer Support
If you encounter any issues or have questions not addressed in this manual, please contact ALEKO customer support. Contact information can typically be found on the product packaging, the ALEKO website, or your purchase documentation.


