1. Introduction and Overview
The Mastrad A26360 Mini Pies and Ravioli Kit is designed to simplify the creation of various pastries and filled pasta. This comprehensive kit allows you to effortlessly prepare mini pies, ravioli, dumplings, turnovers, and empanadas with consistent results. It includes all necessary tools to cut and seal your dough in one easy step.
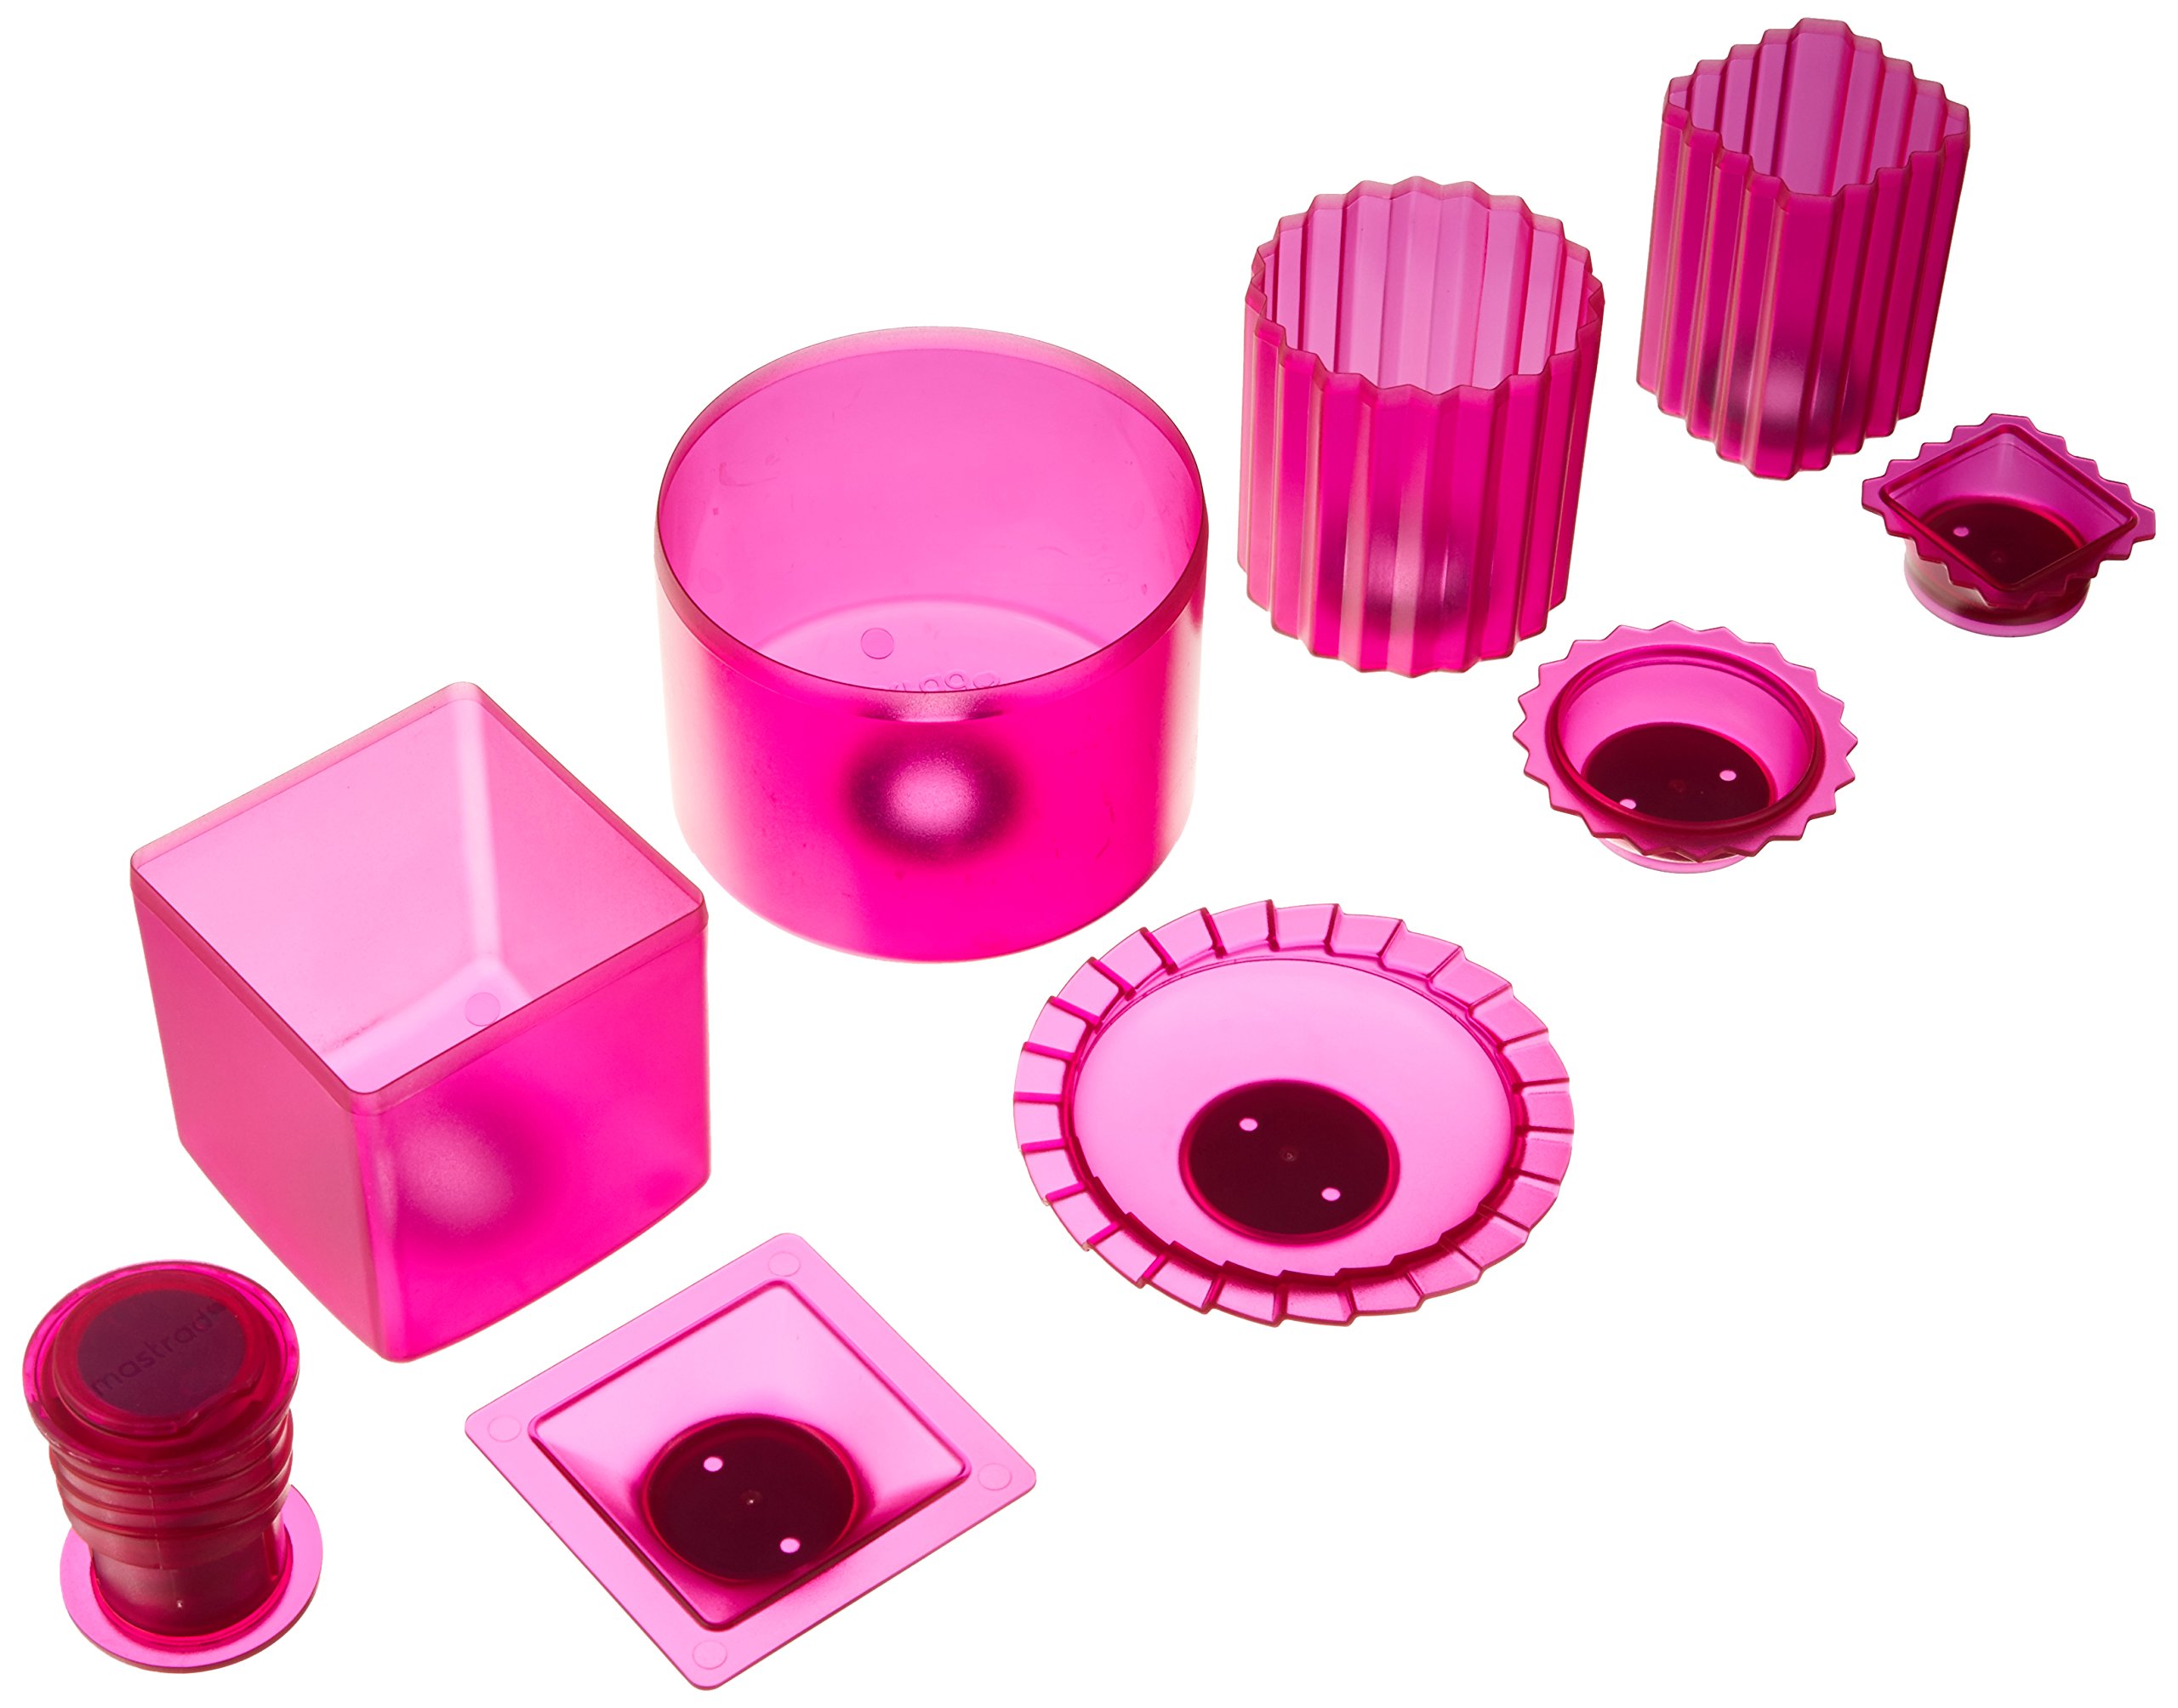
Figure 1: Product Packaging for the Mastrad Mini Pies and Ravioli Kit.
2. Kit Components
Your Mastrad A26360 Mini Pies and Ravioli Kit includes the following items:
- 4 x Cutters (various shapes/sizes)
- 1 x Stamp Holder
- 5 x Molds (corresponding to cutters)
- 1 x Recipe Booklet

Figure 2: All components included in the Mastrad Mini Pies and Ravioli Kit.
3. Setup and Assembly
Before first use, wash all components with warm soapy water and dry thoroughly. The kit is designed for easy assembly and use.
- Select Components: Choose a desired cutter and a corresponding mold for the pastry or ravioli you wish to create.
- Attach Mold: Place the selected mold onto the stamp holder. Ensure it fits securely and is properly aligned.
- Attach Cutter: Position the chosen cutter on top of the mold. The cutter should sit flush with the mold for effective operation.
4. Operating Instructions
Follow these steps to create your mini pies, ravioli, or other pastries:
- Prepare Dough: Roll out your dough to the desired thickness on a lightly floured surface. Ensure the dough is thin enough to be cut and sealed effectively by the kit.
- Cut Dough: Place the rolled dough over the assembled cutter and mold on the stamp holder. Apply firm, even pressure to the cutter to cut out the dough shape.
- Remove Excess Dough: Carefully remove any excess dough from around the cutter, leaving the cut dough piece in the mold.
- Add Filling: Place your desired filling (sweet or savory) in the center of the cut dough piece within the mold. Do not overfill.
- Seal Pastry: Fold the dough over the filling, or place another cut dough piece on top, ensuring the edges align. Press the edges together firmly using the mold to create a sealed pastry. The kit is designed to cut and seal in one easy step.
- Remove Finished Product: Gently remove the finished mini pie or ravioli from the mold.
For detailed recipes, dough preparation tips, and cooking instructions, please consult the included recipe booklet.
5. Maintenance and Care
Proper care ensures the longevity of your Mastrad Mini Pies and Ravioli Kit.
- Cleaning: All components of the Mastrad A26360 Mini Pies and Ravioli Kit are dishwasher safe. For best results and to prolong the life of the product, rinse off any food residue immediately after use before placing in the dishwasher.
- Hand Washing: Alternatively, wash by hand with warm soapy water using a soft sponge or cloth.
- Drying: Ensure all pieces are completely dry before storing to prevent water spots or residue buildup.
- Storage: Store the kit in a clean, dry place away from direct sunlight and extreme temperatures.
6. Troubleshooting
If you encounter any issues while using your kit, consider the following:
- Dough Sticking to Molds: Ensure the molds are lightly floured before placing the dough. If using a particularly sticky dough, a very light coating of cooking spray can also be applied.
- Incomplete Cut or Seal: Apply firm, even pressure when pressing down the cutter. Verify that the dough is not excessively thick, which can hinder proper cutting and sealing.
- Filling Leakage: Avoid overfilling the pastries. Ensure the dough edges are properly aligned and sealed by pressing firmly around the perimeter of the mold.
- Difficulty Removing Pastry: After sealing, gently flex the mold to release the pastry. If still difficult, ensure the dough was not too sticky or over-processed.
7. Specifications
| Feature | Specification |
|---|---|
| Model Number | A26360 |
| Material | Plastic |
| Included Components | 4 Cutters, 1 Stamp Holder, 5 Molds |
| Dishwasher Safe | Yes |
| Item Weight | 653 g |
| Approximate Component Height | 3.0 inches (7 cm) |

Figure 3: Approximate height measurement of a kit component.
8. Warranty and Support
For warranty information, product registration, or customer support, please refer to the manufacturer's official website or contact Mastrad customer service directly. It is recommended to retain your purchase receipt for any warranty claims or inquiries.