1. Introduction and Overview
The Nooelec NESDR Mini 2 is a versatile USB Software Defined Radio (SDR) receiver designed for a wide range of applications, including amateur radio, ADS-B reception, and general radio scanning. It features the RTL2832U interface IC and the R820T2 tuner, offering improved sensitivity and signal-to-noise ratio compared to previous models. This device provides a cost-effective solution for exploring the world of software-defined radio.
Key features include:
- Integrated RTL2832U demodulator and R820T2 tuner for enhanced performance.
- Frequency capability from approximately 24MHz to 1750MHz.
- Improved clock accuracy, low-ESR capacitors, and high-Q inductors for stable operation.
- Compatible with numerous SDR software packages such as SDR#, HDSDR, SDR Touch, and MATLAB.
- Includes a high-quality telescopic antenna with an MCX connector.

Figure 1: The Nooelec NESDR Mini 2 USB RTL-SDR Receiver. This image shows the compact blue USB dongle with the Nooelec logo and model information printed on its surface.
2. Setup Instructions
To begin using your NESDR Mini 2, follow these steps for hardware connection and software installation.
2.1 Hardware Connection
- Connect the Antenna: Attach the included telescopic antenna to the MCX input port on the NESDR Mini 2. Ensure a secure connection.
- Connect to Computer: Insert the NESDR Mini 2 USB dongle into an available USB port on your computer (Laptop, Desktop, Tablet).

Figure 2: The telescopic antenna in its collapsed state. This antenna connects to the MCX port on the NESDR Mini 2.
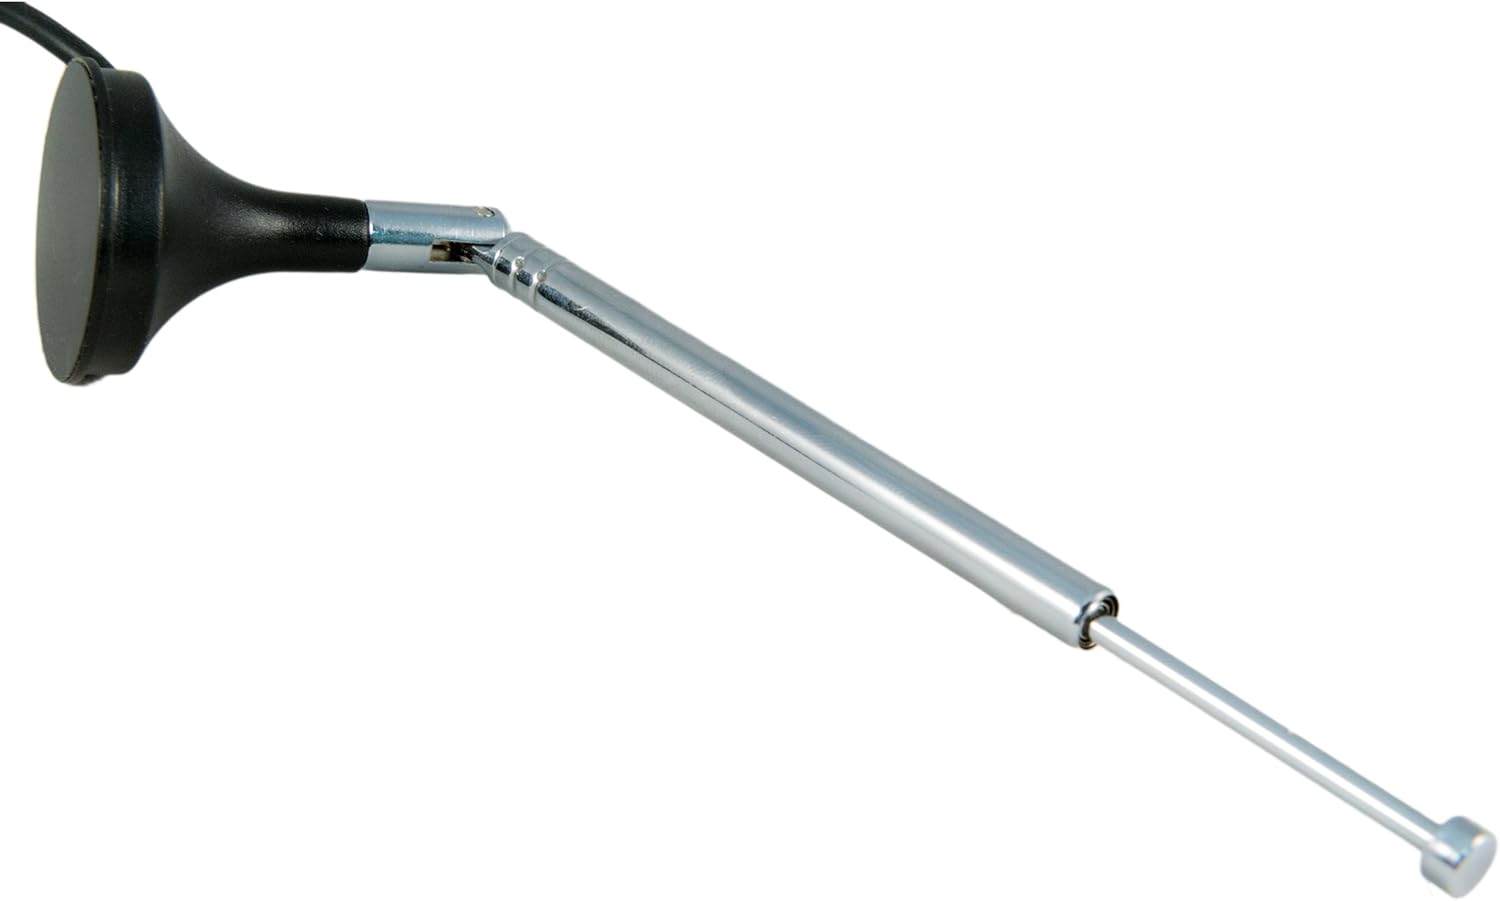
Figure 3: The telescopic antenna fully extended. Extending the antenna can improve signal reception.
2.2 Software Installation
The NESDR Mini 2 requires specific drivers and SDR software to function. No software is included in the package, and it must be downloaded separately.
- Driver Installation:
The device utilizes the RTL2832U chip, which requires a compatible driver. For Windows, the RTL-SDR Quick Start Guide often provides instructions for installing the Zadig driver, which replaces the default DVB-T driver with one suitable for SDR applications. Follow the instructions carefully to ensure proper driver setup.
- SDR Software:
Once drivers are installed, select an SDR software package. Popular options include:
- SDR#: A widely used Windows-based SDR application.
- HDSDR: Another popular Windows SDR program.
- SDR++: A cross-platform SDR application (Windows, macOS, Linux).
- GQRX: A common SDR application for macOS and Linux.
- MATLAB: For advanced users, MathWorks provides support for RTL-SDR receivers through their Communications System Toolbox.
Download and install your chosen SDR software from its official source. Refer to the software's documentation for specific setup and configuration details.
3. Operating Instructions
Operating the NESDR Mini 2 primarily involves interacting with your chosen SDR software. The general workflow is as follows:
- Launch SDR Software: Open the SDR application you installed.
- Select Device: In the software's settings or source selection, choose the NESDR Mini 2 (often listed as "RTL-SDR USB" or similar).
- Set Sample Rate: Configure the sample rate. A common setting is 2.4 MSPS (Mega Samples Per Second), which is the maximum for many RTL-SDR devices.
- Adjust Gain: Experiment with the RF gain settings (e.g., RTL AGC, Tuner AGC, manual gain) within your software to optimize signal reception. Too much gain can introduce noise, while too little can result in weak signals.
- Tune to Frequency: Enter the desired frequency you wish to monitor. The NESDR Mini 2 covers approximately 24MHz to 1750MHz.
- Select Demodulation Mode: Choose the appropriate demodulation mode (e.g., FM, AM, LSB, USB, NFM, WFM) for the signal you are listening to.
- Start Monitoring: Initiate the reception process (often a "Play" or "Start" button in the software).
For specific applications like ADS-B reception, dedicated software (e.g., Planeplotter, FlightRadar24 clients) may be used in conjunction with the NESDR Mini 2. Refer to the documentation for these applications for detailed setup and usage.

Figure 4: Close-up view of the RTL2832U chip, which acts as the demodulator and USB interface for the NESDR Mini 2.

Figure 5: Close-up view of the R820T2 tuner chip, responsible for the improved sensitivity and SNR of the NESDR Mini 2.
Note: A remote control may be included with some packages, but it is typically for DVB video applications and not compatible with SDR software.
4. Maintenance
The NESDR Mini 2 is a low-maintenance device. Follow these general guidelines to ensure its longevity:
- Storage: Store the device in a cool, dry place when not in use.
- Cleaning: Use a soft, dry cloth to clean the exterior of the device. Avoid liquid cleaners.
- Handling: Handle the USB dongle and antenna carefully to prevent physical damage to connectors or internal components.
- ESD Protection: The device is ESD-safe, but it is always good practice to minimize static discharge when handling electronics.
5. Troubleshooting
If you encounter issues with your NESDR Mini 2, consider the following troubleshooting steps:
- Device Not Recognized:
- Ensure the device is fully inserted into the USB port.
- Verify that the correct drivers (e.g., Zadig for Windows) are installed and functioning. Check Device Manager on Windows for any driver conflicts or unknown devices.
- Try a different USB port or computer to rule out port-specific issues.
- "Device Busy" or "Cannot Gain Exclusive Access" Errors:
- This often means another application is using the SDR device. Close all other SDR software or applications that might be accessing the device.
- On Windows, check Task Manager for any lingering processes related to SDR software and end them.
- Poor Signal Reception:
- Antenna: Ensure the antenna is securely connected and fully extended. Experiment with antenna placement (e.g., near a window, higher elevation).
- Gain Settings: Adjust the gain settings in your SDR software. Too low gain results in weak signals, while too high can introduce distortion.
- Frequency Range: Confirm that the frequency you are trying to receive is within the 24MHz-1750MHz range of the NESDR Mini 2. For frequencies below 24MHz, an upconverter (e.g., Ham It Up) is required.
- Frequency Drift/Inaccuracy:
- The device's tuning crystal can be susceptible to temperature fluctuations. Many SDR software packages include a "Frequency Correction PPM" (Parts Per Million) setting.
- Calibrate this value by tuning to a known, strong, stable signal (e.g., an FM broadcast station or a time signal) and adjusting the PPM value until the signal is accurately centered. This may need occasional re-adjustment.
- Antenna Connector Issues:
- Ensure the MCX connector on the antenna matches the MCX input on the dongle. If you are using a different antenna, ensure it has a compatible MCX male connector or use an appropriate adapter.
6. Specifications
| Feature | Specification |
|---|---|
| Model Number | NESDR Mini 2 |
| Tuner IC | Rafael Micro R820T2 |
| Demodulator/USB Interface IC | Realtek RTL2832U |
| Frequency Range | Approximately 24MHz - 1750MHz |
| Antenna Connector Type | Female MCX (on SDR), Male MCX (on included antenna) |
| Connectivity | USB |
| Compatible Devices | Laptop, Desktop, Tablet, Smartphone (with appropriate adapters/software) |
| Color | Blue |
| Tuner Type | ADS-B, DVB-T, Satellite Radio (SDR applications) |
7. Warranty and Support
The Nooelec NESDR Mini 2 comes with a 1-year warranty directly from Nooelec. For technical support or warranty claims, please contact Nooelec directly. They provide full technical support services from their locations in the US and Canada.
For additional resources and community support, visit the official Nooelec website or relevant SDR community forums.