1. Introduction
This manual provides detailed instructions for the installation, operation, and maintenance of the Valcom V-1072A-ST Talkback Doorplate Speaker. This wired, wall-mount speaker is designed for two-way communication at an entry point, featuring a durable stainless steel finish.
2. Safety Information
- Electrical Safety: Ensure all wiring is performed by qualified personnel and complies with local electrical codes. Disconnect power before installation or servicing.
- Mounting: Mount the speaker securely to a stable surface to prevent accidental detachment.
- Environment: This device is not waterproof. Avoid exposure to direct water spray or submersion. Install in a protected location.
- Handling: Handle the unit with care to prevent damage to internal components or the stainless steel finish.
3. Package Contents
Verify that all components are present before beginning installation:
- Valcom V-1072A-ST Talkback Doorplate Speaker
- Mounting Hardware (screws, anchors) - (Typically included, but may vary)
- Instruction Manual (this document)
4. Setup and Installation
The V-1072A-ST is designed for wall mounting and requires wired connections for power and audio. Refer to the diagram below for typical installation.
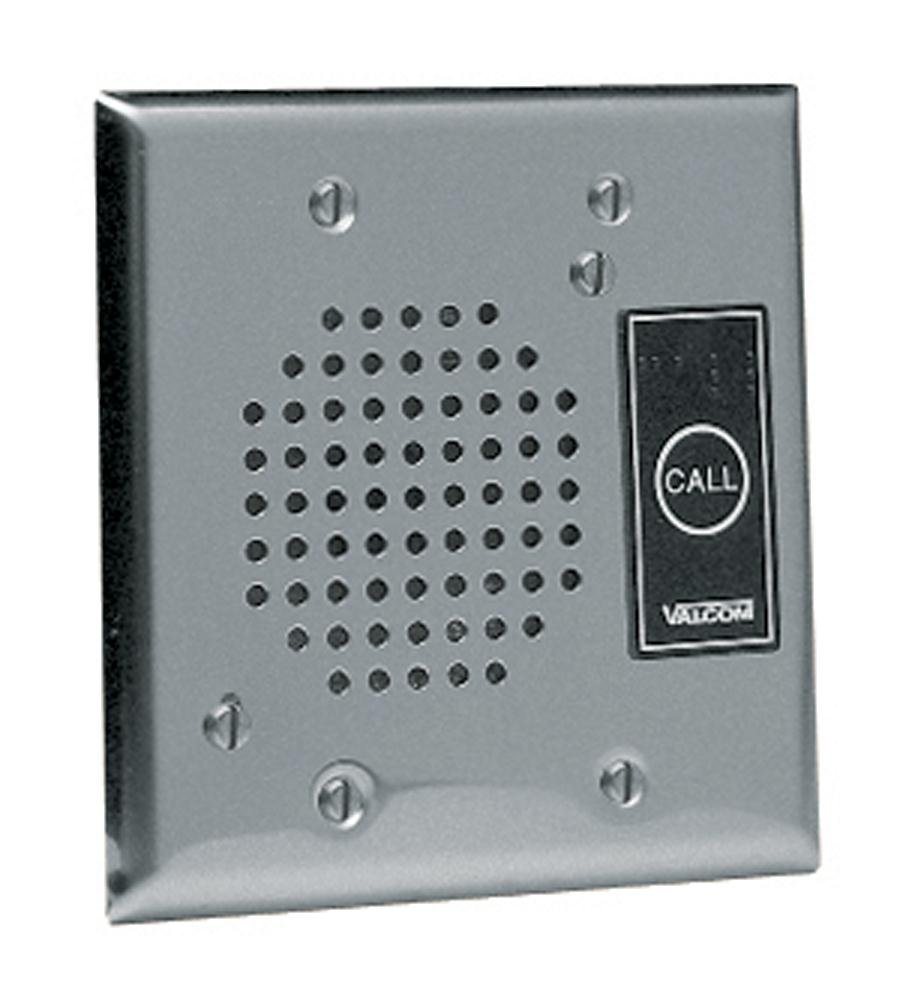
Figure 1: Valcom V-1072A-ST Talkback Doorplate Speaker. This image displays the front of the speaker, which features a brushed stainless steel finish, a circular speaker grille, and a small opening for the microphone. The unit is designed for flush mounting on a wall or doorframe.
4.1 Mounting Location
- Choose a location near the entry point, protected from direct weather exposure.
- Ensure the mounting surface is flat and stable.
- Consider the height for optimal voice pickup and speaker projection.
4.2 Wiring Connections
The speaker requires connection to a Valcom talkback page control unit or compatible audio system. Refer to your control unit's manual for specific wiring diagrams. Generally, connections include:
- Audio In/Out: Connect the speaker's audio terminals to the corresponding audio input/output on your control unit. This is typically a two-wire connection for mono audio.
- Power: The unit is corded electric. Connect the power input to the appropriate power source as specified by Valcom, usually provided by the control unit or a dedicated power supply.
Note: Incorrect wiring can damage the speaker or the control unit. Consult a professional if unsure.
4.3 Mounting the Speaker
- Carefully remove the speaker from its packaging.
- Position the speaker on the desired mounting surface and mark the screw hole locations.
- Drill pilot holes if necessary, using an appropriate drill bit for your mounting surface.
- Feed the necessary wiring through the wall or mounting surface to the speaker's connection points.
- Connect the audio and power wires to the speaker terminals.
- Secure the speaker to the wall using the provided mounting hardware. Do not overtighten.
- Test the connections and functionality before finalizing the installation.
5. Operation
The Valcom V-1072A-ST is a talkback doorplate speaker, designed for two-way communication when integrated with a compatible Valcom intercom or paging system. Its operation is typically managed by the internal control unit.
- Initiating Communication: A visitor at the doorplate speaker will typically speak towards the unit. The integrated microphone will pick up their voice.
- Receiving Audio: The internal control unit will receive the visitor's audio.
- Responding: From the internal control unit, an operator can speak, and their voice will be projected through the V-1072A-ST speaker, allowing two-way conversation.
- "Touch" Control Method: While the product specifications mention "Touch" as a control method, for a doorplate speaker, this typically refers to an associated internal control panel or a call button feature on the speaker itself (if present, though not explicitly detailed for this model). The primary function is voice-activated talkback.
Refer to the manual of your Valcom control unit for specific instructions on how to initiate and manage communication with the V-1072A-ST speaker.
6. Maintenance
- Cleaning: Use a soft, damp cloth to clean the stainless steel surface. Avoid abrasive cleaners or solvents that could damage the finish.
- Inspection: Periodically check the mounting hardware for tightness and the wiring for any signs of wear or damage.
- Environmental Protection: Ensure the speaker remains protected from direct moisture and extreme temperatures.
7. Troubleshooting
If you encounter issues with your V-1072A-ST speaker, consider the following:
- No Sound from Speaker:
- Check all audio wiring connections at both the speaker and the control unit.
- Verify the control unit is powered on and functioning correctly.
- Ensure volume levels are appropriately set on the control unit.
- No Talkback (Microphone Not Working):
- Confirm microphone wiring is correctly connected.
- Check for any obstructions over the microphone opening.
- Verify the talkback function is enabled and configured on the control unit.
- Distorted or Low Volume Audio:
- Inspect wiring for loose connections or damage.
- Check for environmental interference.
- Ensure the speaker grille is clear of debris.
- No Power:
- Verify the power source is active.
- Check power connections to the speaker and control unit.
If problems persist after attempting these steps, contact Valcom technical support.
8. Specifications
| Feature | Specification |
|---|---|
| Brand | Valcom |
| Model Name | V 1072A ST |
| Connectivity Technology | Wired |
| Audio Output Mode | Mono |
| Mounting Type | Wall Mount |
| Speaker Type | Talkback |
| Antenna Location | door |
| Is Waterproof | FALSE |
| Control Method | Touch |
| Speaker Size | 4.5 Inches |
| Item Weight | 1 Pounds |
| Power Source | Corded Electric |
| Model Number | 5582681584 |
| UPC | 807320379010 |
| Manufacturer | VALCOM |
| Compatible Devices | Desktop, Smartphone (Note: Compatibility refers to the overall system, not direct connection to these devices) |
| Audio Driver Type | Dynamic Driver |
9. Warranty and Support
For warranty information and technical support, please contact Valcom directly. Details regarding specific warranty periods and terms are typically provided with the product documentation or available on the official Valcom website.
Valcom Contact Information: Please refer to the Valcom official website or product packaging for the most current contact details for customer service and technical support.