
1. Introduction
This manual provides essential information for the proper installation, operation, and maintenance of your Honeywell XC100D Carbon Monoxide (CO) Alarm. The XC100D is designed to detect carbon monoxide gas and alert occupants to potentially dangerous CO levels, helping to protect against CO poisoning. Please read this manual thoroughly before installation and keep it for future reference.
2. Important Safety Information
WARNING: This device is designed to detect carbon monoxide gas from any source of combustion. It is NOT designed to detect smoke, fire, or other gases. Carbon monoxide is a colorless, odorless, and tasteless gas that can be fatal.
- Never ignore any alarm. Investigating the source of the alarm is crucial.
- Test the alarm weekly to ensure proper function.
- Do not paint the alarm or obstruct its vents.
- This alarm is not a substitute for proper maintenance of fuel-burning appliances, including ventilation and exhaust systems.
- The alarm has a sealed, non-replaceable battery designed to last for the product's lifespan. Do not attempt to replace the battery.
3. Product Overview
The Honeywell XC100D Carbon Monoxide Alarm features a clear LCD display and intuitive indicators to provide status information.

Figure 1: Honeywell XC100D User Interface. This image displays the front of the alarm, highlighting the LCD screen, the large central button, and indicator lights for Power, Fault, and Ventilate. It also shows text labels for 'ALARM EVACUATE' and 'CALL 0800 111 999' when an alarm condition is present, along with a CO concentration reading of '105 PPM'.
Components and Indicators:
- LCD Display: Shows CO concentration in parts per million (PPM) and other status messages.
- Power Indicator: Green LED, indicates normal operation.
- Fault Indicator: Yellow LED, indicates a fault or end-of-life.
- Ventilate Indicator: Orange LED, indicates low-level CO detection, suggesting ventilation.
- Test/Hush Button: Used for testing the alarm and silencing nuisance alarms.
- Loud Sounder: Emits a loud alarm sound during CO detection.
4. Setup and Installation
Proper placement and installation are critical for the effective operation of your CO alarm.
Unpacking the Device:
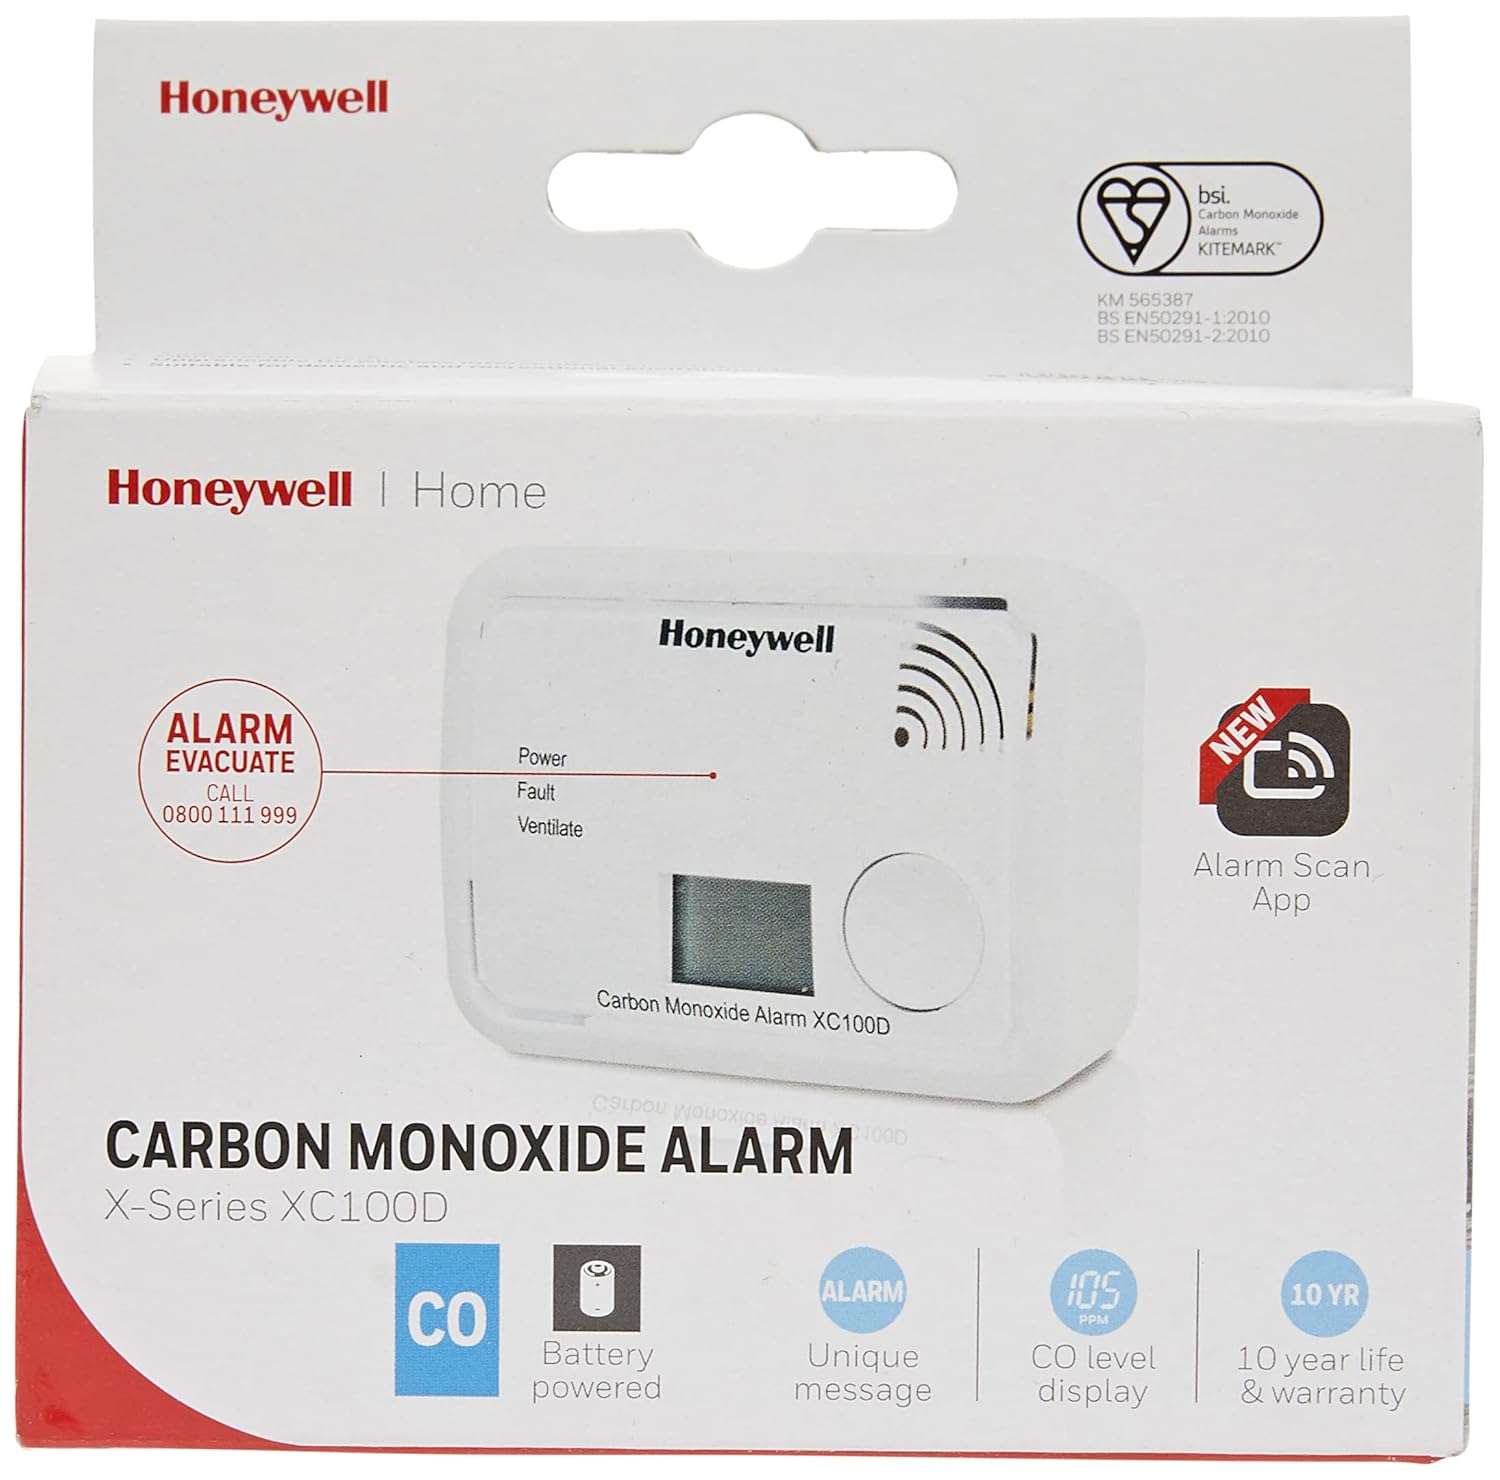
Figure 2: Honeywell XC100D Product Packaging. The image shows the retail box for the Honeywell X-Series XC100D Carbon Monoxide Alarm, highlighting features such as 'CO', 'Battery powered', 'Unique message', 'CO level display', and '10 year life & warranty'.
Carefully remove the alarm from its packaging. Ensure all components are present: the XC100D unit and this instruction manual.
Choosing a Location:
- Install at least one CO alarm on each level of your home, especially near sleeping areas.
- For optimal detection, place the alarm in rooms containing fuel-burning appliances.
- Mount the alarm on a wall or ceiling. If on a wall, it should be at least 1.5 meters (5 feet) from the floor, but not directly above a window or door.
- Avoid placing the alarm in direct sunlight, in areas with high humidity, or near ventilation openings, fans, or air conditioners.
- Keep the alarm away from cooking appliances, as cooking fumes can cause nuisance alarms.
Mounting the Alarm:
- Select a suitable mounting location.
- Use the provided screws and wall plugs to secure the mounting plate to the wall or ceiling.
- Attach the alarm unit to the mounting plate by aligning the unit with the plate and twisting clockwise until it clicks into place. This action will activate the alarm's sealed battery.
- Before fully securing the unit, note the serial number on the back for warranty registration.

Figure 3: Honeywell XC100D Back View. This image shows the rear of the carbon monoxide alarm, detailing the mounting slots, the battery activation switch, and a label with important information such as the serial number (SN: 21011181641507), installation date, and a caution message to refer to the user manual for installation, maintenance, mounting instructions, and symptoms of CO poisoning.
5. Operating Instructions
Normal Operation:
Once installed and activated, the green Power LED will flash periodically (e.g., every 10 seconds) to indicate normal operation. The LCD display typically remains blank unless CO is detected or the test button is pressed.
Testing the Alarm:
Press and hold the Test/Hush button for approximately 2 seconds. The alarm will sound a loud siren, and all LEDs will illuminate. The LCD will display a test pattern. Release the button to stop the test. Test the alarm weekly.
Carbon Monoxide Alarm:
If CO is detected at dangerous levels, the alarm will sound a loud, intermittent siren, the red ALARM LED will flash, and the LCD will display the detected CO concentration in PPM. Immediately move to fresh air and call emergency services.
Ventilate Alarm:
At lower, but still concerning, CO levels, the orange Ventilate LED may illuminate, and the LCD may display the CO concentration. This indicates that ventilation is recommended. Open windows and doors to air out the area. If the alarm persists, seek professional help to identify the CO source.
Hush Feature:
During a nuisance alarm (e.g., from cooking fumes), you can temporarily silence the alarm by pressing the Test/Hush button. The alarm will silence for a short period (e.g., 5-10 minutes) before re-evaluating the CO levels. Do not use the hush feature during a genuine CO alarm.
6. Maintenance
Cleaning:
Dust and debris can affect the alarm's performance. Clean the alarm regularly (at least once a month) by gently vacuuming around the vents with a soft brush attachment. Do not use cleaning solvents or sprays directly on the alarm.
Battery:
The Honeywell XC100D features a sealed, long-life battery designed to power the unit for its entire 10-year operational life. The battery is not replaceable. When the alarm reaches its end-of-life, the Fault LED will illuminate, and the unit will chirp to indicate it needs replacement.
7. Troubleshooting
| Problem | Possible Cause | Solution |
|---|---|---|
| Alarm sounds, red LED flashes, LCD shows CO level. | Carbon Monoxide detected. | Evacuate immediately, call emergency services. Do not re-enter until the area is declared safe. |
| Orange Ventilate LED on, LCD shows low CO level. | Low level CO detected. | Ventilate the area by opening windows and doors. Investigate potential CO sources. |
| Yellow Fault LED on, unit chirps. | Internal fault or end-of-life. | The unit needs to be replaced. Contact Honeywell support if within warranty. |
| Alarm does not respond to test button. | Unit not activated or faulty. | Ensure the unit is correctly mounted and activated. If still unresponsive, replace the unit. |
8. Specifications
- Model: XC100D
- Sensor Type: Electrochemical Carbon Monoxide Sensor
- Power Source: Sealed Lithium Battery (10-year life)
- Alarm Type: Audible (Loud Siren) and Visual (LEDs, LCD)
- Display: LCD (shows CO concentration in PPM)
- Operating Temperature: 0°C to 40°C (32°F to 104°F)
- Operating Humidity: 25% to 95% Relative Humidity (non-condensing)
- Dimensions: Approximately 11 x 11 x 5 cm
- Weight: Approximately 160 g
- Certifications: Conforms to EN50291-1:2010 and EN50291-2:2010
9. Warranty and Support
Warranty:
The Honeywell XC100D Carbon Monoxide Alarm comes with a 10-year warranty, covering defects in materials and workmanship under normal use and service. The warranty period begins from the date of purchase. Please retain your proof of purchase for warranty claims.
Customer Support:
For technical assistance, warranty claims, or further information, please visit the official Honeywell website or contact their customer support. Refer to the contact details provided on the product packaging or Honeywell's official website for your region.
Honeywell Official Website: homesafety.honeywell.com