1. Product Overview
The HJM ECD1500 is a 1500W electric radiator featuring 9 heating elements and an advanced electronic chronothermostat with an LCD screen. Designed for efficient heating, this radiator offers precise temperature control and programmable settings to optimize energy consumption. Its high-quality injected aluminum body and high thermal inertia fluid ensure maximum performance and durability.
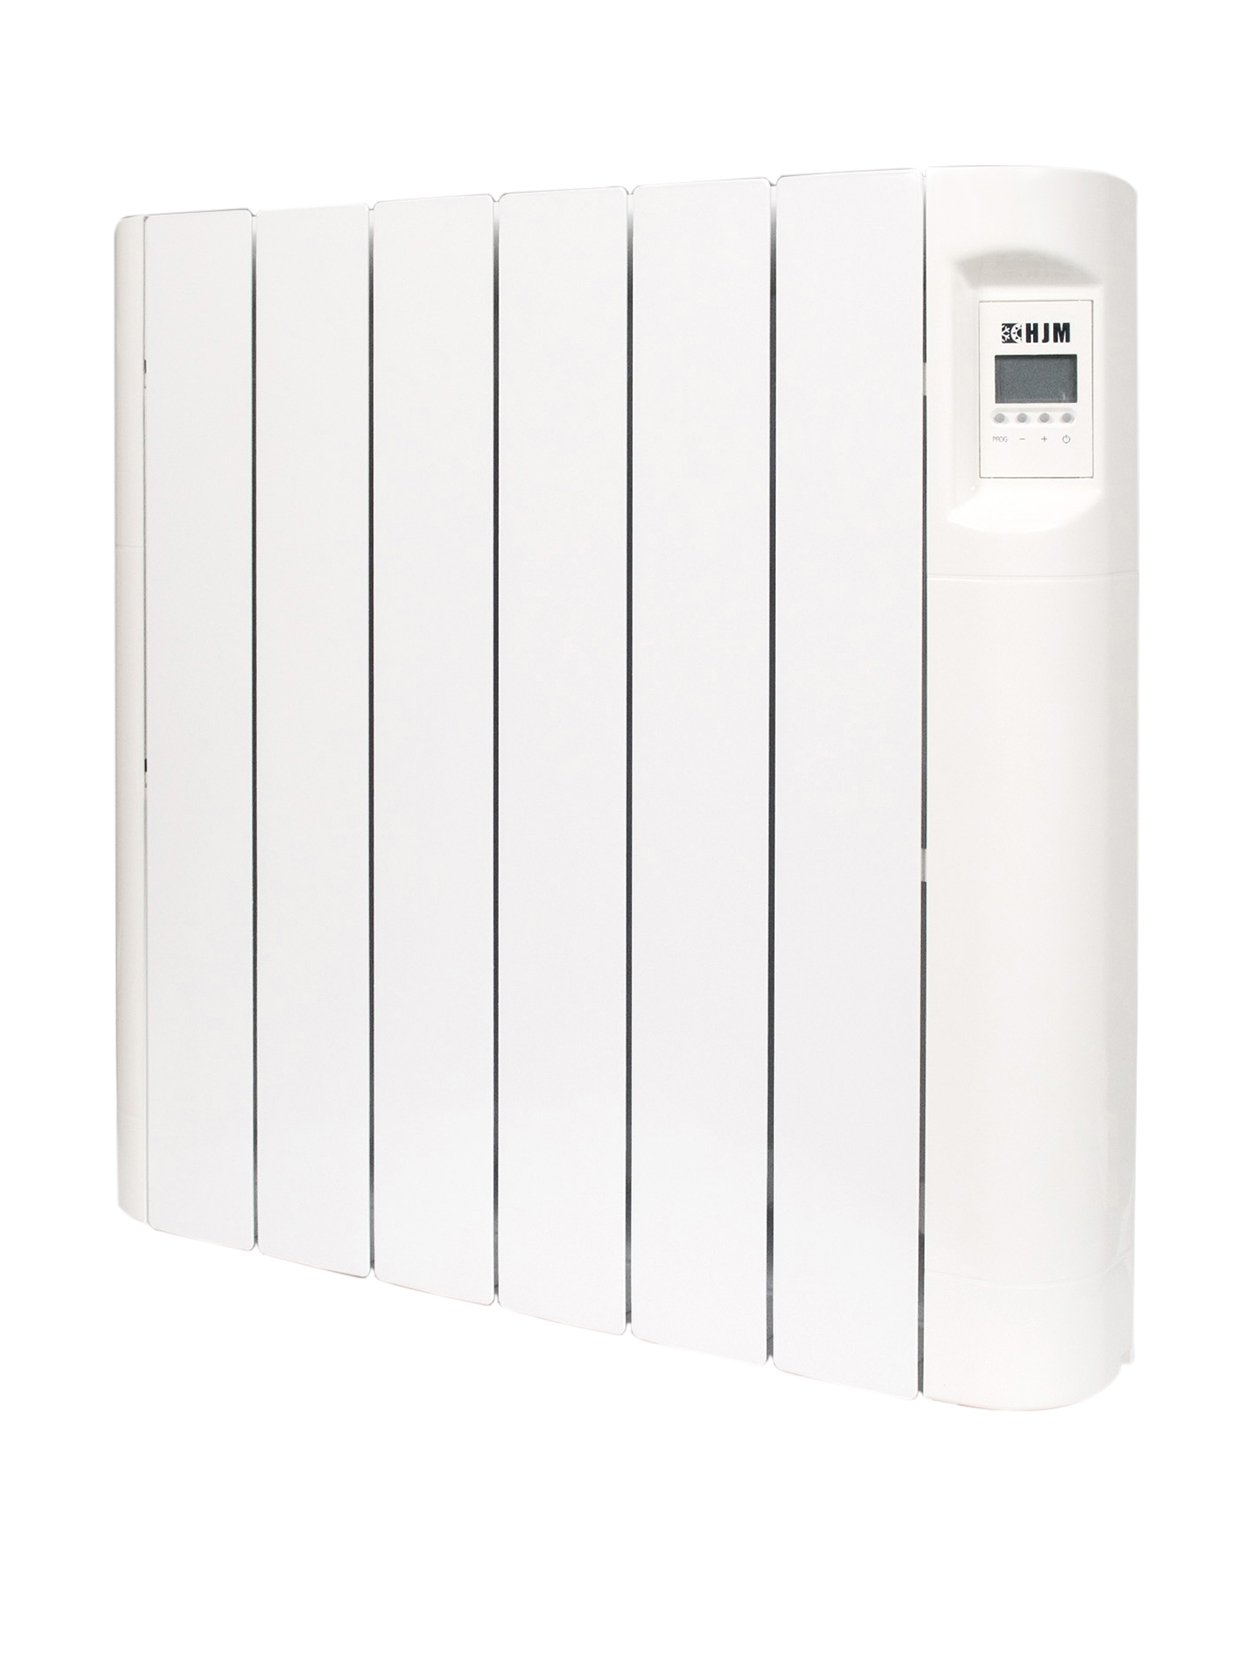
Figure 1: HJM ECD1500 Electric Radiator. This image displays the front view of the HJM ECD1500 electric radiator, highlighting its sleek design and integrated control panel.
2. Safety Information
Please read all safety instructions carefully before installing or operating the HJM ECD1500 radiator. Failure to follow these instructions may result in electric shock, fire, or personal injury.
- Ensure the power supply voltage matches the radiator's requirements (230 Volts).
- Do not cover the radiator, as this can cause overheating and fire hazards.
- Keep flammable materials at a safe distance from the appliance.
- Do not operate the radiator with a damaged cord or plug.
- Avoid placing the radiator near water sources or in excessively humid environments.
- This appliance is not intended for use by persons (including children) with reduced physical, sensory or mental capabilities, or lack of experience and knowledge, unless they have been given supervision or instruction concerning use of the appliance by a person responsible for their safety.
- Children should be supervised to ensure that they do not play with the appliance.
3. Package Contents
Verify that all components are present and undamaged upon unpacking:
- HJM ECD1500 Electric Radiator (1 unit)
- Wall mount support for easy installation
- Thermal fluid (pre-filled in the radiator)
- User Manual (this document)
4. Setup and Installation
The HJM ECD1500 radiator is designed for wall-mounted installation. A support bracket is included for this purpose.
- Choose Location: Select a suitable wall location, ensuring adequate clearance from furniture, curtains, and other obstructions. Avoid placing it directly under electrical outlets.
- Mounting the Bracket: Securely attach the provided wall mount support to the wall using appropriate fasteners for your wall type. Ensure the bracket is level and capable of supporting the radiator's weight (approximately 20.6 kg).
- Mounting the Radiator: Carefully lift the radiator and hook it onto the installed wall mount support. Ensure it is securely seated and stable.
- Electrical Connection: Connect the radiator to a grounded 230 Volt electrical outlet. The radiator is designed for a wired connection. If you are unsure about electrical installation, consult a qualified electrician.
- Initial Power-Up: Once securely mounted and connected, switch on the power supply to the radiator. The LCD screen should illuminate.
5. Operating Instructions
The electronic chronothermostat allows for precise control over your heating.
5.1. Basic Operation
- Power On/Off: Use the main power switch, usually located on the side or bottom of the unit, to turn the radiator on or off.
- Temperature Setting: Use the controls on the LCD panel to adjust the desired room temperature. The regulation range is from 0°C to 30°C.
- LCD Display: The LCD screen will show the current temperature, set temperature, and active operating mode.
5.2. Programming the Chronothermostat
The chronothermostat offers daily and weekly programming options for Comfort and Economic modes. Refer to the detailed instructions in the separate chronothermostat manual (if provided) or the on-screen menu for specific programming steps.
- Comfort Mode: Sets the radiator to maintain a higher, more comfortable temperature during specific periods.
- Economic Mode: Sets the radiator to maintain a lower, energy-saving temperature during periods when less heating is required.
- Anti-freeze Mode: This mode typically maintains a minimum temperature (e.g., 5-7°C) to prevent pipes from freezing when the property is unoccupied.
Precise electronic thermostat control can reduce energy costs by 15-20% when utilized effectively.
6. Maintenance
Regular maintenance ensures optimal performance and longevity of your HJM ECD1500 radiator.
- Cleaning: Disconnect the radiator from the power supply before cleaning. Use a soft, damp cloth to wipe the exterior surfaces. Do not use abrasive cleaners, solvents, or harsh chemicals.
- Dust Removal: Periodically remove dust from the radiator fins and vents using a soft brush or vacuum cleaner attachment to maintain heating efficiency.
- Inspection: Regularly inspect the power cord and plug for any signs of damage. If damage is found, discontinue use and contact qualified service personnel.
7. Troubleshooting
If you encounter issues with your HJM ECD1500 radiator, refer to the following common problems and solutions:
| Problem | Possible Cause | Solution |
|---|---|---|
| Radiator does not heat. | No power supply; thermostat set too low; safety cut-out activated. | Check power connection and wall switch; increase thermostat setting; unplug for 15 minutes and plug back in to reset. |
| LCD display is blank. | No power supply; internal fault. | Check power connection; if power is present, contact customer support. |
| Radiator is making unusual noises. | Expansion/contraction of materials; air in thermal fluid (unlikely for sealed unit). | Minor clicking is normal during heating/cooling. If noises are loud or persistent, contact customer support. |
If the problem persists after attempting these solutions, please contact HJM customer support.
8. Specifications
| Feature | Detail |
|---|---|
| Brand | HJM |
| Model Number | ECD1500 |
| Power | 1500W |
| Number of Elements | 9 |
| Voltage | 230 Volts |
| Material | Injected Aluminum |
| Color | Multicolor |
| Dimensions (Package) | 91.4 x 69 x 14 cm |
| Product Weight | 20.6 kg |
| Thermostat Type | Electronic Chronothermostat with LCD |
| Temperature Regulation | 0-30°C |
| Special Features | Daily/weekly programming (comfort/economic), high thermal inertia fluid, easy installation support. |
| Connectivity Technology | Wired |
| Included Components | Wall mount support, thermal fluid (pre-filled) |
9. Warranty and Support
For warranty information, please refer to the documentation provided with your purchase or contact your retailer. HJM is committed to providing quality products and customer satisfaction.
For technical support, spare parts, or service inquiries, please visit the official HJM website or contact their customer service department. Keep your purchase receipt and model number (ECD1500) handy when contacting support.
You can find more information about HJM products and support at: HJM Brand Store on Amazon