XLC SP-S08
XLC Comp SP-S08 Suspension Seatpost User Manual
Model: SP-S08 (Part Number: 2502073200)
Introduction
This manual provides comprehensive instructions for the safe and effective installation, operation, and maintenance of your XLC Comp SP-S08 Suspension Seatpost. Please read this manual thoroughly before use and retain it for future reference. Proper installation and maintenance are crucial for optimal performance and rider safety.
Safety Information
- Professional Installation Recommended: If you are unsure about any installation steps, consult a qualified bicycle mechanic.
- Correct Diameter: Ensure the seatpost diameter (27.2 mm) matches your bicycle frame's seat tube diameter. Using an incorrect size can lead to damage or injury.
- Minimum Insertion: Always observe the minimum insertion mark on the seatpost. Failure to do so can result in frame or seatpost damage and serious injury.
- Rider Weight Limit: This seatpost is designed for riders weighing between 85-100 kg. Exceeding this limit may compromise performance and safety.
- Tightening Torque: Use a torque wrench to tighten all bolts to the manufacturer's specified torque settings. Overtightening or undertightening can cause component failure.
- Regular Inspection: Periodically inspect the seatpost for any signs of wear, damage, or loose components. Replace damaged parts immediately.
Product Overview
The XLC Comp SP-S08 is a suspension seatpost designed to absorb shocks and vibrations from the road, enhancing rider comfort. It features a spring-based suspension system with 40mm of travel.
Key Features:
- Diameter: 27.2 mm
- Length: 350 mm
- Suspension Travel: 40 mm
- Minimum Installation Height: 84 mm
- Rider Weight Range: 85-100 kg
- Material: Aluminum
- Color: Black
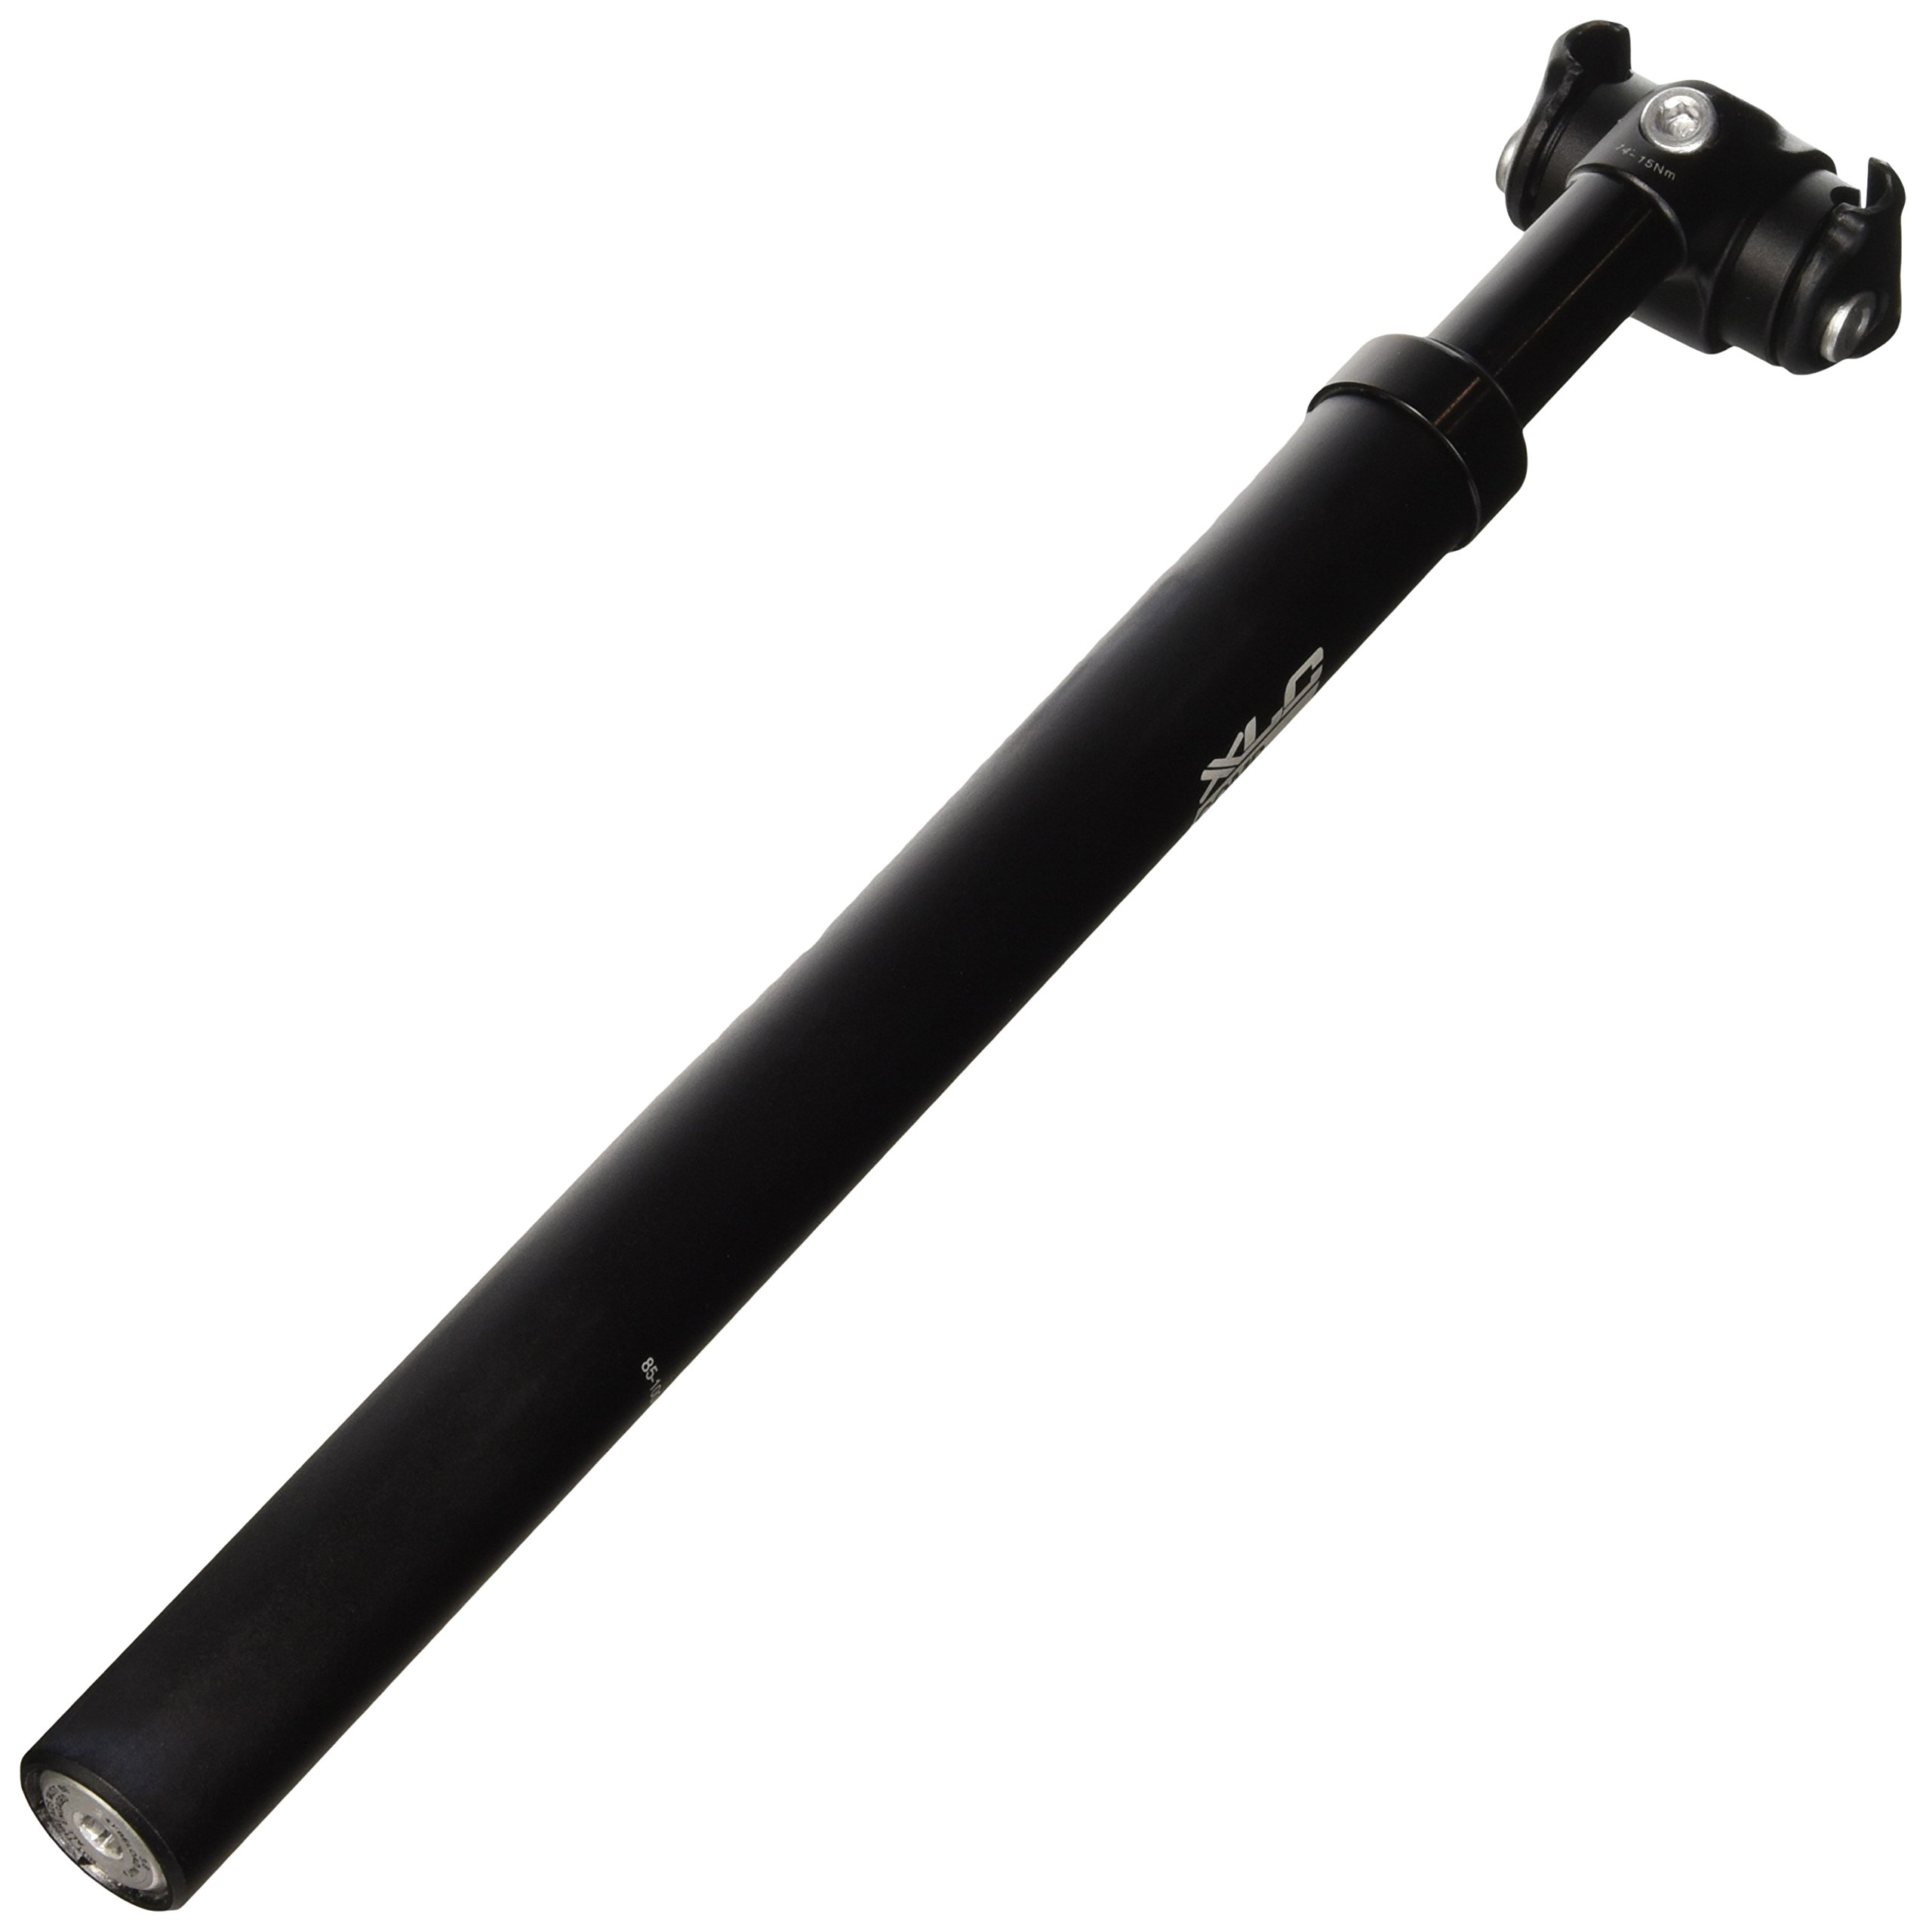
Image 1: Side view of the XLC Comp SP-S08 Suspension Seatpost, showing the main body and saddle clamp mechanism. The seatpost is black with markings indicating minimum insertion and rider weight.
Setup and Installation
- Prepare the Seat Tube: Clean the inside of your bicycle's seat tube. Apply a thin layer of grease to the seatpost shaft if recommended by your bicycle manufacturer.
- Insert the Seatpost: Insert the XLC Comp SP-S08 seatpost into the bicycle's seat tube. Ensure the seatpost is inserted beyond the minimum insertion line marked on the shaft. The minimum insertion height is 84 mm.
- Adjust Height: Adjust the seatpost to your desired riding height. Make sure the minimum insertion line remains inside the seat tube.
- Secure the Seatpost: Tighten the seatpost clamp bolt on your bicycle frame to the manufacturer's specified torque. Typically, this is between 5-7 Nm. Do not overtighten.
- Attach Saddle: Loosen the bolts on the seatpost's saddle clamp mechanism. Place your bicycle saddle onto the clamp and adjust its position (fore/aft and tilt) as desired.
- Tighten Saddle Bolts: Tighten the saddle clamp bolts evenly to secure the saddle. Refer to the saddle manufacturer's recommendations for torque settings, usually around 7-12 Nm.
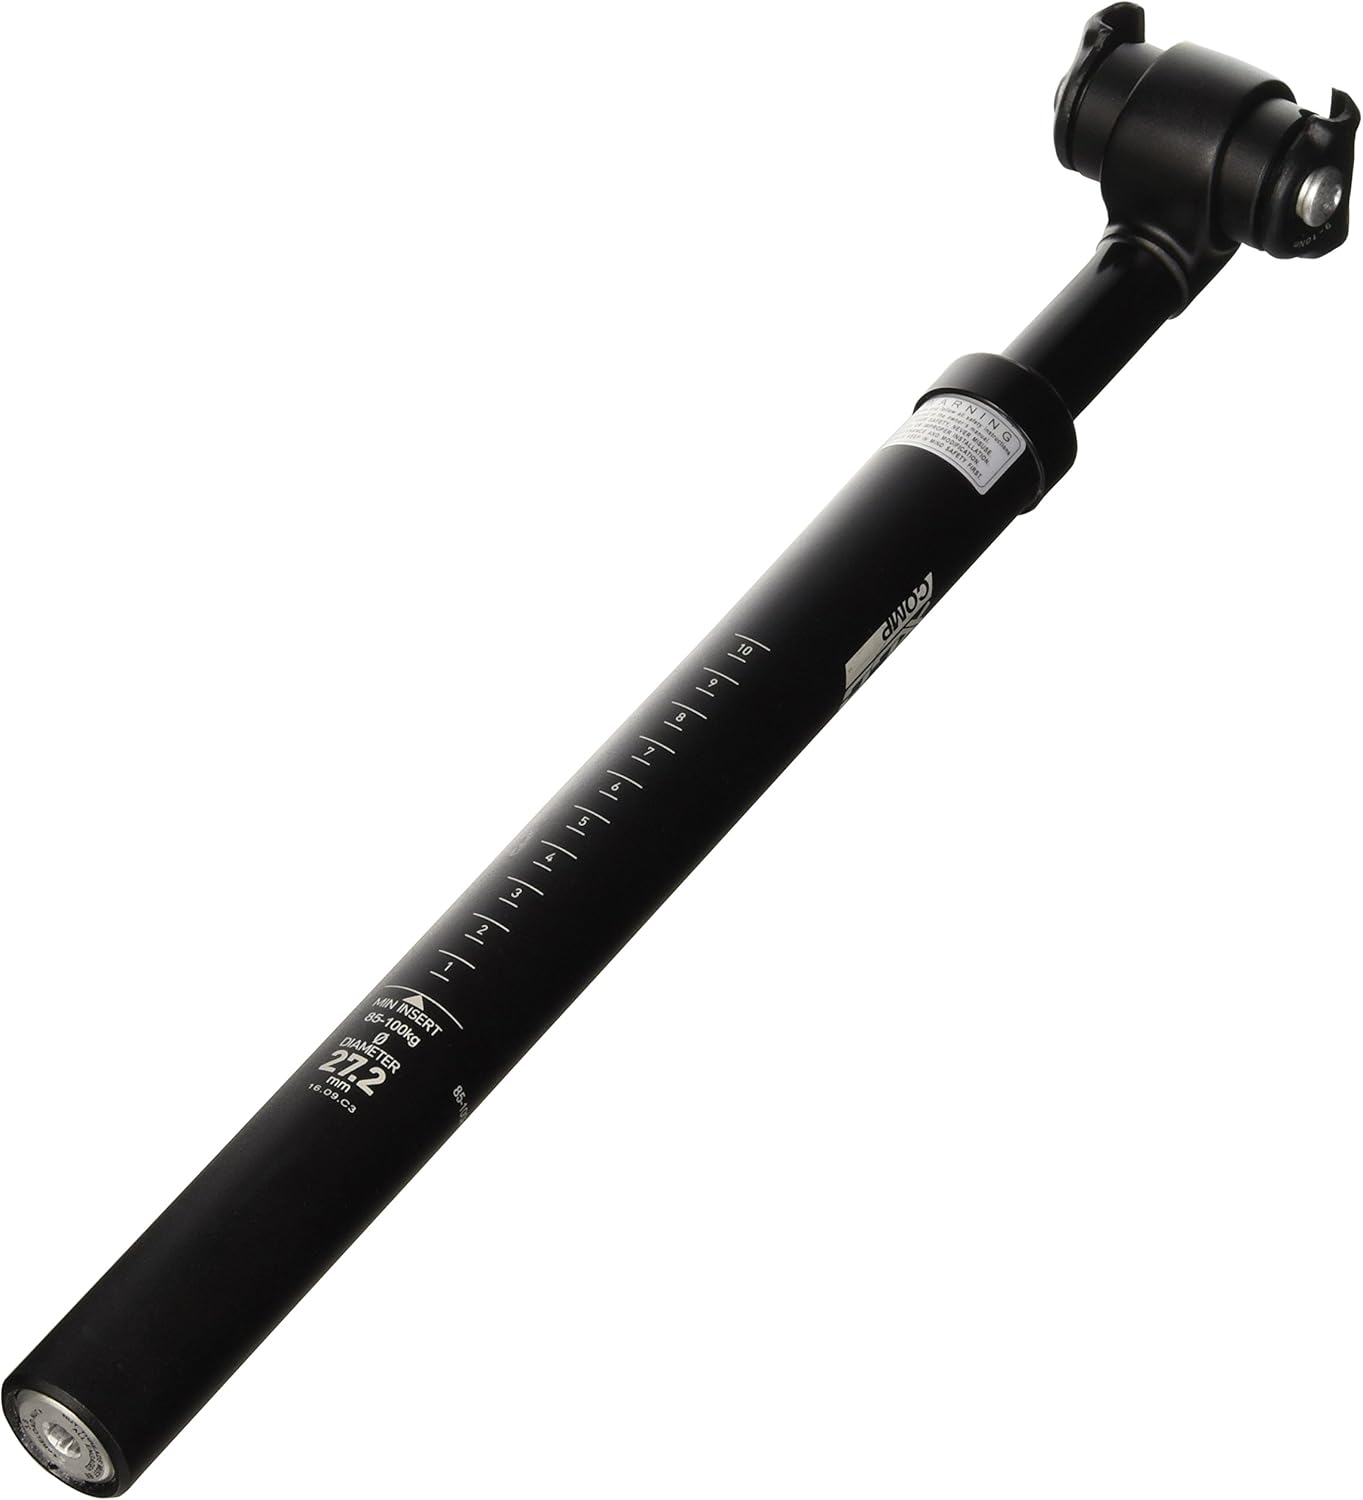
Image 2: Close-up view of the XLC Comp SP-S08 Suspension Seatpost's saddle clamp mechanism, illustrating the bolts for saddle attachment and adjustment.
Operating and Adjustment
The XLC Comp SP-S08 suspension seatpost is designed to provide automatic shock absorption based on the rider's weight within the specified range (85-100 kg). No external adjustments are typically required for the suspension mechanism itself.
Rider Weight Considerations:
This seatpost is optimized for riders weighing between 85 kg and 100 kg. Riders outside this range may experience suboptimal suspension performance. For riders below 85 kg, the suspension may feel stiff. For riders above 100 kg, the suspension may bottom out too easily or not provide adequate support.
Saddle Position Adjustment:
You can adjust the saddle's fore/aft position and tilt using the bolts on the saddle clamp. Loosen the bolts slightly, make small adjustments, and then re-tighten them securely to the recommended torque.
Maintenance
- Cleaning: Regularly clean the exterior of the seatpost with a damp cloth. Avoid using harsh chemicals or abrasive cleaners.
- Lubrication: Periodically check the suspension mechanism for smooth operation. If the seatpost feels sticky or noisy, a small amount of silicone-based lubricant can be applied to the exposed shaft, but avoid over-lubrication which can attract dirt. Consult a bike mechanic for internal lubrication if needed.
- Bolt Check: Regularly check all bolts (seatpost clamp, saddle clamp) for tightness. Re-tighten to specified torque values if necessary.
- Inspection for Damage: Inspect the seatpost for cracks, bends, or other signs of damage, especially after any impact or fall. Do not use a damaged seatpost.
Troubleshooting
| Problem | Possible Cause | Solution |
|---|---|---|
| Seatpost slips down | Seatpost clamp not tight enough; incorrect seatpost diameter. | Tighten seatpost clamp to specified torque. Ensure seatpost diameter matches frame. |
| Saddle moves or tilts | Saddle clamp bolts loose. | Tighten saddle clamp bolts evenly to specified torque. |
| Suspension feels too stiff | Rider weight is below the recommended range (85-100 kg). | The seatpost is optimized for a specific weight range. Consider a different seatpost if significantly outside this range. |
| Suspension bottoms out easily | Rider weight is above the recommended range (85-100 kg). | The seatpost is optimized for a specific weight range. Consider a different seatpost if significantly outside this range. |
| Creaking noises | Lack of lubrication; loose components; dirt ingress. | Clean and lubricate the seatpost. Check all bolts for tightness. If noise persists, consult a mechanic. |
Specifications
- Model: XLC Comp SP-S08
- Part Number: 2502073200
- Diameter: 27.2 mm
- Length: 350 mm
- Suspension Travel: 40 mm
- Minimum Insertion Height: 84 mm
- Rider Weight Range: 85-100 kg
- Material: Aluminum
- Color: Black
- Product Dimensions (L x W x H): 45 x 10.5 x 7 cm
- Weight: 450 grams
- Bicycle Type: City Bike (recommended)
Warranty and Support
For warranty information and support, please refer to the official XLC website or contact your authorized XLC dealer. Keep your proof of purchase for any warranty claims.
Manufacturer: Diverse
Brand: XLC
Ask a question about this manual
Ask about setup, troubleshooting, compatibility, parts, safety, or missing instructions. Manuals+ will review the question and use this page’s manual context to help answer it.