Introduction
This manual provides essential information for the safe and effective use of your Arnold MTD Genuine Parts .155-Inch Wheeled String Trimmer Replacement Cutting Lines. Please read these instructions carefully before installation and operation to ensure proper function and longevity of the product.
Product Overview
The Arnold MTD Genuine Parts .155-Inch Wheeled String Trimmer Replacement Cutting Lines are designed for use with compatible wheeled string trimmers. These lines are pre-cut for convenience and durability, providing reliable performance for your outdoor power equipment.
- Diameter: .155 inches
- Length: 18.5 inches (pre-cut)
- Quantity: 10 pieces per package

Image: A set of Arnold MTD Genuine Parts .155-Inch Wheeled String Trimmer Replacement Cutting Lines, showing their orange color and pre-cut length.
Specifications
| Specification | Detail |
|---|---|
| Size | 0.155 inches |
| Material | Plastic |
| Item Weight | 1.59 ounces |
| Item Diameter | 0.16 inches |
| Manufacturer Part Number | 490-040-M035 |
| UPC | 642390076816, 037049954971 |
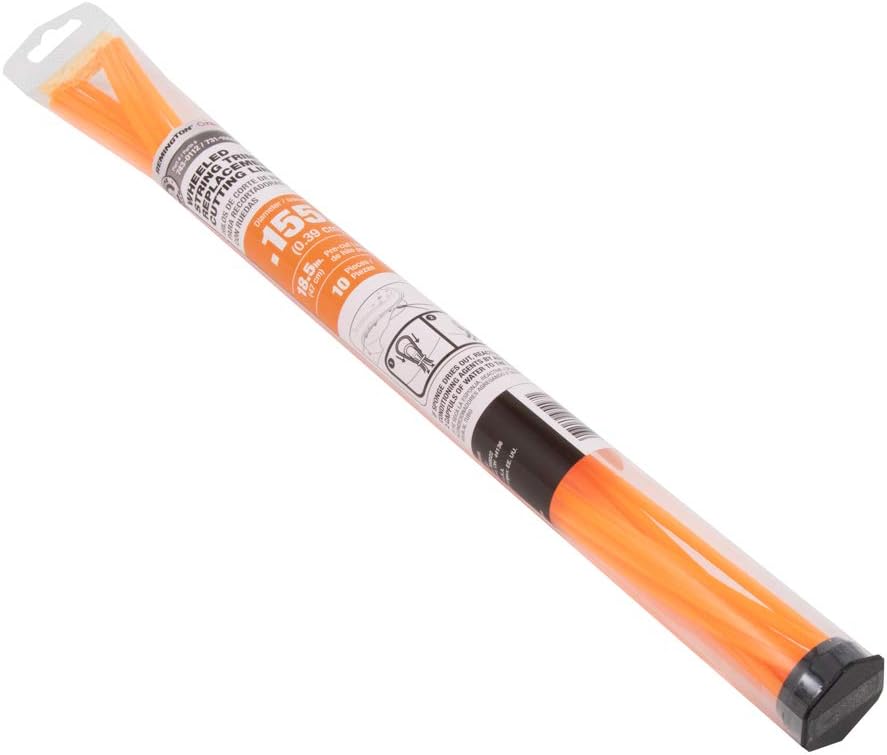
Image: The Arnold MTD Genuine Parts .155-Inch Wheeled String Trimmer Replacement Cutting Lines in their retail packaging.
Installation Instructions
Follow these steps to safely replace the cutting lines on your wheeled string trimmer. Always refer to your trimmer's specific instruction manual for detailed guidance.
- Safety First: Before performing any maintenance or line replacement, ensure the string trimmer is turned off. Disconnect the spark plug wire for gasoline models or remove the battery for electric/cordless models. Wear appropriate personal protective equipment, including heavy-duty gloves and eye protection.
- Access the Trimmer Head: Locate the cutting head of your wheeled string trimmer. The method to access the line insertion points may vary by trimmer model. Consult your trimmer's manual if unsure.
- Remove Old Lines: If old or broken lines are present, carefully pull them out from their insertion points on the trimmer head. Dispose of old lines responsibly.
- Insert New Lines: Take one pre-cut replacement line from the package. Locate the designated insertion hole or slot on your trimmer head. Insert one end of the line into the opening and pull it through until it is securely seated and centered. Ensure that both ends of the line extend from the trimmer head at approximately equal lengths.
- Repeat for All Lines: Most wheeled string trimmers use two or four cutting lines. Repeat the insertion process for each required line, ensuring they are all properly seated.
- Verify Installation: Gently tug on each installed line to confirm it is firmly in place. Reconnect the spark plug wire or reinsert the battery only after all lines are securely installed and you are clear of the cutting head.
Operation Guidelines
Once new lines are installed, follow these guidelines for effective and safe operation of your string trimmer.
- Pre-Operation Check: Before each use, inspect the cutting lines for any signs of wear, fraying, or damage. Replace any worn or broken lines immediately to maintain cutting efficiency and safety.
- Proper Technique: Operate your wheeled string trimmer according to its manufacturer's instructions. Maintain a firm grip, keep a balanced stance, and be aware of your surroundings. Always keep bystanders and pets at a safe distance from the operating area.
- Cutting Performance: These .155-inch diameter lines are designed for effective cutting of grass, weeds, and light brush. Avoid attempting to cut excessively thick, woody, or hard materials, as this can prematurely wear or break the lines and potentially damage your trimmer.
Maintenance and Storage
Proper maintenance and storage will extend the life of your replacement cutting lines and ensure consistent performance.
- Line Inspection: Regularly inspect the installed cutting lines for wear and tear. Replace them as needed to maintain optimal cutting performance and prevent strain on your trimmer.
- Cleaning: After each use, clean the trimmer head and surrounding areas to remove grass clippings, dirt, and debris. This prevents buildup that can hinder line movement or cause imbalances.
- Storage of Unused Lines: Store unused replacement lines in their original packaging or a sealed container in a cool, dry place, away from direct sunlight and extreme temperatures. This helps preserve the material integrity and flexibility of the lines.
Troubleshooting Common Issues
Here are solutions to common problems you might encounter with your trimmer lines:
- Lines breaking frequently:
Cause: Attempting to cut material too thick or dense for the line, hitting hard objects, or improper installation.
Solution: Ensure you are using the trimmer for appropriate tasks. Avoid contact with rocks, fences, or concrete. Verify that the lines are installed correctly and securely in the trimmer head. - Uneven cutting:
Cause: Lines are not of equal length, one or more lines are damaged, or lines are not properly seated.
Solution: Check that all installed lines are of approximately equal length extending from the trimmer head. Replace any damaged or excessively worn lines. Ensure each line is fully inserted and secure.
Compatibility and Application
These replacement cutting lines are designed for a variety of outdoor power equipment. Always verify compatibility with your specific wheeled string trimmer model before purchase and installation.

Image: Illustration of various outdoor power equipment, including string trimmers, for which Arnold provides replacement parts.
Warranty and Support
For specific warranty information, product registration, or technical support regarding Arnold MTD Genuine Parts, please refer to the official Arnold website or contact their customer service department directly. It is recommended to keep your purchase receipt as proof of purchase for any warranty claims.
For additional assistance, you may visit the Arnold Store on Amazon: Visit the Arnold Store