
Introduction
This operating manual provides essential information for the safe and effective use of the Thermal Dynamics CutMaster 75 Plasma Cutter. It includes detailed instructions for installation, operation, maintenance, and troubleshooting. Adherence to these guidelines will ensure optimal performance and longevity of your equipment. Please read this manual thoroughly before operating the plasma cutter.
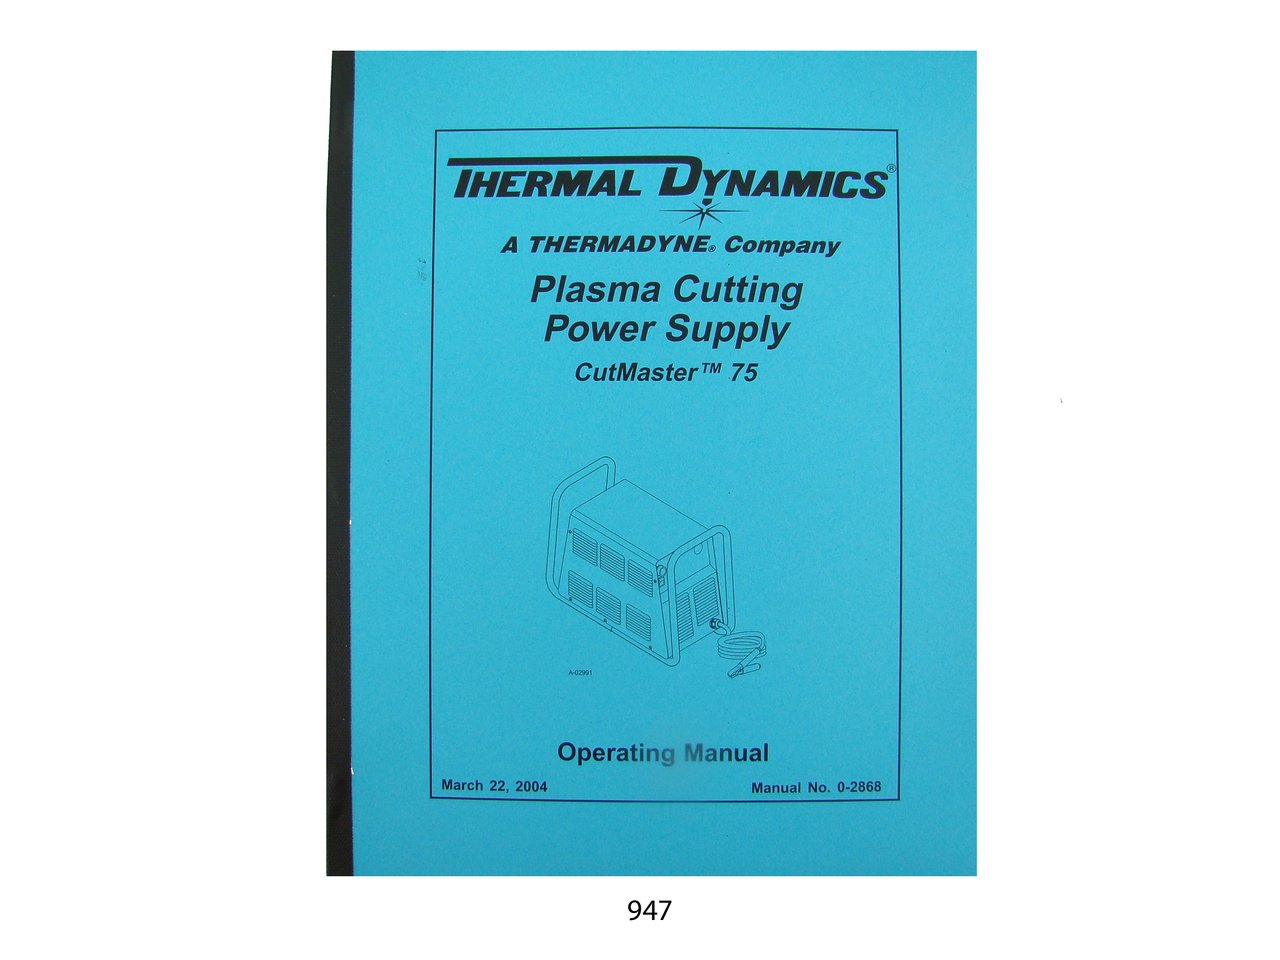
Image: Front cover of the Thermal Dynamics CutMaster 75 Plasma Cutter Operating Manual.
Installation
Proper installation is crucial for the safe and efficient operation of your CutMaster 75 plasma cutter. This section outlines the necessary steps for setting up the unit.
- Unpacking: Carefully remove the plasma cutter and all accessories from its packaging. Inspect for any shipping damage.
- Power Requirements: Ensure the power supply meets the specifications listed on the unit's nameplate. Connect the power cord to a grounded outlet.
- Air Supply Connection: Connect a clean, dry compressed air supply to the designated inlet. Maintain the recommended air pressure for optimal cutting performance.
- Work Clamp Connection: Securely attach the work clamp to the workpiece, ensuring good electrical contact.
- Torch Connection: Connect the plasma torch to the unit according to the instructions provided in the manual.
Refer to the detailed diagrams within the full manual for specific connection points and requirements.
Operation
This section provides instructions for operating the Thermal Dynamics CutMaster 75 Plasma Cutter. Always prioritize safety during operation.
- Safety Precautions: Wear appropriate personal protective equipment (PPE), including welding helmet, gloves, and protective clothing. Ensure adequate ventilation.
- Power On: Turn on the main power switch of the plasma cutter.
- Air Pressure Adjustment: Adjust the air pressure regulator to the recommended setting for the material thickness being cut.
- Current Setting: Select the appropriate cutting current based on the material type and thickness.
- Cutting Procedure: Position the torch nozzle at the start point of the cut. Depress the torch trigger to initiate the arc and begin cutting. Maintain a consistent travel speed.
- Power Off: After completing the work, turn off the plasma cutter and disconnect the power supply.
Note: This manual does not cover the specific operation or servicing of the plasma torch itself. Refer to the torch manufacturer's documentation for torch-specific instructions.
Maintenance and Servicing
Regular maintenance ensures the longevity and reliable performance of your CutMaster 75 plasma cutter. This section outlines key servicing procedures.
- Daily Checks: Inspect cables, hoses, and connections for wear or damage. Check air filter for moisture or debris.
- Electrode and Nozzle Replacement: Periodically inspect and replace worn electrodes and nozzles as needed. Refer to the full manual for detailed replacement procedures.
- Air Filter Maintenance: Clean or replace the air filter cartridge regularly to ensure a clean and dry air supply.
- General Cleaning: Keep the unit clean and free from dust and metal particles. Use compressed air to clear internal components if necessary, ensuring power is disconnected.
For detailed servicing instructions, including component replacement and internal adjustments, consult the comprehensive service section of the complete manual.
Troubleshooting
This section provides guidance for identifying and resolving common issues that may arise during the operation of your CutMaster 75 plasma cutter.
- No Arc: Check power supply, work clamp connection, air pressure, and torch consumables (electrode, nozzle).
- Poor Cut Quality: Verify correct cutting speed, current setting, air pressure, and condition of torch consumables.
- Overheating: Ensure adequate ventilation around the unit. Check for blocked air intakes or excessive duty cycle usage. Allow the unit to cool down.
- Air Pressure Issues: Inspect air supply hose for kinks or leaks. Check air filter for clogging.
If an issue persists after following these steps, refer to the detailed troubleshooting charts and wiring diagrams in the full manual, or contact qualified service personnel.
Parts Lists and Wiring Diagrams
The complete manual includes comprehensive sections dedicated to parts identification and electrical schematics.
- Parts Lists: Detailed breakdowns of all major components and sub-assemblies, including part numbers, to assist with ordering replacement parts.
- Sequence of Operation: Explanations of the operational flow of the plasma cutter's systems.
- Torch Control Cable Wiring Diagram: Specific diagrams for the torch control connections.
- Wiring Diagrams: Complete electrical schematics for the CutMaster 75 unit, essential for advanced servicing and diagnostics.
These sections are invaluable resources for maintenance and repair, ensuring correct component identification and electrical integrity.
Specifications
Key specifications for the Thermal Dynamics CutMaster 75 Plasma Cutter Operating Manual:
- Model Covered: CutMaster 75
- Publication Date: March 2004
- Publication Number: 0-2868
- Number of Pages: Approximately 43
- ASIN: B00NGWGVUC
- Publisher: Thermal Dynamics
Warranty and Support
This operating manual focuses solely on the technical aspects of the CutMaster 75 plasma cutter. It does not contain information regarding product warranty, customer support contacts, or return policies. For details on warranty coverage, technical support, or service inquiries, please refer to the original purchase documentation or contact Thermal Dynamics directly through their official channels.


