
1. Introduction
This manual provides comprehensive instructions and a parts list for Niagara Power Squaring Shears, covering Series 3B, 4B, 5B, 6, 7B, 8, 9, 10, and 12. It is designed to assist operators and maintenance personnel in the safe and efficient operation, setup, and maintenance of the equipment. Please read this manual thoroughly before operating the shear to ensure proper usage and to prevent injury or damage to the machine.
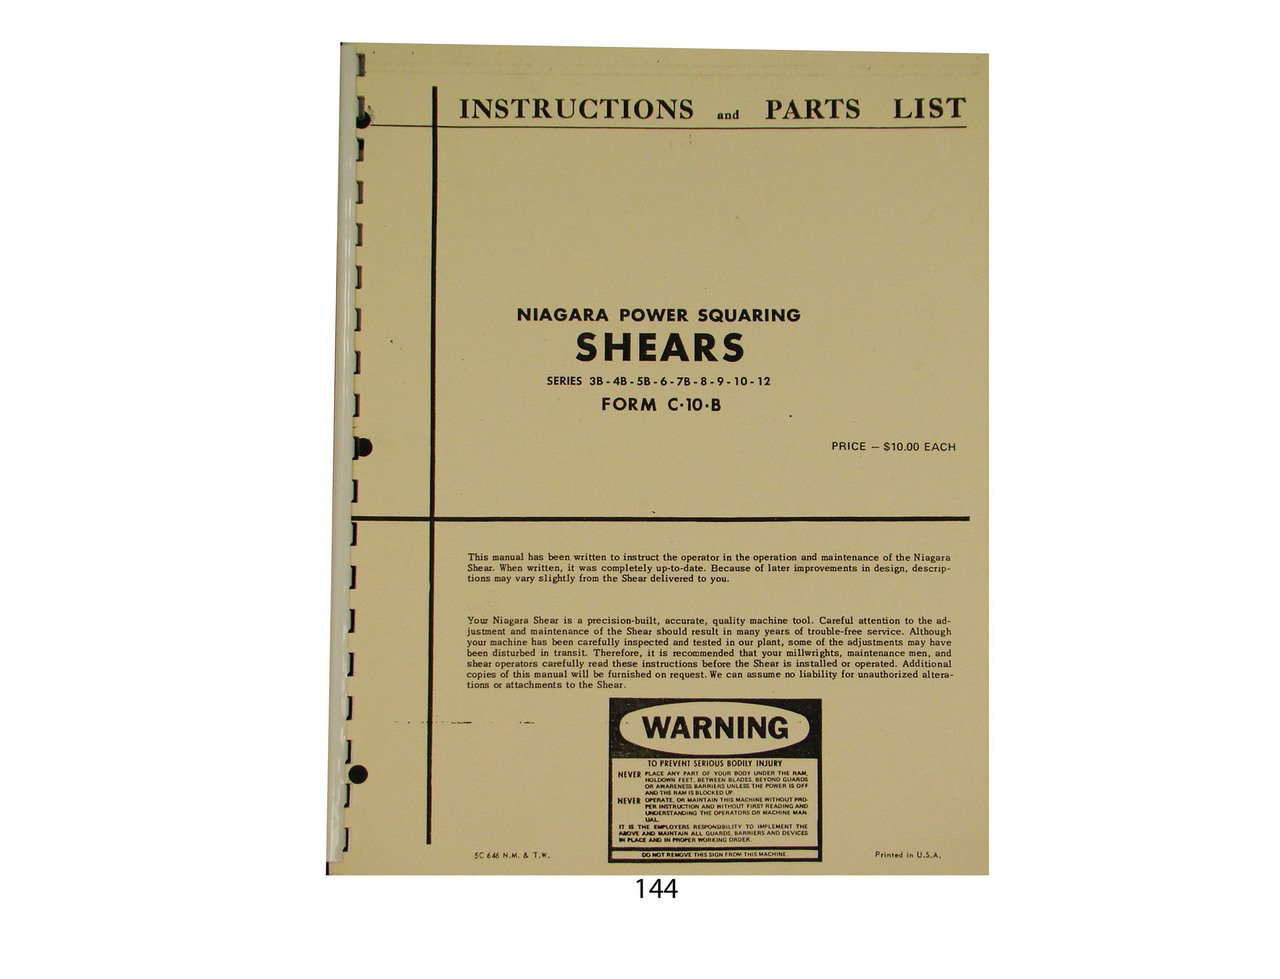
Figure 1.1: Cover of the Niagara Power Squaring Shear Instruction Manual. This image illustrates the front cover of the manual, which contains essential information regarding the shear models and series covered.
2. Safety Instructions
Operating power squaring shears requires strict adherence to safety protocols to prevent serious injury. Always follow these guidelines:
- Read the Manual: Ensure all operators have read and understood this entire manual before operating the machine.
- Personal Protective Equipment (PPE): Always wear appropriate PPE, including safety glasses, gloves, and hearing protection.
- Machine Guarding: Never operate the shear with guards removed or bypassed. Ensure all safety devices are in place and functional.
- Work Area: Keep the work area clean, well-lit, and free from obstructions.
- Lockout/Tagout: Always disconnect power and follow lockout/tagout procedures before performing any maintenance, adjustments, or clearing jams.
- Material Handling: Use proper lifting techniques and equipment when handling heavy materials.
- Authorized Personnel: Only trained and authorized personnel should operate or maintain the shear.
3. Setup and Installation
Proper setup is crucial for the safe and efficient operation of your Niagara Power Squaring Shear. Follow these general steps:
- Unpacking: Carefully unpack the shear and inspect for any shipping damage. Report any damage immediately.
- Placement: Position the shear on a level, stable surface capable of supporting its weight. Ensure adequate space around the machine for operation and maintenance.
- Anchoring: Securely anchor the shear to the floor using appropriate fasteners to prevent movement during operation.
- Electrical Connection: Connect the shear to a power supply that matches the machine's voltage and current requirements. Ensure proper grounding. Consult a qualified electrician if necessary.
- Lubrication: Before initial operation, lubricate all specified points according to the lubrication schedule detailed in the maintenance section.
- Blade Gap Adjustment: Adjust the blade gap according to the material thickness to be cut. Refer to the operating section for detailed instructions.
4. Operating Instructions
This section outlines the general procedures for operating the Niagara Power Squaring Shear. Always prioritize safety.
- Pre-Operation Check: Before each use, inspect the shear for any loose parts, damage, or obstructions. Verify all safety guards are in place.
- Power On: Turn on the main power switch.
- Material Loading: Carefully place the material to be cut onto the shear bed, ensuring it is properly aligned against the back gauge and side gauge.
- Blade Engagement: Engage the foot pedal or control lever to initiate the cutting cycle. Keep hands clear of the blade area.
- Material Removal: Once the cut is complete, safely remove the cut material and scrap.
- Power Off: After use, turn off the main power switch.
For specific adjustments like back gauge settings, rake angle, and hold-down pressure, refer to the detailed sections within the original manual (Form C-10-B).
5. Maintenance
Regular maintenance is essential for the longevity and optimal performance of your Niagara Power Squaring Shear. Always perform maintenance with the power disconnected and following lockout/tagout procedures.
- Daily Checks:
- Clean the machine and work area.
- Inspect blades for nicks or dullness.
- Check hydraulic fluid levels (if applicable).
- Weekly Checks:
- Lubricate all moving parts as specified in the lubrication chart.
- Inspect electrical connections for wear or damage.
- Check for loose fasteners and tighten as necessary.
- Monthly/Quarterly Checks:
- Inspect and adjust blade clearance.
- Check and adjust hold-down pressure.
- Examine all safety devices for proper function.
- Replace hydraulic filters (if applicable).
- Blade Sharpening/Replacement: Dull blades can lead to poor cut quality and increased machine strain. Sharpen or replace blades as needed by qualified personnel.
6. Troubleshooting
This section provides solutions to common operational issues. For complex problems, consult a qualified technician.
| Problem | Possible Cause | Solution |
|---|---|---|
| Machine does not start | No power supply; Emergency stop engaged; Safety interlock open | Check power connection; Reset emergency stop; Ensure all guards are closed |
| Poor cut quality (burrs, uneven cuts) | Dull blades; Incorrect blade gap; Improper hold-down pressure | Sharpen/replace blades; Adjust blade gap; Adjust hold-down pressure |
| Excessive noise or vibration | Loose components; Lack of lubrication; Worn bearings | Tighten fasteners; Lubricate moving parts; Inspect and replace worn components |
| Hydraulic system issues (if applicable) | Low fluid level; Clogged filter; Air in system | Check/refill fluid; Replace filter; Bleed air from system |
7. Specifications
The following are general specifications for the Niagara Power Squaring Shears. Specific details may vary by model series (3B-12).
- Models Covered: Series 3B, 4B, 5B, 6, 7B, 8, 9, 10, 12
- Manual Form Number: C-10-B
- Number of Pages: 19
- Publication Date: January 1, 1960
- Item Weight: 8 ounces (for the manual itself)
- Publisher: Niagara
For detailed machine specifications such as cutting capacity, motor horsepower, dimensions, and weight for specific models, please refer to the original manufacturer's documentation or the specific model's data plate.
8. Warranty and Support
This instruction manual does not contain specific warranty information or direct support contact details for Niagara Power Squaring Shears. For warranty claims, technical support, or to order replacement parts, please refer to your original purchase documentation or contact Niagara directly through their official channels. Always provide your machine's model and serial number when seeking support.