1. Introduction
The Henny Penny 14335 Kit-580-Cont-Sms is a genuine OEM replacement temperature probe and gauge kit designed for specific Henny Penny foodservice equipment. This manual provides essential information for the proper installation, operation, and maintenance of this component to ensure safety, reliability, and optimal performance within your equipment.
2. Safety Information
Adhering to safety guidelines is crucial during installation and maintenance. Failure to do so may result in injury or damage to equipment.
- Always disconnect power to the equipment before attempting any installation, removal, or maintenance procedures.
- Installation and service should only be performed by qualified and authorized personnel.
- Wear appropriate personal protective equipment (PPE), such as safety glasses and gloves, during handling and installation.
- Refer to the main equipment's service manual for specific safety warnings and detailed instructions relevant to your model.
- Ensure all electrical and mechanical connections are secure to prevent hazards and ensure accurate operation.
3. Product Overview
The 14335 Kit-580-Cont-Sms includes a temperature sensing probe, a gauge connection component, and associated wiring. This kit is designed to accurately measure and transmit temperature data to the control system of compatible Henny Penny equipment, ensuring precise temperature regulation.
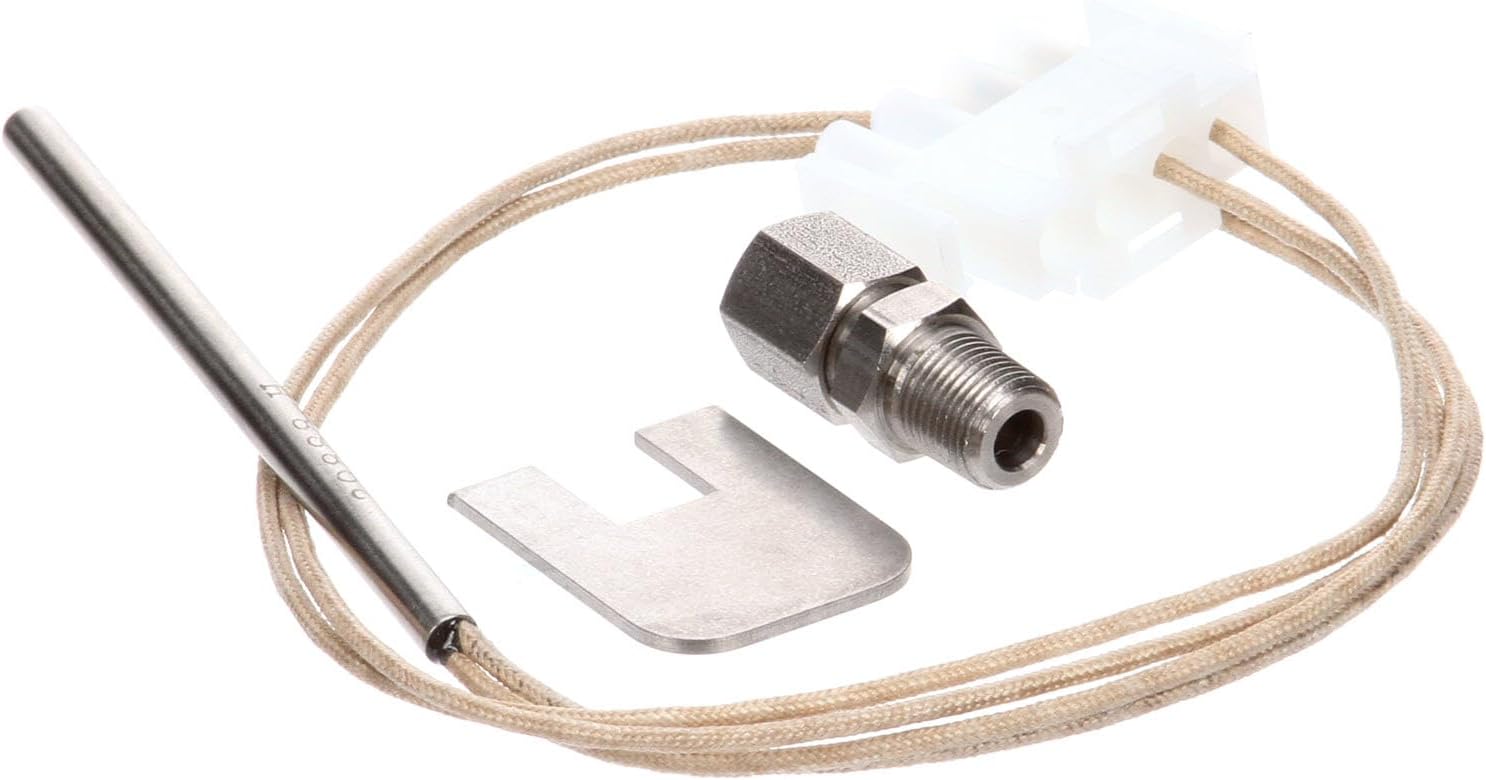
Image 1: Components of the Henny Penny 14335 Kit. This image displays the temperature probe, the threaded gauge connection, and the electrical connector with wiring.
4. Setup and Installation
Proper installation is critical for the accurate and reliable operation of the temperature probe and gauge kit.
4.1. Preparation
- Ensure the equipment is completely powered off and disconnected from its power source.
- Allow the equipment to cool down to a safe handling temperature.
- Gather all necessary tools, which may include wrenches, screwdrivers, and electrical testers.
4.2. Removal of Existing Component (if applicable)
- Carefully locate and disconnect the existing temperature probe and gauge assembly.
- Note the orientation and specific connections of the old component for reference during new installation.
- Remove the old component, ensuring no debris falls into the equipment.
4.3. Installation of New Kit
- Position the new temperature probe in the designated sensing location within the equipment.
- Secure the gauge connection component, ensuring a tight and leak-free seal if it involves fluid or pressure.
- Connect the wiring harness from the probe to the equipment's control system. Ensure correct polarity and secure electrical connections. Refer to the equipment's wiring diagram if necessary.
- Verify that all physical connections are tight and properly seated to prevent movement or dislodgement during operation.
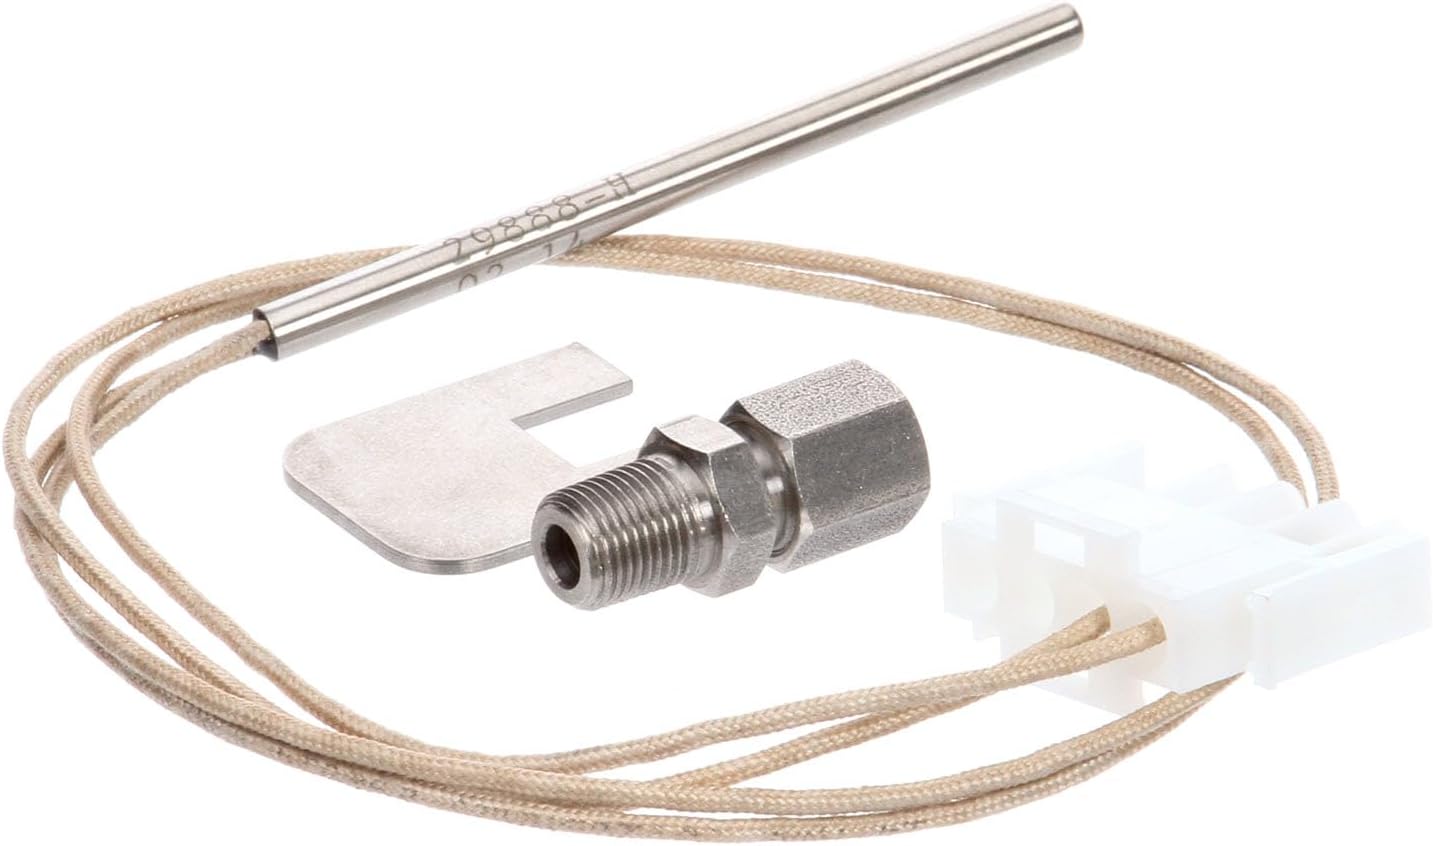
Image 2: Alternate view of the Henny Penny 14335 Kit, showing the probe and connector from a different perspective.
4.4. Post-Installation Check
- Once installation is complete, restore power to the equipment.
- Monitor the system for proper temperature readings and functionality. Ensure there are no error codes related to the temperature sensor.
5. Operating Instructions
The 14335 Kit-580-Cont-Sms functions as a critical sensor within a larger system. Its operation is integrated with the primary equipment's control panel and display. This component does not have independent controls or displays.
- Ensure the probe is correctly immersed or positioned to accurately measure the required temperature within the equipment.
- Monitor the equipment's main display for temperature readings. The probe transmits data to the equipment's controller, which then displays the temperature.
- Deviations from expected temperature values or erratic readings may indicate an issue with the probe or the overall system.
6. Maintenance
Regular maintenance helps ensure the longevity and accuracy of the temperature probe and gauge kit.
- Regular Inspection: Periodically inspect the probe, wiring, and connections for any signs of wear, corrosion, physical damage, or loose connections.
- Cleaning: If accessible and safe, gently clean the probe tip to remove any buildup (e.g., food residue, grease) that might affect its accuracy. Use cleaning agents compatible with the probe material and the equipment. Ensure the equipment is powered off and cooled before cleaning.
- Connection Check: Verify that all electrical and mechanical connections remain secure and free from corrosion.
- Replacement: Replace the kit if significant damage is observed, if it consistently provides inaccurate readings that cannot be resolved through troubleshooting, or if it fails to function.

Image 3: Close-up view of the Henny Penny 14335 Kit, highlighting the probe tip and threaded connector.
7. Troubleshooting
If you experience issues with temperature readings, perform the following basic troubleshooting steps:
- Inaccurate Readings:
- Check for proper probe placement and immersion in the sensing area.
- Inspect wiring for loose, damaged, or corroded connections.
- Ensure the probe tip is clean and free of any debris or buildup that could insulate it.
- Verify the main equipment's calibration settings (refer to the equipment's service manual).
- No Reading or Error Message:
- Confirm all electrical connections are secure and properly seated.
- Check for continuity in the wiring using a multimeter (if qualified).
- Consult the main equipment's service manual for specific error codes related to temperature sensors and their recommended solutions.
If these steps do not resolve the issue, contact a qualified service technician or Henny Penny customer support for further assistance.
8. Specifications
| Feature | Specification |
|---|---|
| Part Number | 14335 |
| Item Weight | 0.353 ounces |
| Product Dimensions | 7 x 5 x 4 inches |
| Included Components | Replacement Part |
| Batteries Required? | No |
9. Warranty Information
As a genuine OEM replacement part, warranty coverage for the Henny Penny 14335 Kit-580-Cont-Sms typically aligns with the original equipment manufacturer's policy or the reseller's terms at the time of purchase. Please retain your purchase receipt and any associated documentation for warranty claims. For specific warranty details, refer to the documentation provided with your original equipment or contact your supplier.
10. Support
For technical assistance, installation guidance, or troubleshooting beyond the scope of this manual, please contact Henny Penny customer support or an authorized service technician. Refer to the main equipment's documentation for specific contact information and service procedures.