Introduction
The Swiffer Sweeper is designed for both sweeping and mopping your floors, offering a versatile cleaning solution. This starter kit includes everything you need to begin, with thick dry sweeping cloths that conform to floor surfaces to trap dirt, and wet mopping cloths that dissolve grime for a thorough clean. This manual provides detailed instructions for assembly, operation, and maintenance to ensure optimal performance.
Package Contents
- 1 Swiffer Sweeper Mop
- 7 Dry Sweeping Refill Cloths
- 3 Wet Mopping Pads
Setup: Assembling Your Swiffer Sweeper
Assembly of your Swiffer Sweeper is quick and straightforward. The mop handle comes in several interlocking pieces that snap together securely.
- Take the handle sections and align the push-button connectors with the corresponding holes.
- Push the buttons and insert one section into the next until they click into place. Ensure all sections are firmly connected.
- Attach the assembled handle to the mop head by aligning the connector and pushing until it clicks.
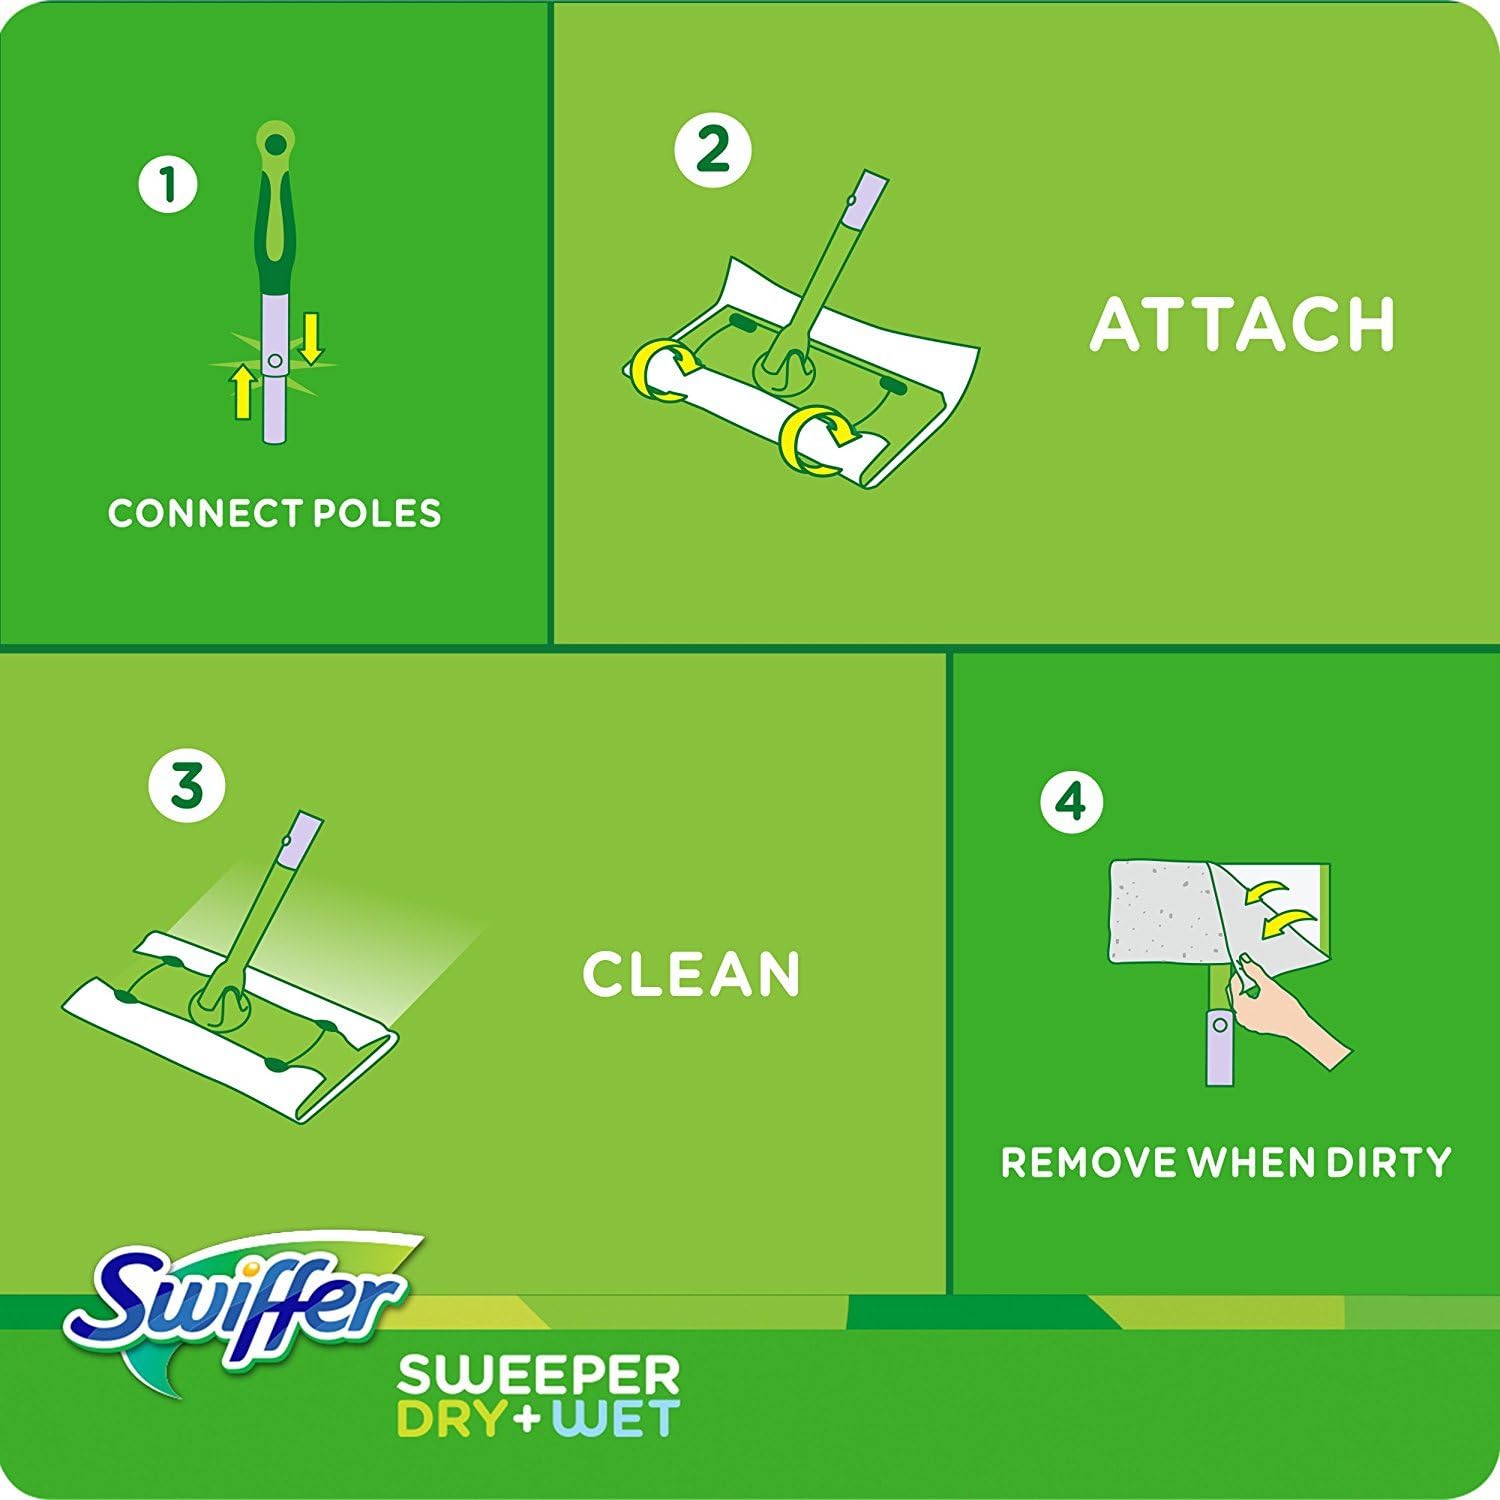
Figure 1: Swiffer Sweeper handle and mop head components before assembly.

Figure 2: Visual guide for connecting the mop handle sections.
Video: Swiffer Sweeper Assembly
Watch this video for a demonstration on how to quickly assemble your Swiffer Sweeper.
Operating Instructions: Dry Sweeping
Use dry sweeping cloths to trap and lock dirt, dust, and hair from your floors.
- Lay a dry sweeping cloth flat on the floor.
- Place the Swiffer Sweeper mop head onto the center of the cloth.
- Fold the edges of the cloth over the sides of the mop head and tuck them into the grippers on top.
- Begin sweeping your floors in long, even strokes. The cloth's textured surface will attract and hold debris.

Figure 3: Comparison of dry and wet pads on the Swiffer Sweeper.

Figure 4: Dry sweeping to collect dust and hair.

Figure 5: A used dry cloth demonstrating its dirt-trapping capabilities.
Operating Instructions: Wet Mopping
For a deeper clean, use wet mopping pads to dissolve and lock away dirt and grime.
- Remove a wet mopping pad from its packaging.
- Lay the wet pad flat on the floor with the scrubbing strip facing up.
- Place the Swiffer Sweeper mop head onto the center of the pad.
- Fold the edges of the pad over the sides of the mop head and tuck them into the grippers. Ensure the scrubbing strip is positioned along one edge of the mop head for tough spots.
- Mop your floors, applying gentle pressure. For stubborn spots, flip the mop head to use the scrubbing strip.
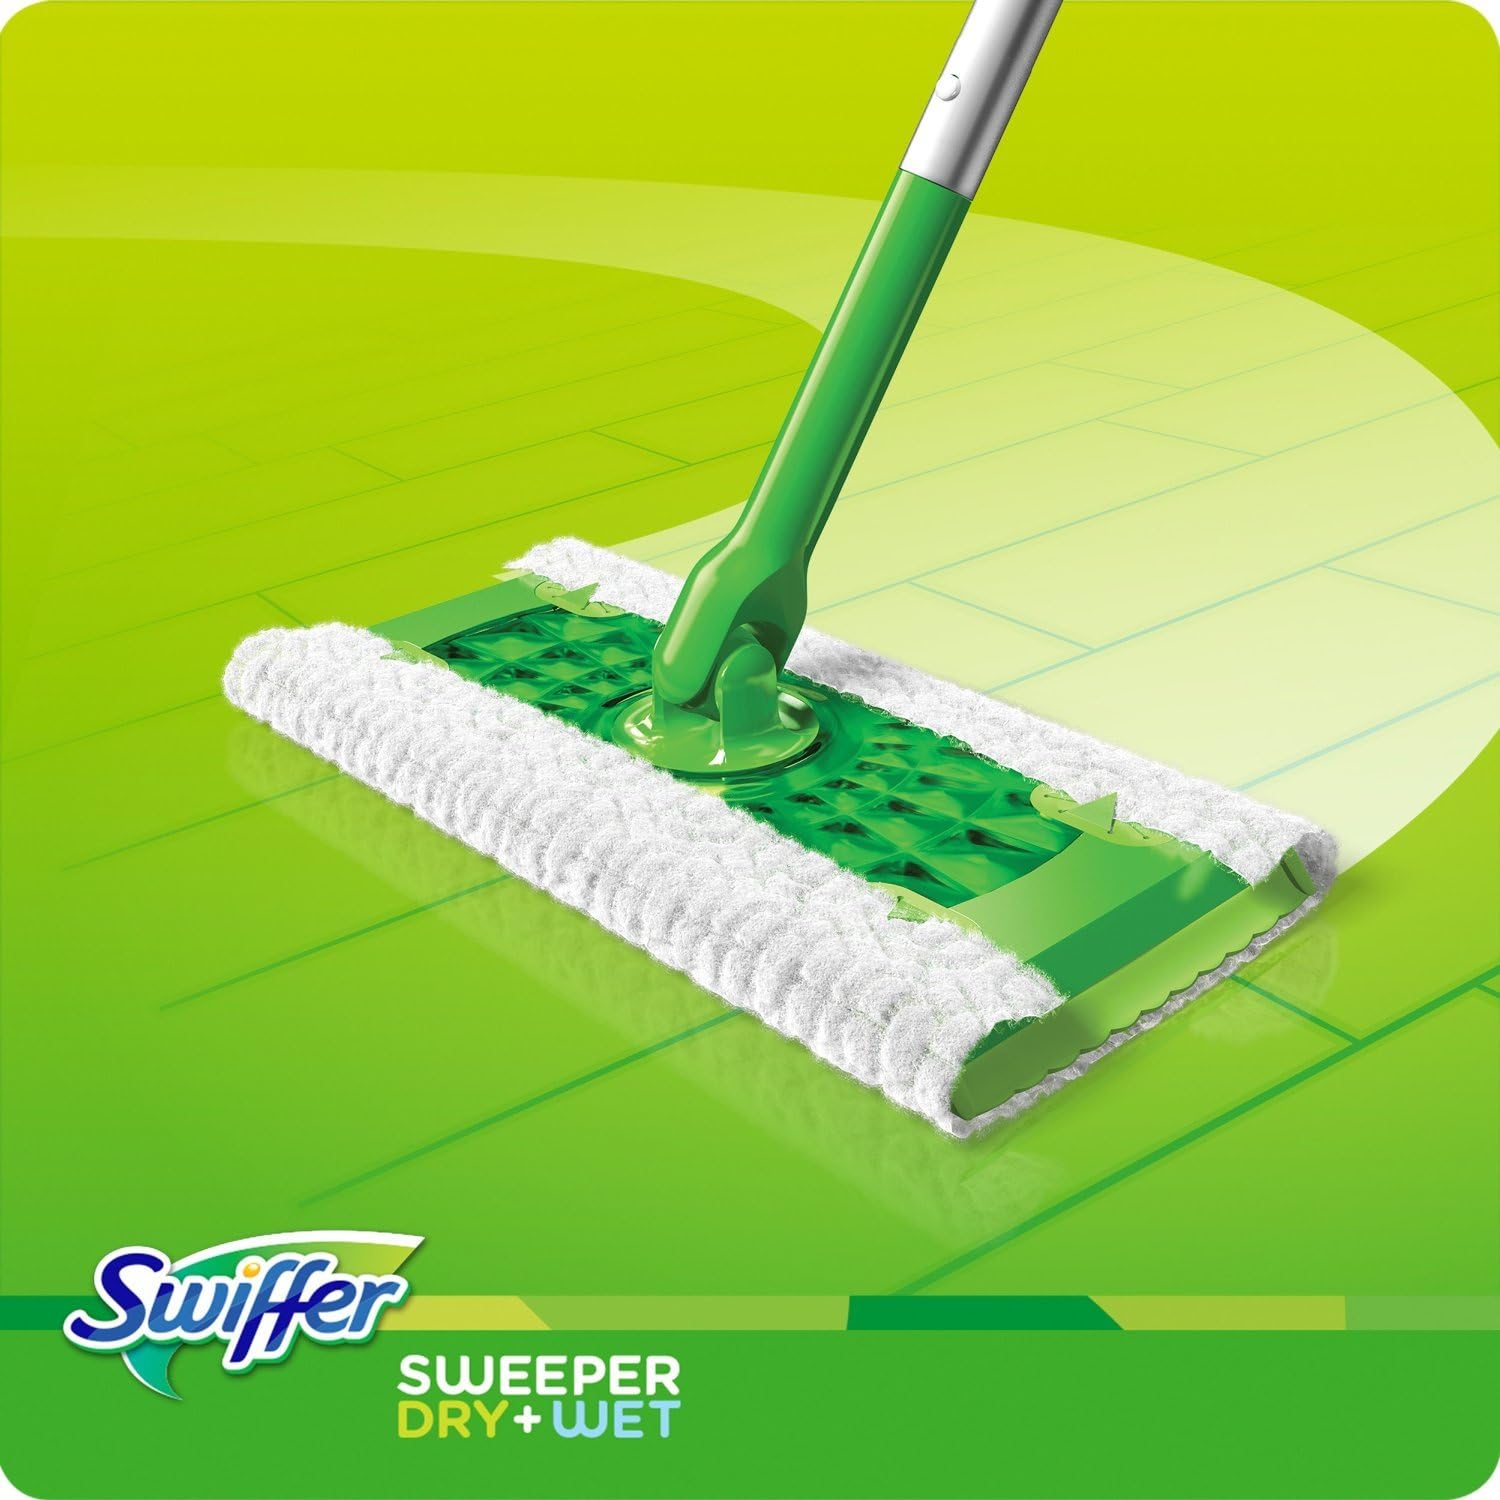
Figure 6: Wet mopping in progress, showing the cleaning action.

Figure 7: The Swiffer Sweeper is effective on virtually all finished floor types.
Maintenance: Replacing Pads
After use, simply remove the dirty pad and dispose of it. Replace with a fresh dry or wet pad as needed.
- Untuck the used pad from the grippers on the mop head.
- Carefully remove the pad, avoiding contact with trapped dirt or cleaning solution.
- Dispose of the used pad in the trash.
- Attach a new dry or wet pad following the instructions in the 'Dry Sweeping' or 'Wet Mopping' sections.
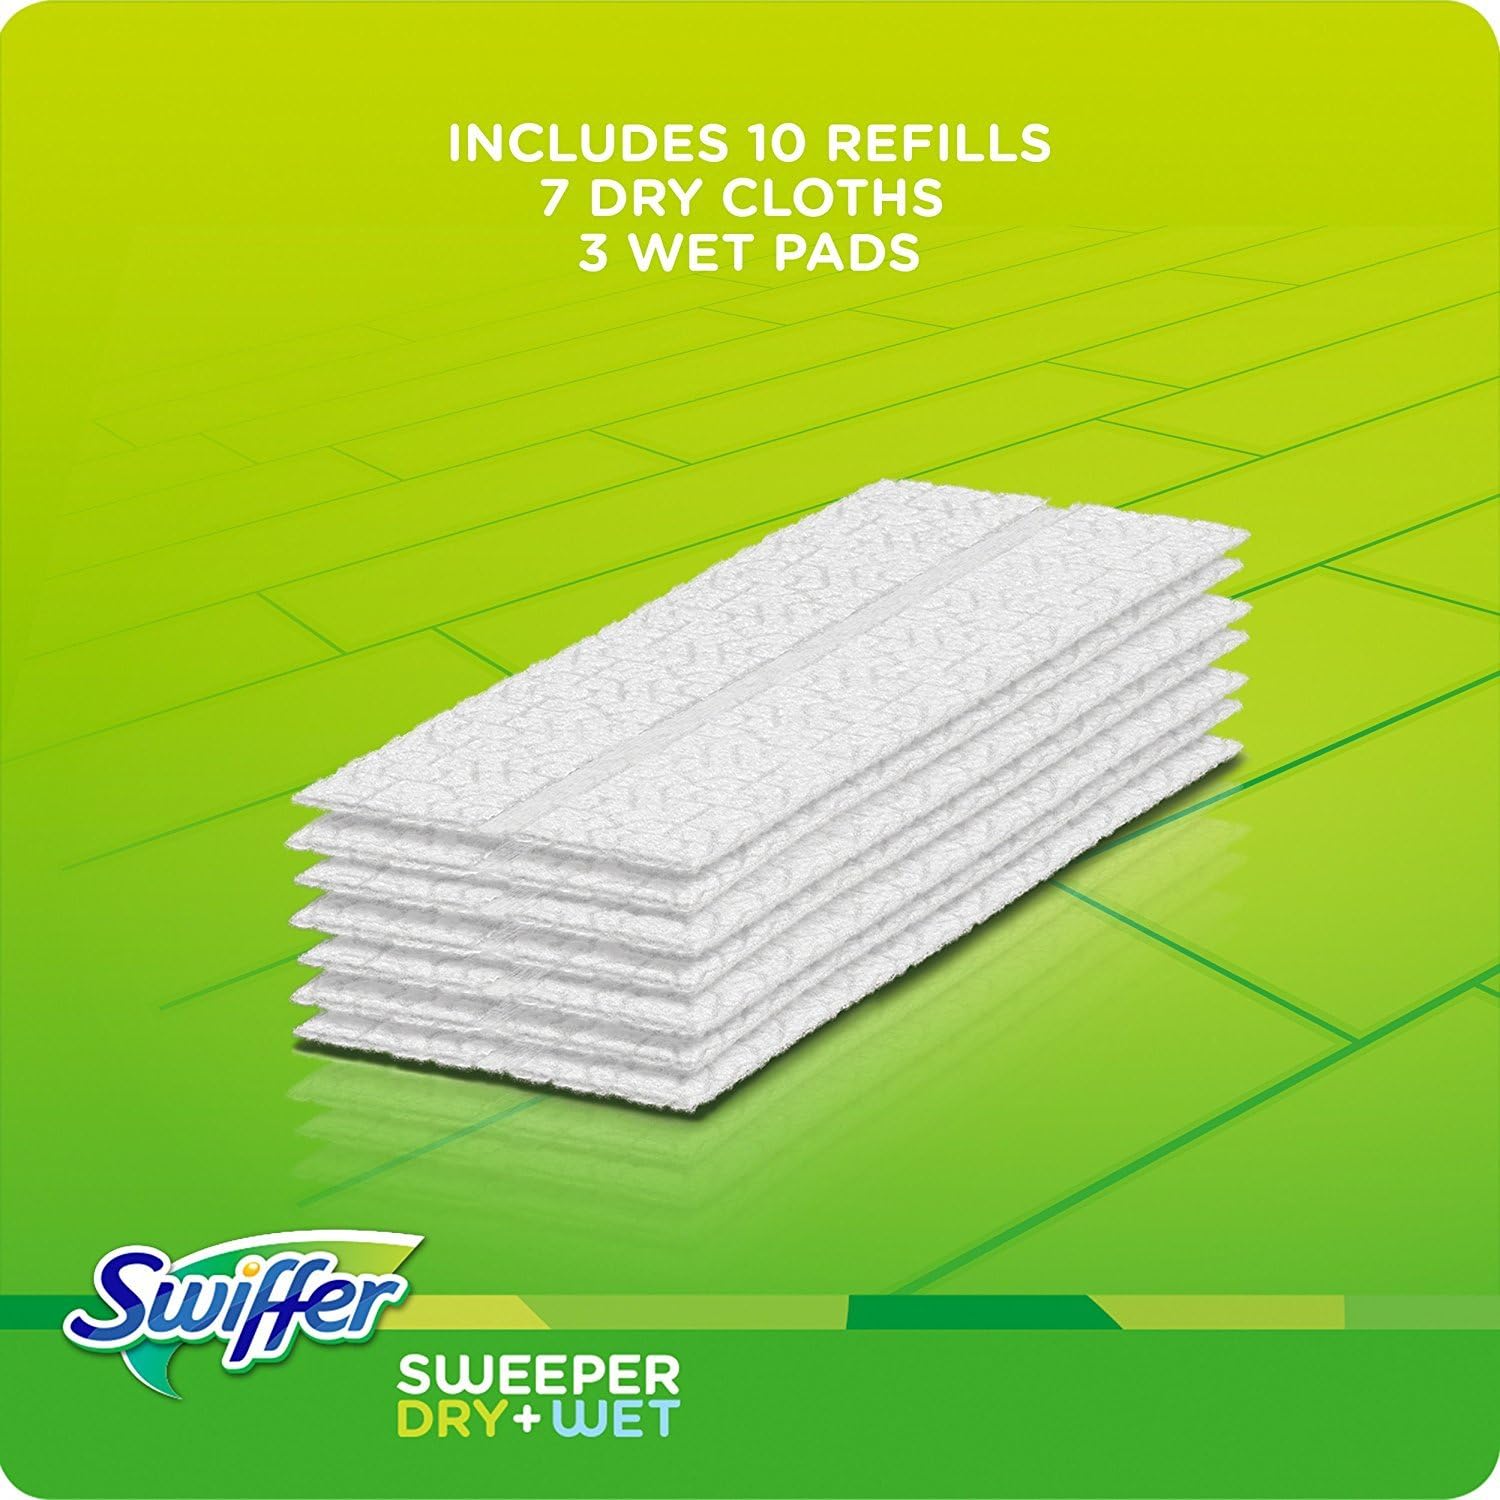
Figure 8: Swiffer Sweeper refill pads for continuous cleaning.
Troubleshooting & Important Warnings
- Wet Cloths Usage: Do not use Swiffer Sweeper wet cloths on unfinished, oiled, or waxed wooden boards, non-sealed tiles, or carpeted floors. These surfaces may be sensitive to moisture or cleaning solutions.
- Pad Drying Out: If wet pads dry out too quickly, ensure they are stored in their sealed packaging until ready for use. For larger areas, multiple wet pads may be required.
- Ineffective Dirt Pickup (Dry): Ensure the dry cloth is properly tucked into all four grippers on the mop head. For heavily soiled areas, pre-sweep with a broom or vacuum before using the Swiffer Sweeper.
Specifications
| Product Dimensions | 4.86 x 2.96 x 12.4 inches |
| Item Weight | 1.5 Pounds |
| Head Material | Polyester |
| Surface Recommendation | Floor |
| Item Model Number | 3936069 |

Figure 9: Product packaging displaying dimensions and key features.