1. Introduction
This manual provides essential information for the safe and efficient operation, installation, and maintenance of your GE JK3800SHSS 27-inch Electric Combination Wall Oven. This appliance integrates a microwave oven in the upper compartment and a traditional electric oven in the lower compartment, designed for built-in installation.
Please read all instructions carefully before using the appliance to ensure proper function and safety.
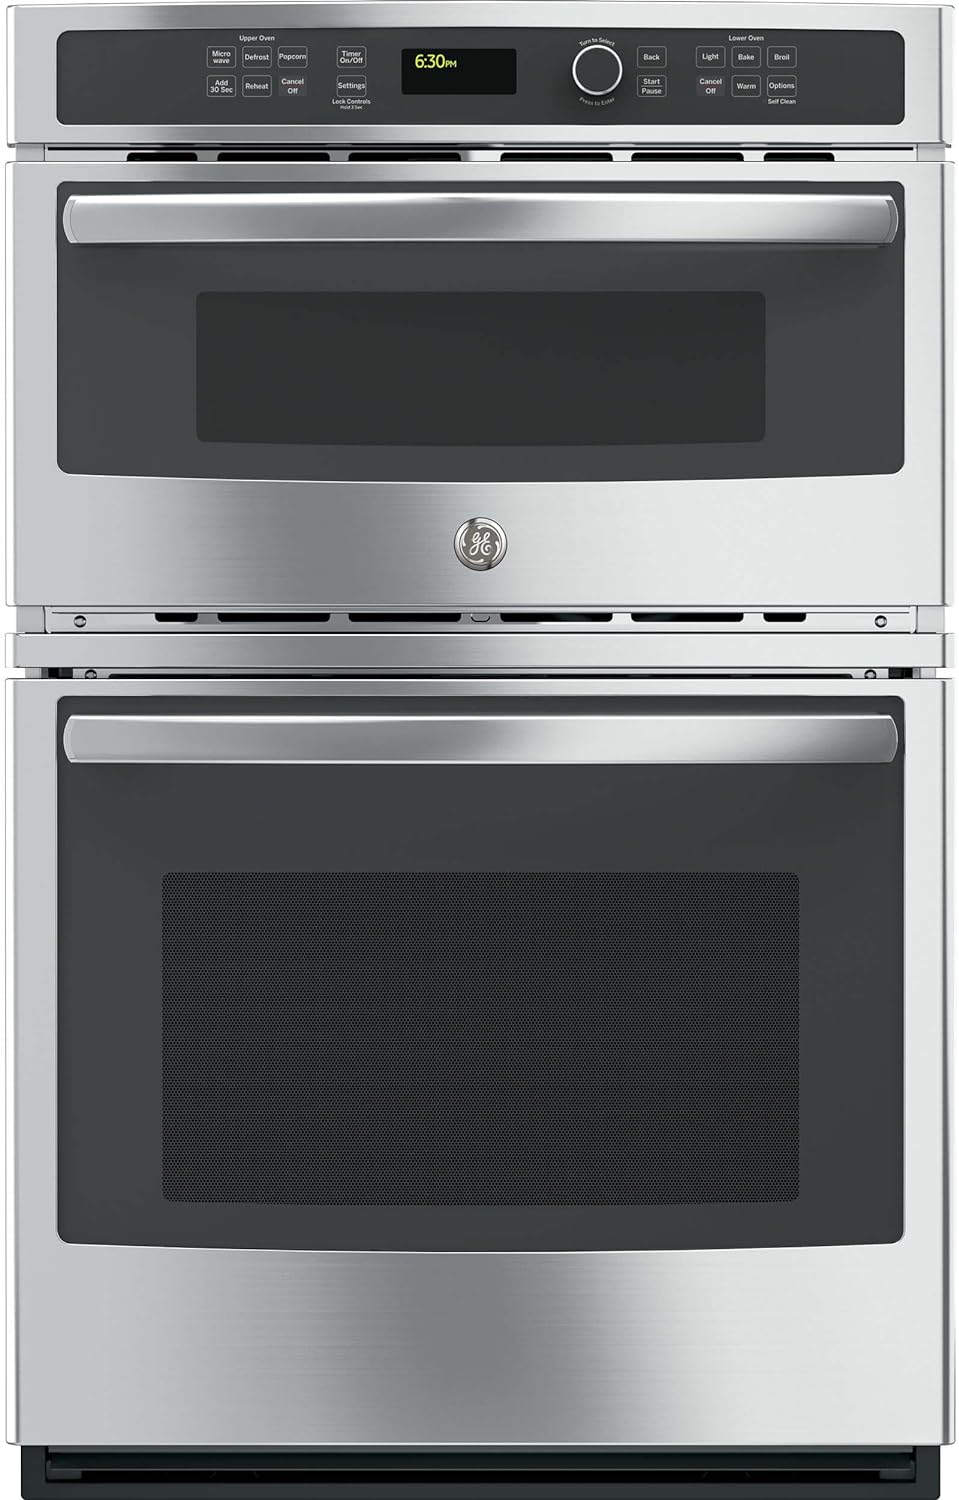
Image 1.1: Front view of the GE JK3800SHSS Combination Wall Oven.
2. Safety Information
Always adhere to basic safety precautions when using electrical appliances to reduce the risk of fire, electric shock, burns, or injury to persons.
- Do not attempt to repair or replace any part of your oven unless specifically recommended in this manual. All other servicing should be referred to a qualified technician.
- Ensure the oven is properly installed and grounded by a qualified installer in accordance with the provided installation instructions.
- Keep flammable materials away from the oven.
- Never use the oven for storage of items, especially flammable materials.
- Do not leave children unattended near the oven when it is in use.
- Use oven mitts when handling hot items from the oven.
- Do not heat sealed containers in the microwave oven, as they may explode.
- Exercise caution when opening the oven door; hot air or steam may escape.
3. Installation
The GE JK3800SHSS Combination Wall Oven is designed for built-in installation. Due to its weight of approximately 172 pounds and specific dimensional requirements, professional installation is strongly recommended.
3.1 Pre-Installation Checks
- Verify that the electrical supply meets the requirements specified in the appliance's rating plate.
- Ensure the cabinet opening dimensions are appropriate for the oven. The product dimensions are approximately 26.87 inches (width) x 26.75 inches (depth) x 42.37 inches (height).
- Confirm that the cabinet structure can support the weight of the oven.
3.2 Installation Process
Refer to the separate installation instructions provided with your appliance for detailed steps. This typically involves:
- Preparing the cabinet cutout.
- Connecting the electrical wiring.
- Securing the oven into the cabinet.

Image 3.1: The GE JK3800SHSS Combination Wall Oven professionally installed in a kitchen setting.
4. Controls and Features
The GE JK3800SHSS features intuitive glass touch electronic controls with a central dial for setting and adjusting functions.

Image 4.1: Detailed view of the glass touch control panel.
4.1 Control Panel Overview
The control panel is divided into sections for the Upper Oven (Microwave) and Lower Oven, with a central display and a rotary dial for selections.
- Glass Touch Controls: These controls allow for quick and easy temperature settings and are simple to clean.
- Rotary Dial: Used to navigate menus, select cooking modes, and adjust temperatures or times. Press the dial to confirm selections.
- Display: Shows time of day, cooking settings, and status messages.
4.2 Key Features
- Delay Start: Program the lower oven to begin cooking at a predetermined later time.
- Control Lock: Prevents unintended use of the oven controls, enhancing safety, especially in households with children. To activate, press and hold the 'Lock Controls' button for 3 seconds.
- Self-Clean (Lower Oven): An automatic cleaning cycle that uses high temperatures to burn off food soils.
- Defrost (Upper Oven): Specific settings for defrosting various food types by weight or time.
5. Operating Instructions
This section outlines the basic operation of both the upper microwave oven and the lower electric oven.

Image 5.1: Interior view of both the upper microwave and lower oven compartments.
5.1 Upper Oven (Microwave) Operation
The upper compartment functions as a microwave oven.
- Place food in a microwave-safe dish.
- Close the microwave door.
- Select desired function (e.g., Microwave, Defrost, Popcorn, Reheat, Add 30 Sec) from the control panel.
- Use the rotary dial to adjust time or settings as needed.
- Press 'Start/Pause' to begin cooking.
5.2 Lower Oven Operation
The lower compartment is a traditional electric oven with multiple cooking modes.

Image 5.2: Food being prepared in both the microwave and lower oven.
- Place food in an oven-safe dish on one of the oven racks. The lower oven features 3 heavy-duty racks configurable in 6 positions.
- Close the oven door.
- Select desired function (e.g., Bake, Broil, Warm) from the control panel.
- Use the rotary dial to set the desired temperature.
- Press 'Start/Pause' to begin preheating or cooking.
- To use the oven light, press the 'Light' button.
5.2.1 Baking
Select 'Bake' and set the desired temperature using the dial. The oven will preheat to the set temperature. Place food in the oven once preheating is complete.

Image 5.3: View of the lower heating element in the oven.
5.2.2 Broiling
Select 'Broil' and choose the desired broil level (e.g., High or Low). Position food on an appropriate rack directly under the upper heating element for best results.

Image 5.4: View of the upper heating element (broiler) in the oven.

Image 5.5: Example of food cooking in the lower oven.
6. Cleaning and Maintenance
Regular cleaning and maintenance will help ensure the longevity and optimal performance of your combination wall oven.
6.1 Lower Oven Self-Clean Cycle
The lower oven is equipped with a self-cleaning feature. This cycle uses very high temperatures to burn off food soils, leaving a small amount of ash that can be wiped away.
- Remove all oven racks and any large food spills before starting the self-clean cycle.
- Follow the instructions on the control panel to initiate and select the duration of the self-clean cycle.
- Ensure adequate ventilation during the self-clean cycle.
- After the cycle is complete and the oven has cooled, wipe away any ash with a damp cloth.
6.2 General Cleaning
- Exterior Surfaces: Clean stainless steel surfaces with a mild soap and water solution or a specialized stainless steel cleaner. Wipe with a soft cloth.
- Glass Touch Controls: Wipe with a damp cloth and mild soap. Avoid abrasive cleaners.
- Microwave Interior: Wipe with a damp cloth and mild soap. For stubborn stains, a microwave-safe cleaner can be used.

Image 6.1: Cleaning the interior surface of the oven.
7. Troubleshooting
Before contacting service, review this section for potential solutions to common issues.
| Problem | Possible Cause | Solution |
|---|---|---|
| Oven not heating | Power supply issue; Control Lock activated; Incorrect settings. | Check circuit breaker; Deactivate Control Lock; Verify cooking mode and temperature settings. |
| Microwave not operating | Door not closed properly; Power supply issue. | Ensure door is securely latched; Check circuit breaker. |
| Uneven cooking | Improper rack position; Overcrowding the oven. | Adjust rack position; Avoid placing too many items in the oven at once. |
| Control panel unresponsive | Control Lock activated; Temporary electronic glitch. | Deactivate Control Lock; Disconnect power to the oven for 5 minutes, then restore. |
8. Specifications
Key technical specifications for the GE JK3800SHSS Combination Wall Oven:
- Model Info: JK3800SHSS
- Item Weight: Approximately 172 pounds
- Product Dimensions: 26.87 x 26.75 x 42.37 inches (Width x Depth x Height)
- Capacity (Microwave): 1.7 Cubic Feet
- Annual Energy Consumption: 1570 Kilowatt Hours Per Year
- Installation Type: Built-In
- Special Features: Defrost, Self-Cleaning
- Oven Cooking Mode: Microwave/Traditional Electric
- Color: Solid Black (with Stainless Steel finish)
- Control Console: Glass Touch
- Voltage: 240 Volts
- Wattage (Microwave): 1000 watts
- Fuel Type: Electric
- Defrost: Auto Defrost
- Door Hinges: Front
- Certification: Star-K, UL
- Material Type: Stainless Steel
- Included Components: Combination Wall Oven
9. Warranty and Support
For warranty information, please refer to the warranty card included with your appliance or visit the official GE Appliances website. For technical support, service, or to order replacement parts, please contact GE Appliances customer service directly.
Keep your purchase receipt and model/serial numbers handy when contacting support.