
1. Overview
The GE WB08T10002 Lamp Housing Assembly is a genuine OEM (Original Equipment Manufacturer) part designed to illuminate the interior of your GE oven. This high-quality replacement part is manufactured with premium materials for durability and an exact fit, ensuring reliable performance. It includes multiple components necessary for proper oven lighting.
This assembly is essential for maintaining visibility inside your oven, allowing you to monitor cooking progress effectively. Always ensure you are using genuine GE Appliances parts for optimal compatibility and safety.
2. Safety Information
WARNING: Before attempting any installation or repair, it is crucial to disconnect the appliance from all utilities (power, gas, water) to prevent electric shock, fire, or personal injury. Always wear appropriate personal protective equipment, such as gloves and eye protection.
- Ensure the oven is completely cool before handling any internal components.
- Do not use excessive force when removing or installing parts to avoid damage.
- If you are unsure about any step, consult a qualified appliance technician.
3. What's in the Box
Your package should contain the following:
- One (1) GE WB08T10002 Lamp Housing Assembly for GE Ovens.
Please inspect all components upon receipt to ensure they are intact and undamaged.
4. Setup and Installation
This section provides general guidance for replacing the oven lamp housing assembly. Specific steps may vary slightly depending on your oven model. Always refer to your appliance's owner's manual for detailed instructions.
- Disconnect Power: Ensure the oven is completely disconnected from its power source. This is a critical safety step.
- Cool Down: Allow the oven to cool down completely if it has been in use.
- Access the Lamp Housing: Open the oven door. The lamp housing assembly is typically located on the interior wall or ceiling of the oven cavity.
- Remove Glass Cover (if applicable): Some models may have a protective glass cover over the bulb. Carefully unclip or unscrew this cover.
- Remove Old Bulb: Unscrew the old light bulb from the socket. If the bulb is broken, use caution and appropriate tools to remove any remaining pieces.
- Disconnect Wiring: Gently pull the existing lamp housing assembly away from the oven wall. You will likely find two electrical connectors attached to the assembly. Carefully disconnect these wires. Note their positions for re-connection.
- Remove Old Housing: Unscrew any mounting screws or release clips holding the old lamp housing assembly in place. Carefully remove the old assembly.
- Install New Housing: Position the new GE WB08T10002 Lamp Housing Assembly in the oven cavity. Secure it with the mounting screws or clips.
- Connect Wiring: Reconnect the electrical wires to the new lamp housing assembly. Ensure connections are secure and match the original configuration.
- Install New Bulb: Screw a new oven-rated light bulb into the socket of the new housing.
- Replace Glass Cover: Reattach the protective glass cover (if applicable).
- Restore Power: Reconnect the oven to its power source.
- Test: Turn on the oven light to ensure it functions correctly.

Figure 1: GE WB08T10002 Oven Lamp Housing Assembly.

Figure 2: Side view of the GE WB08T10002 Oven Lamp Housing Assembly with dimensions (Length: 4 inches, Height: 3.5 inches, Width: 4.25 inches).
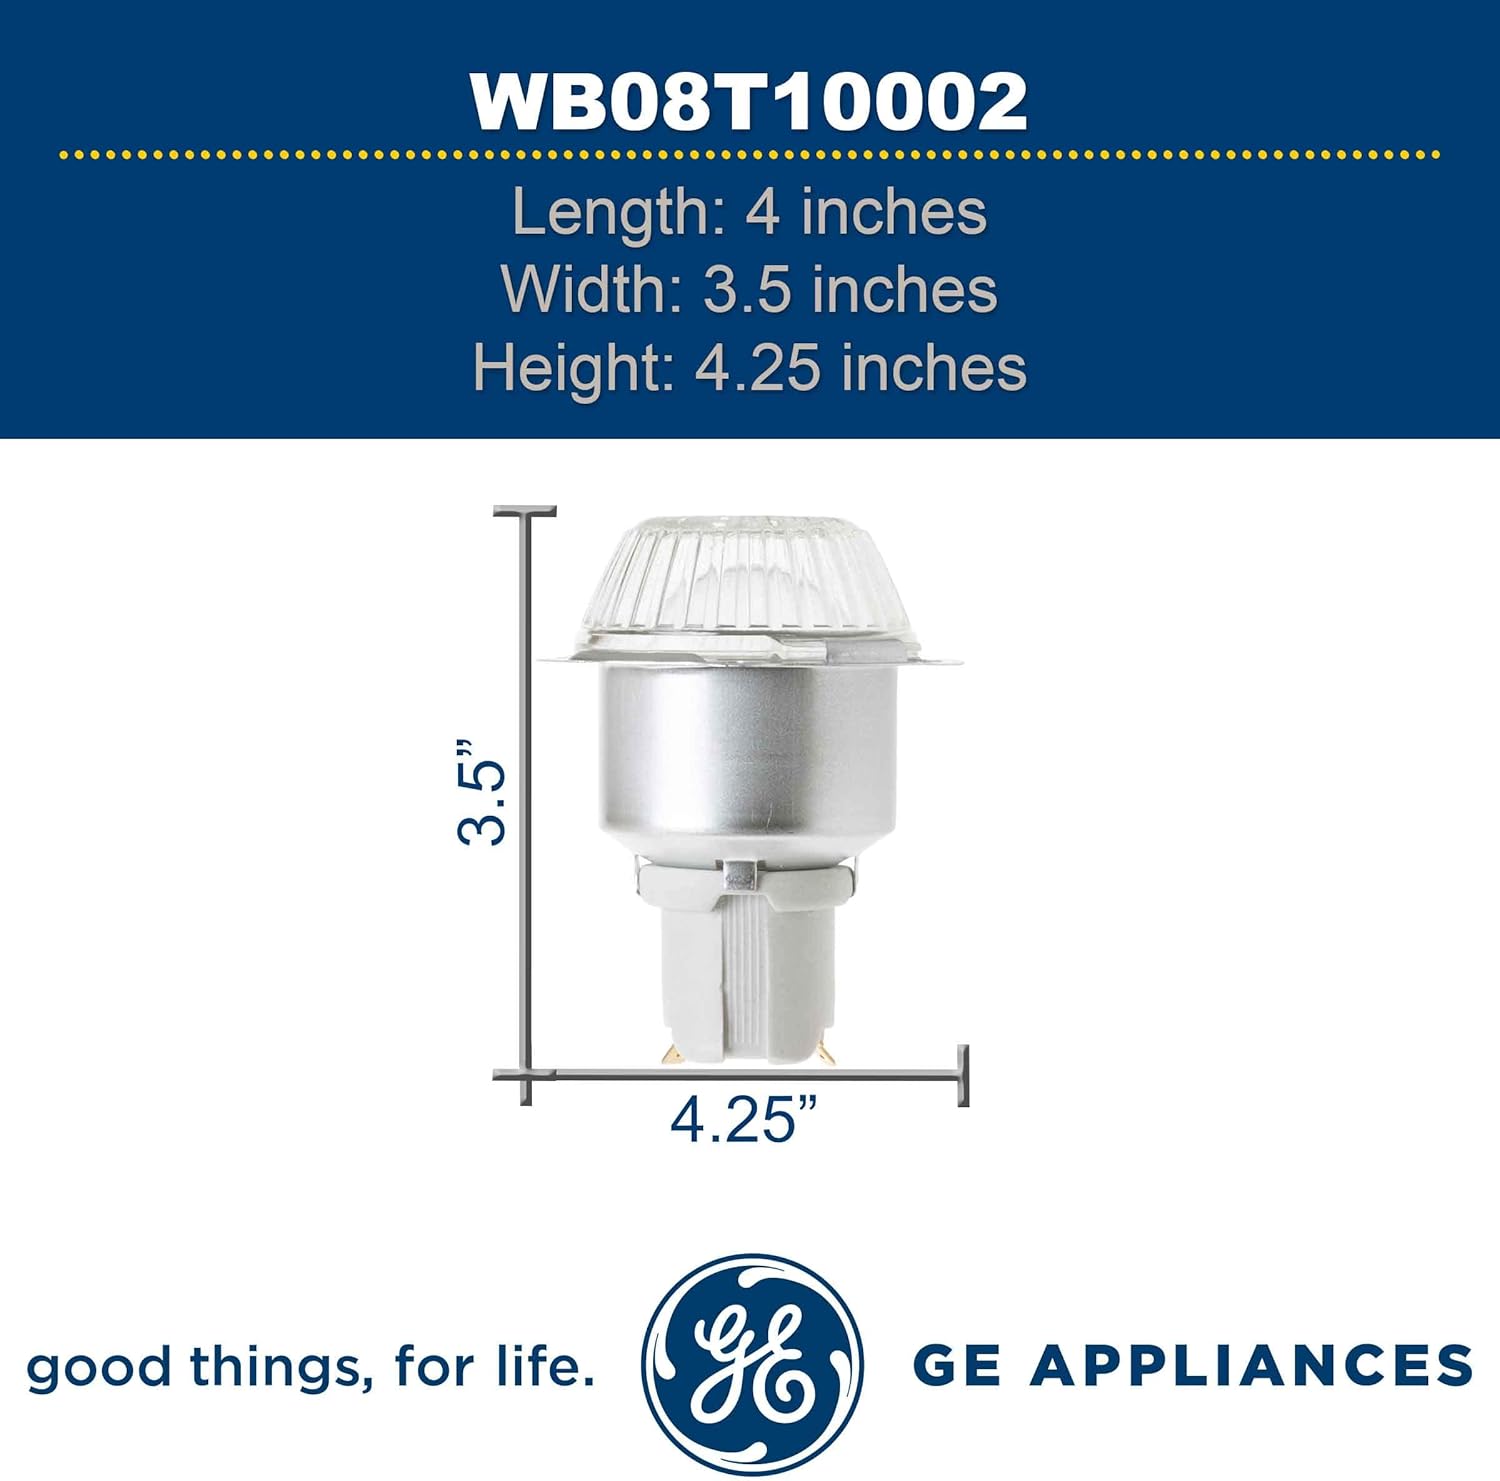
Figure 3: Top view of the GE WB08T10002 Oven Lamp Housing Assembly with dimensions (Length: 4 inches, Height: 3.5 inches, Width: 4.25 inches).
Video 1: Overview of the Wall Oven Light Assembly WB08T10002.
5. Operating
Once installed, the GE WB08T10002 Lamp Housing Assembly operates in conjunction with your oven's existing light switch. Simply activate the oven light switch, typically located on the control panel, to illuminate the oven interior.
6. Maintenance
Regular maintenance helps ensure the longevity and optimal performance of your oven lamp housing assembly.
- Cleaning: Periodically clean the glass cover and surrounding area with a soft cloth and mild, non-abrasive cleaner. Ensure the oven is cool and power is disconnected before cleaning.
- Bulb Replacement: When the oven light bulb burns out, replace it with a new oven-rated bulb of the correct wattage and base type (e.g., A15, 40W, medium base). Follow the installation steps outlined above.
- Inspection: Occasionally inspect the wiring and connections for any signs of wear or damage. If any issues are found, discontinue use and consult a qualified technician.
7. Troubleshooting
If your oven light is not working after installation, consider the following troubleshooting steps:
- No Light:
- Check if the oven is receiving power.
- Ensure the light bulb is securely screwed into the socket.
- Replace the light bulb with a known working oven-rated bulb.
- Verify that the electrical connections to the lamp housing are secure.
- Intermittent Light:
- Check for loose connections at the lamp housing or within the oven's wiring.
- Inspect the bulb for any signs of damage or a loose filament.
If problems persist after performing these checks, it is recommended to contact GE Appliances customer support or a certified service technician.
8. Specifications
| Brand Name | GE |
| Model Info | WB08T10002 |
| Item Weight | 6.4 ounces |
| Product Dimensions | 5.9 x 4.8 x 3.6 inches |
| Item Model Number | WB08T10002 |
| Part Number | WB08T10002 |
| Fuel Type | Electric |
| Included Components | Single GE WB08T10002 Lamp Housing Assembly for GE Ovens |
9. Compatible Models
This GE WB08T10002 Lamp Housing Assembly is compatible with a wide range of GE oven models, including but not limited to:
- JBP61WC1WW, JBP62BY2AD, JBP62BY2WH
- JCS905BK1BB, JCS905SK1SS, JCS905WK1WW
- JCSP31BW3BB, JCSP31BW4BB, JCSP31WW3WW, JCSP31WW4WW
- JCSP38BK1BB, JCSP38BK2BB, JCSP38WK1WW, JCSP38WK2WW
- JCSP39BW3BB, JCSP39BW4BB, JCSP39WW3WW, JCSP39WW4WW
- JCSP42BK1BB, JCSP42SK1SS, JCSP42WK1WW
- JCSP46BD1BB, JCSP46WD1WW
- JCSP47BF1BB, JCSP47BF2BB, JCSP47BF3BB, JCSP47BF4BB, JCSP47BF6BB
- JCSP47SK1SS, JCSP47WF1WW, JCSP47WF2WW, JCSP47WF3WW, JCSP47WF4WW, JCSP47WF6WW
- JCT910SA1SS, JCT910SA2SS, JCT910SA3SS, JCT910SA4SS, JCT910SY1SS
- JCTP18BA1BB, JCTP18BA2BB, JCTP18BA3BB, JCTP18BA4BB, JCTP18BA5BB
- JCTP18WA1WW, JCTP18WA2WW, JCTP18WA3WW, JCTP18WA4WW, JCTP18WA5WW
- JD900BK1BB
Always verify compatibility with your specific oven model before purchasing and installing the part.
10. Warranty and Support
As a Genuine OEM part, the GE WB08T10002 Lamp Housing Assembly is backed by the quality and reliability standards of GE Appliances. For specific warranty details, technical support, or to inquire about service, please refer to the documentation provided with your original GE appliance or visit the official GE Appliances website.