Important Safeguards
When using electrical appliances, basic safety precautions should always be followed to reduce the risk of fire, electric shock, and/or injury to persons, including the following:
- Read all instructions.
- Do not touch hot surfaces. Use handles or knobs.
- To protect against electric shock, do not immerse cord, plugs, or appliance in water or other liquid.
- Close supervision is necessary when any appliance is used by or near children.
- Unplug from outlet when not in use and before cleaning. Allow to cool before putting on or taking off parts, and before cleaning the appliance.
- Do not operate any appliance with a damaged cord or plug, or after the appliance malfunctions or has been damaged in any manner. Contact customer support for examination, repair, or adjustment.
- The use of accessory attachments not recommended by the appliance manufacturer may result in fire, electric shock, or injury to persons.
- Do not use outdoors.
- Do not let cord hang over edge of table or counter, or touch hot surfaces.
- Do not place on or near a hot gas or electric burner, or in a heated oven.
- To disconnect, turn any control to OFF, then remove plug from wall outlet.
- Do not use appliance for other than intended use.
- The carafe is designed for use with this appliance. It must never be used on a range top.
- Do not place a hot carafe on a wet or cold surface.
- Do not use a cracked carafe or a carafe having a loose or weakened handle.
- Do not clean carafe with cleansers, steel wool pads, or other abrasive materials.
- This appliance is not intended for use by persons (including children) with reduced physical, sensory or mental capabilities, or lack of experience and knowledge, unless they have been given supervision or instruction concerning use of the appliance by a person responsible for their safety.
Product Overview
The BLACK+DECKER 12-Cup Mill and Brew Coffee Maker offers integrated grinding and brewing for fresh coffee. It features programmable settings and a reusable filter for convenience.
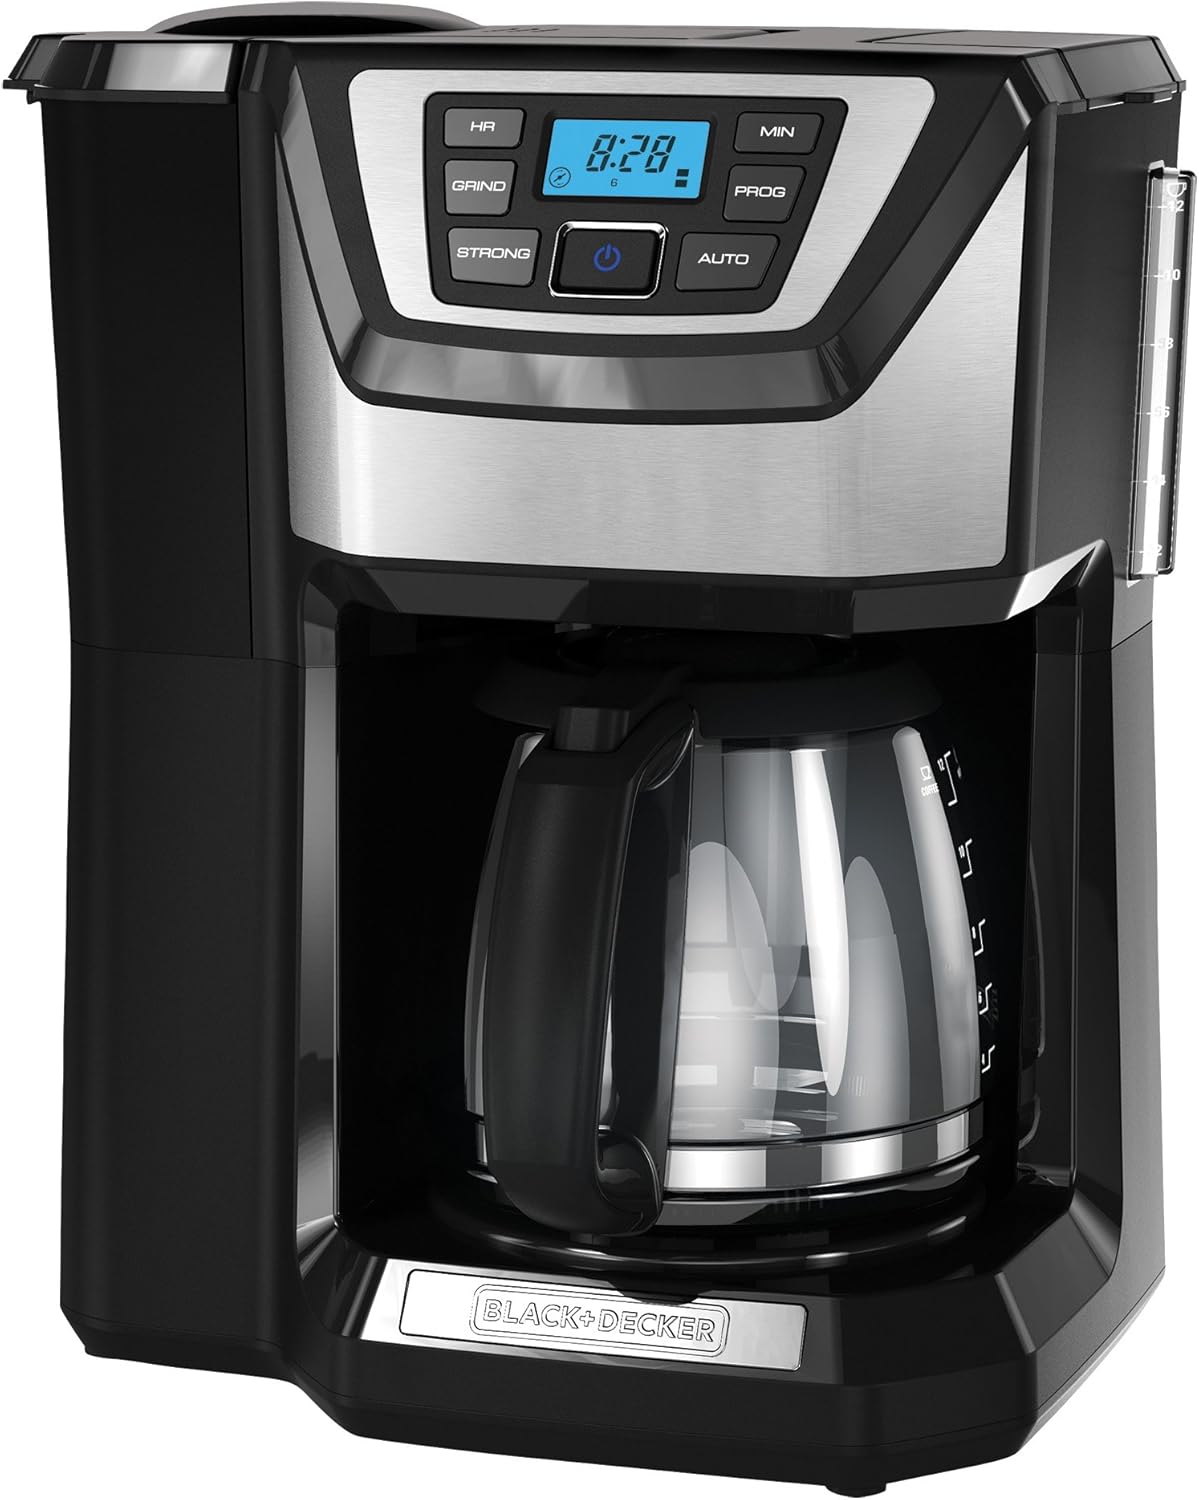
Image: Front view of the BLACK+DECKER 12-Cup Mill and Brew Coffee Maker, black and stainless steel finish.
Key Features:
- Integrated Grinder: Grinds whole beans directly before brewing for optimal flavor. Can be turned off for pre-ground coffee.
- Customizable Brew Strength: Select from regular, bold, or strong settings.
- Quick Touch Programming: 24-hour auto-brew feature with a backlit display.
- Sneak-A-Cup Feature: Temporarily stops coffee flow to allow pouring a cup mid-brew.
- Reusable Filter: Permanent bronze-tone filter eliminates the need for paper filters.

Image: Close-up of the QuickTouch programming panel with digital display and control buttons (HR, MIN, GRIND, STRONG, PROG, AUTO, Power).
Included Components:
- Coffee Maker Base Unit
- Glass Carafe (12-cup capacity)
- All-in-One Grinder/Filter Basket
- Coffee Scoop

Image: The coffee maker base unit, glass carafe, and a coffee scoop displayed on a kitchen counter.
Setup and First Use
Before First Use:
- Remove all packing materials, stickers, and plastic bands from the coffee maker.
- Wash the glass carafe, lid, and the all-in-one grinder/filter basket in warm, soapy water. Rinse thoroughly and dry.
- Wipe the exterior of the appliance with a damp cloth.
Priming the Coffee Maker:
To ensure proper operation and clean the internal components, run a cycle with water only.
- Fill the water reservoir with cold water up to the 12-cup mark.
- Place the empty all-in-one grinder/filter basket into its position.
- Place the empty carafe with its lid on the warming plate.
- Plug the coffee maker into an electrical outlet.
- Press the power button to start the brewing cycle.
- Allow the cycle to complete. Discard the water from the carafe.
- Unplug the appliance and allow it to cool before cleaning.
Operating Instructions
Setting the Clock:
- Plug in the coffee maker. The display will flash '12:00'.
- Press the 'HR' button to set the hour. The 'PM' indicator will light up for PM hours.
- Press the 'MIN' button to set the minutes.
- The clock will set automatically after a few seconds of inactivity.
Brewing Coffee with Whole Beans:
- Open the lid and fill the water reservoir with cold water to the desired level (e.g., 8 cups for 8 servings).
- Add whole coffee beans to the all-in-one grinder/filter basket. Use approximately 1 tablespoon of whole beans per cup. Do not exceed the 'MAX' fill line in the basket.
- Ensure the grinder/filter basket is securely in place.
- Place the carafe with its lid on the warming plate.
- Press the 'GRIND' button to activate the grinding function. The indicator light will illuminate.
- Select your desired brew strength by pressing the 'STRONG' button (Regular, Bold, Strong).
- Press the power button to start brewing. The coffee maker will grind the beans, then begin the brewing cycle.

Image: Top-down view of the integrated grinder and permanent filter basket within the coffee maker.
Brewing Coffee with Pre-Ground Coffee:
- Follow steps 1-3 from 'Brewing Coffee with Whole Beans'.
- Add pre-ground coffee to the all-in-one grinder/filter basket. Use approximately 1 tablespoon of ground coffee per cup. Do not exceed the 'MAX' fill line.
- Press the 'GRIND' button to ensure the grinding function is deactivated (indicator light should be off).
- Select your desired brew strength by pressing the 'STRONG' button.
- Press the power button to start brewing.
Using the Sneak-A-Cup Feature:
This feature allows you to pour a cup of coffee before the brewing cycle is complete.
- During the brewing cycle, carefully remove the carafe from the warming plate. The flow of coffee will automatically pause.
- Pour your desired amount of coffee.
- Immediately return the carafe to the warming plate to resume brewing. Do not leave the carafe off the plate for more than 20 seconds to prevent overflow.

Image: A stream of coffee being poured into a white mug, illustrating the Sneak-A-Cup feature.
Programming Auto Brew:
Set the coffee maker to automatically brew at a specific time.
- Ensure the current time is set correctly.
- Prepare the coffee maker with water and coffee (whole beans or ground) as described in the brewing sections.
- Press the 'PROG' button. The display will flash '12:00'.
- Press the 'HR' and 'MIN' buttons to set the desired auto-brew time.
- Press the 'PROG' button again to confirm the setting. The 'AUTO' indicator light will illuminate.
- The coffee maker will automatically start brewing at the programmed time.
Care and Cleaning
Regular cleaning helps maintain the performance and longevity of your coffee maker.
Daily Cleaning:
- Always unplug the appliance and allow it to cool completely before cleaning.
- Remove the all-in-one grinder/filter basket. Discard used coffee grounds.
- Wash the grinder/filter basket and carafe (including lid) in warm, soapy water. These parts are also top-rack dishwasher safe.
- Wipe the exterior surfaces of the coffee maker with a soft, damp cloth. Do not use abrasive cleaners or scouring pads.
- Do not immerse the coffee maker base in water or any other liquid.

Image: The all-in-one grinder and permanent filter assembly removed from the coffee maker, showing its components for easy cleaning.
Descaling (Mineral Deposit Removal):
Mineral deposits (calcium) can build up in your coffee maker over time, affecting performance. Descale every 60-80 uses or monthly, depending on water hardness.
- Pour 4 cups of undiluted white vinegar into the water reservoir.
- Place an empty carafe on the warming plate.
- Press the power button to start a brewing cycle.
- Allow half of the vinegar solution to brew into the carafe, then press the power button to turn off the coffee maker.
- Let the coffee maker soak for at least 15 minutes to soften deposits.
- Press the power button to resume the brewing cycle and brew the remaining vinegar solution.
- Discard the vinegar solution from the carafe.
- Fill the water reservoir with fresh, cold water and run a full brewing cycle to rinse the system. Repeat this rinsing cycle at least twice.
Troubleshooting
| Problem | Possible Cause | Solution |
|---|---|---|
| Coffee does not brew. | Coffee maker not plugged in; power button not pressed; auto-brew not set correctly. | Ensure appliance is plugged in. Press the power button. Check auto-brew settings. |
| Coffee is too weak. | Not enough coffee grounds/beans; incorrect brew strength selected; mineral buildup. | Add more coffee. Select 'Bold' or 'Strong' brew strength. Descale the coffee maker. |
| Coffee overflows from filter basket. | Too much coffee grounds/beans; filter basket not seated correctly; carafe not on warming plate. | Reduce amount of coffee. Ensure filter basket is properly inserted. Ensure carafe is on warming plate. |
| Grinder is loud or not grinding. | Beans jammed; grinder needs cleaning; 'GRIND' button not activated. | Clear any jammed beans. Clean the grinder thoroughly. Ensure 'GRIND' button is pressed for whole beans. |
| Water leaks from coffee maker. | Water reservoir overfilled; components not properly assembled. | Do not overfill water reservoir. Ensure all removable parts are correctly in place. |
Specifications
- Brand: BLACK+DECKER
- Model Name: Mill and Brew Coffee Maker
- Model Number: CM5000B
- Capacity: 12-Cup
- Color: Black/Stainless Steel
- Product Dimensions: 10"D x 13.5"W x 15.5"H
- Item Weight: 9.5 pounds
- Voltage: 110V
- Special Features: Permanent Filter, Programmable, Timer, Integrated Grinder, Sneak-A-Cup
- Coffee Input Type: Both Whole Beans and Grounds
- UPC: 050875802438

Image: The coffee maker with dimensions labeled: 15.5 inches height, 13.5 inches width, 10 inches depth.
Warranty and Customer Support
For warranty information, product registration, or customer support, please refer to the warranty card included with your product or visit the official BLACK+DECKER website. Keep your purchase receipt as proof of purchase for any warranty claims.
Online Support: www.blackanddecker.com/support
Telephone Support: Refer to your product documentation for regional contact numbers.


