
KINGSTORE CB-640349-112
KINGSTORE Carburetor Instruction Manual
For Tecumseh Models HMSK105-159908B, HMSK105-159908C, HMSK105-159909A
Introduction
This manual provides essential instructions for the installation, operation, maintenance, and troubleshooting of your KINGSTORE replacement carburetor. This carburetor is designed for specific Tecumseh engine models to ensure proper fuel delivery and engine performance. Please read this manual thoroughly before attempting any installation or maintenance.
Product Overview
The KINGSTORE carburetor is an aftermarket replacement component designed to restore optimal fuel-air mixture to your Tecumseh engine. It includes the carburetor unit and a gasket for installation.

Image 1: The KINGSTORE replacement carburetor shown with the included mounting gasket.
Compatibility
This carburetor is compatible with the following Tecumseh engine models:
- HMSK105-159908B
- HMSK105-159908C
- HMSK105-159909A
Always verify your engine model number before installation to ensure proper fitment.
Important Safety Information
- Always disconnect the spark plug wire before performing any maintenance or installation to prevent accidental engine startup.
- Work in a well-ventilated area. Fuel vapors are flammable and hazardous.
- Wear appropriate personal protective equipment, including safety glasses and gloves.
- Ensure the engine is cool before working on the fuel system to prevent burns.
- Handle gasoline with extreme care. Do not smoke or use open flames near fuel.
- Dispose of old fuel and parts responsibly according to local regulations.
Setup and Installation
Tools Required:
- Socket wrench set
- Screwdriver set
- Pliers
- Fuel line clamps (optional)
- Clean rags
- New fuel line (if old one is brittle or cracked)
Installation Steps:
- Prepare the Engine: Ensure the engine is off and cool. Disconnect the spark plug wire. Turn off the fuel supply valve, if present.
- Drain Fuel: Place a suitable container under the carburetor. Disconnect the fuel line from the carburetor and drain any remaining fuel from the fuel tank and carburetor bowl.
- Remove Air Filter Assembly: Carefully remove the air filter housing and air filter to access the carburetor.
- Disconnect Linkages: Note the routing and connection points of the throttle and choke linkages. Disconnect them from the old carburetor. Taking a photo can be helpful.
- Remove Mounting Bolts: Unscrew the bolts that secure the carburetor to the engine intake manifold.
- Remove Old Carburetor: Carefully pull the old carburetor away from the engine. Remove and discard the old gasket.
- Inspect Intake Manifold: Clean any debris or old gasket material from the engine's intake manifold surface.
- Install New Gasket: Place the new gasket (included) onto the mounting studs or manifold, ensuring it is correctly aligned.
- Mount New Carburetor: Position the new KINGSTORE carburetor onto the mounting studs, aligning it with the gasket and intake manifold.
- Secure Carburetor: Reinstall the mounting bolts and tighten them evenly to secure the carburetor. Do not overtighten.
- Reconnect Linkages: Reattach the throttle and choke linkages to their respective points on the new carburetor. Ensure they move freely without binding.
- Reconnect Fuel Line: Attach the fuel line to the carburetor's fuel inlet. Secure it with a clamp if necessary.
- Reinstall Air Filter Assembly: Reinstall the air filter and housing.
- Refill Fuel and Test: Refill the fuel tank, open the fuel supply valve, and reconnect the spark plug wire. Prime the carburetor if your engine has a primer bulb. Start the engine and check for leaks or abnormal operation.

Image 2: Side view of the carburetor, illustrating the throttle and choke linkage mechanisms. Observe these connections carefully during removal.

Image 3: Front view of the carburetor, showing the intake port and the fuel inlet connection point.
Operating Considerations
After installation, the engine should start and run smoothly. If the engine runs rough, stalls, or exhibits poor performance, refer to the Troubleshooting section.
- Choke Operation: For cold starts, engage the choke fully. As the engine warms up, gradually disengage the choke.
- Throttle Control: Use the throttle lever to control engine speed.
- Fuel Quality: Always use fresh, clean fuel as recommended by your engine manufacturer. Stale or contaminated fuel can cause carburetor issues.
Maintenance
Regular maintenance helps ensure the longevity and performance of your carburetor.
- Fuel System Cleanliness: Periodically check fuel lines and the fuel tank for debris or contamination. Consider using a fuel stabilizer, especially during storage.
- Air Filter: Ensure the air filter is clean and free of obstructions. A dirty air filter can restrict airflow and affect carburetor performance.
- Carburetor Cleaning: If the engine experiences fuel-related issues, the carburetor may require cleaning. This typically involves disassembling the carburetor, cleaning jets and passages with carburetor cleaner, and replacing gaskets if necessary. For detailed cleaning, consult a service manual for your specific engine model or seek professional assistance.
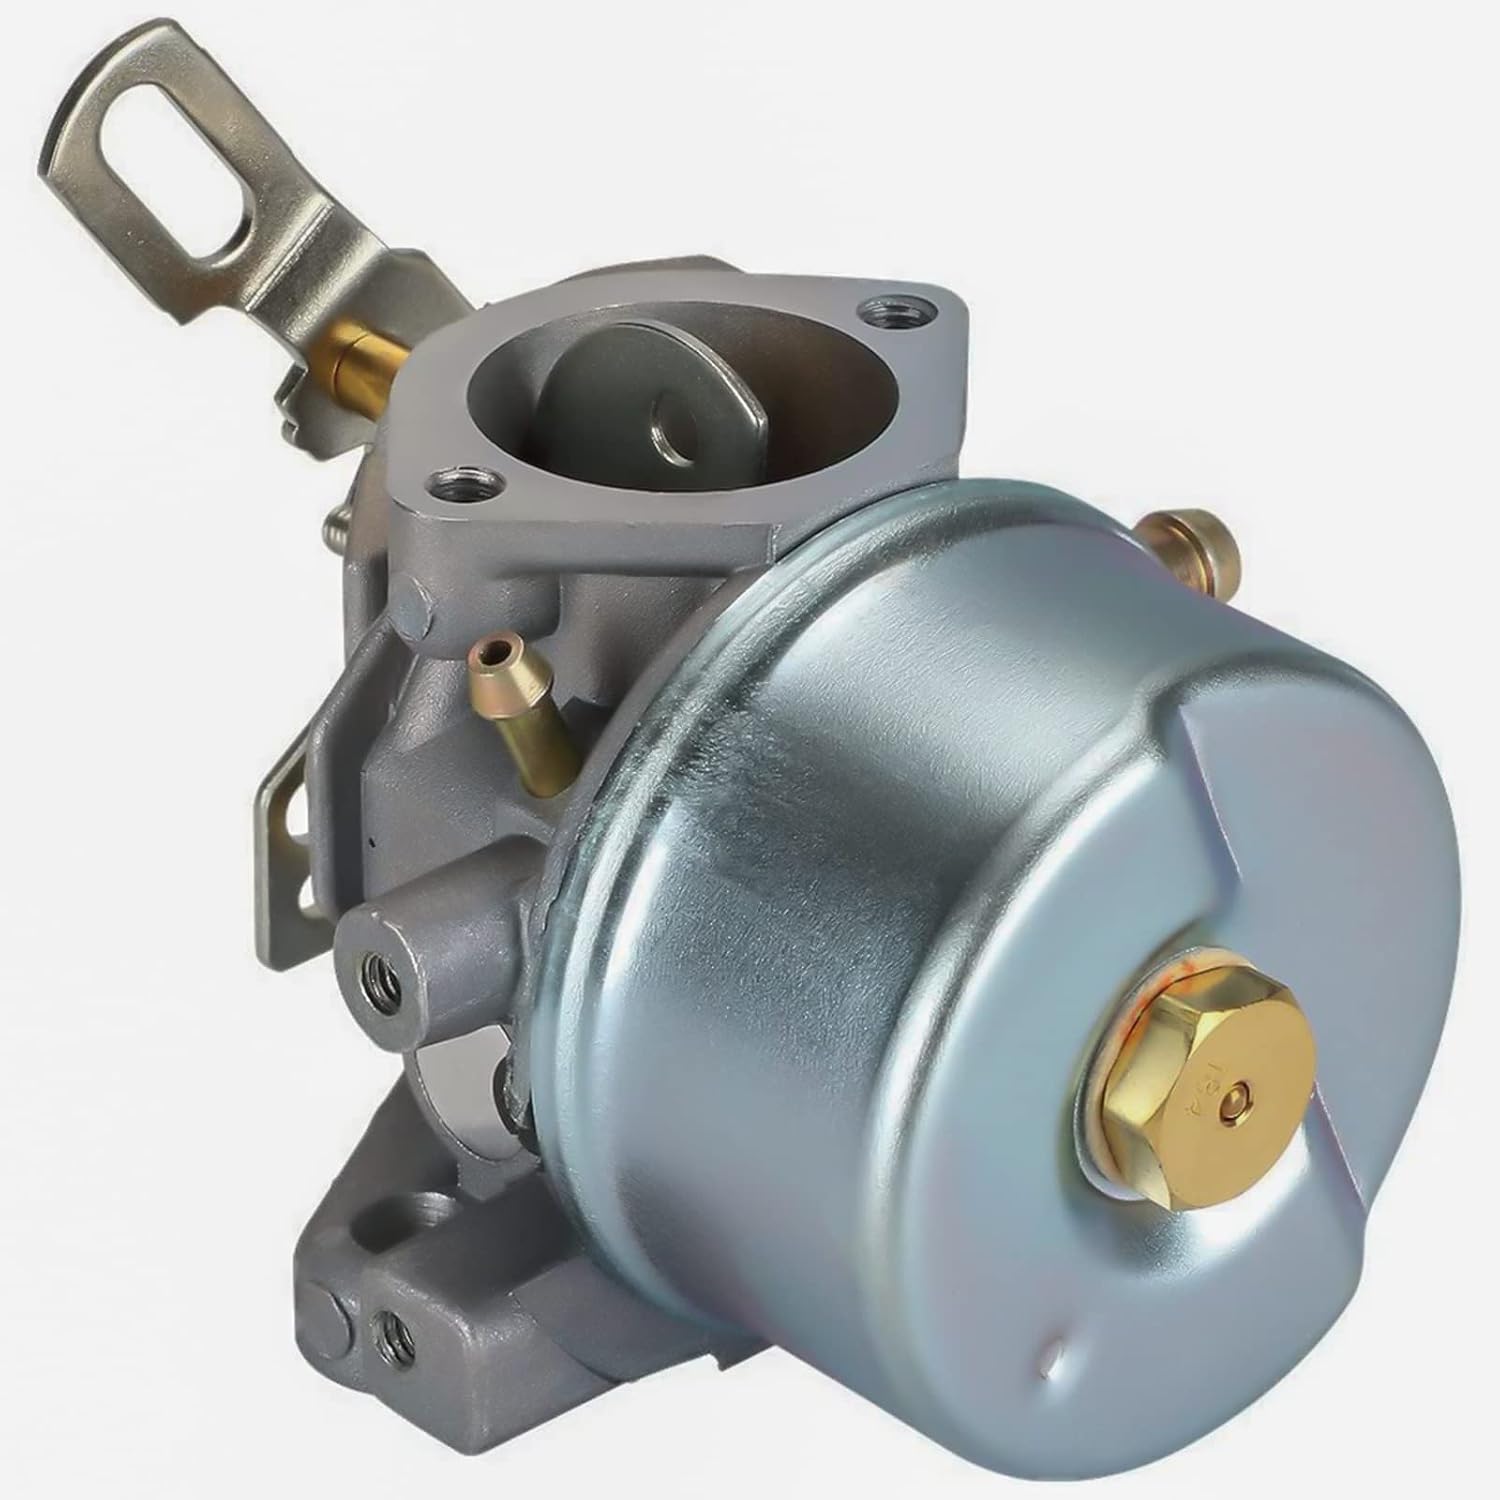
Image 4: Side view of the carburetor, highlighting the float bowl at the bottom, which can be removed for cleaning.
Troubleshooting
If you encounter issues after installing the new carburetor, consider the following common problems and solutions:
| Problem | Possible Cause | Solution |
|---|---|---|
| Engine will not start | No fuel, clogged fuel filter, incorrect choke setting, spark plug issue. | Check fuel level, inspect fuel filter, ensure choke is set for cold start, check spark plug. |
| Engine runs rough or stalls | Dirty carburetor jets, air leak, incorrect fuel mixture, old or contaminated fuel. | Clean carburetor, check for air leaks around gaskets, ensure fresh fuel. Some aftermarket carburetors may require minor adjustments or have fixed jets. |
| Engine runs too rich (excessive smoke, poor power) | Float level too high, clogged air filter, incorrect jetting. | Inspect float and needle valve, clean/replace air filter. If the carburetor has an adjustable mixture screw, attempt minor adjustments. Note that some aftermarket carburetors may have fixed jetting. |
| Fuel leaks from carburetor | Loose connections, damaged gasket, faulty float needle. | Check fuel line connections, inspect and replace gaskets, check float and needle valve for proper sealing. |
If troubleshooting steps do not resolve the issue, professional service may be required.
Specifications
- Brand: KINGSTORE
- Model Number: CB-640349-112
- Compatible Tecumseh Models: HMSK105-159908B, HMSK105-159908C, HMSK105-159909A
- OEM Part Numbers: 632334A, 632334, 640349, 640052, 640054
- Item Weight: Approximately 10.1 ounces (286 grams)
- Package Dimensions: Approximately 4.4 x 3.7 x 3.5 inches
- UPC: 748347707854
Key Dimensions:

Image 5: Detailed measurements of various carburetor components, including intake and mounting hole spacing.

Image 6: Overall dimensions of the carburetor, providing height, width, and depth measurements.
Warranty Information
This KINGSTORE carburetor comes with a One Year Warranty from the date of purchase. This warranty covers defects in materials and workmanship under normal use. It does not cover damage resulting from improper installation, misuse, neglect, accident, or unauthorized modifications. Please retain your proof of purchase for warranty claims.
Customer Support
For technical assistance, warranty claims, or any questions regarding your KINGSTORE carburetor, please contact the seller or retailer from whom you purchased the product. Provide your product model number (CB-640349-112) and proof of purchase when seeking support.
Ask a question about this manual
Ask about setup, troubleshooting, compatibility, parts, safety, or missing instructions. Manuals+ will review the question and use this page’s manual context to help answer it.