1. Introduction
Welcome to the user manual for your new Bosch WAX20168IN Front-loading Washing Machine. This document provides essential information for the safe and efficient operation, maintenance, and troubleshooting of your appliance. Please read it thoroughly before using the washing machine for the first time and keep it for future reference.
2. Safety Instructions
To ensure safe operation, always adhere to the following safety guidelines:
General Safety
- Read all instructions before using the appliance.
- Keep packaging materials away from children.
- This appliance is intended for domestic use only.
- Do not allow children to play with the appliance.
- Ensure the appliance is properly earthed.
- Do not operate the appliance if it is damaged.
- Unplug the appliance before cleaning or maintenance.
Electrical Safety
- Ensure the voltage and frequency of your power supply match the ratings on the appliance's rating plate.
- Do not use extension cords or multiple socket adapters.
- Never pull the power cord to disconnect the appliance from the mains.
Water Safety
- Connect the water inlet hose securely to prevent leaks.
- Ensure the drain hose is correctly positioned to avoid flooding.
3. Product Overview
The Bosch WAX20168IN is a 6 kg front-loading washing machine designed for efficient laundry care. It features a user-friendly interface and various wash programs.
Components

Image Description: Front view of the Bosch WAX20168IN washing machine. It features a silver finish, a large central porthole door, and a control panel at the top with a digital display, program selector dial, and various buttons.
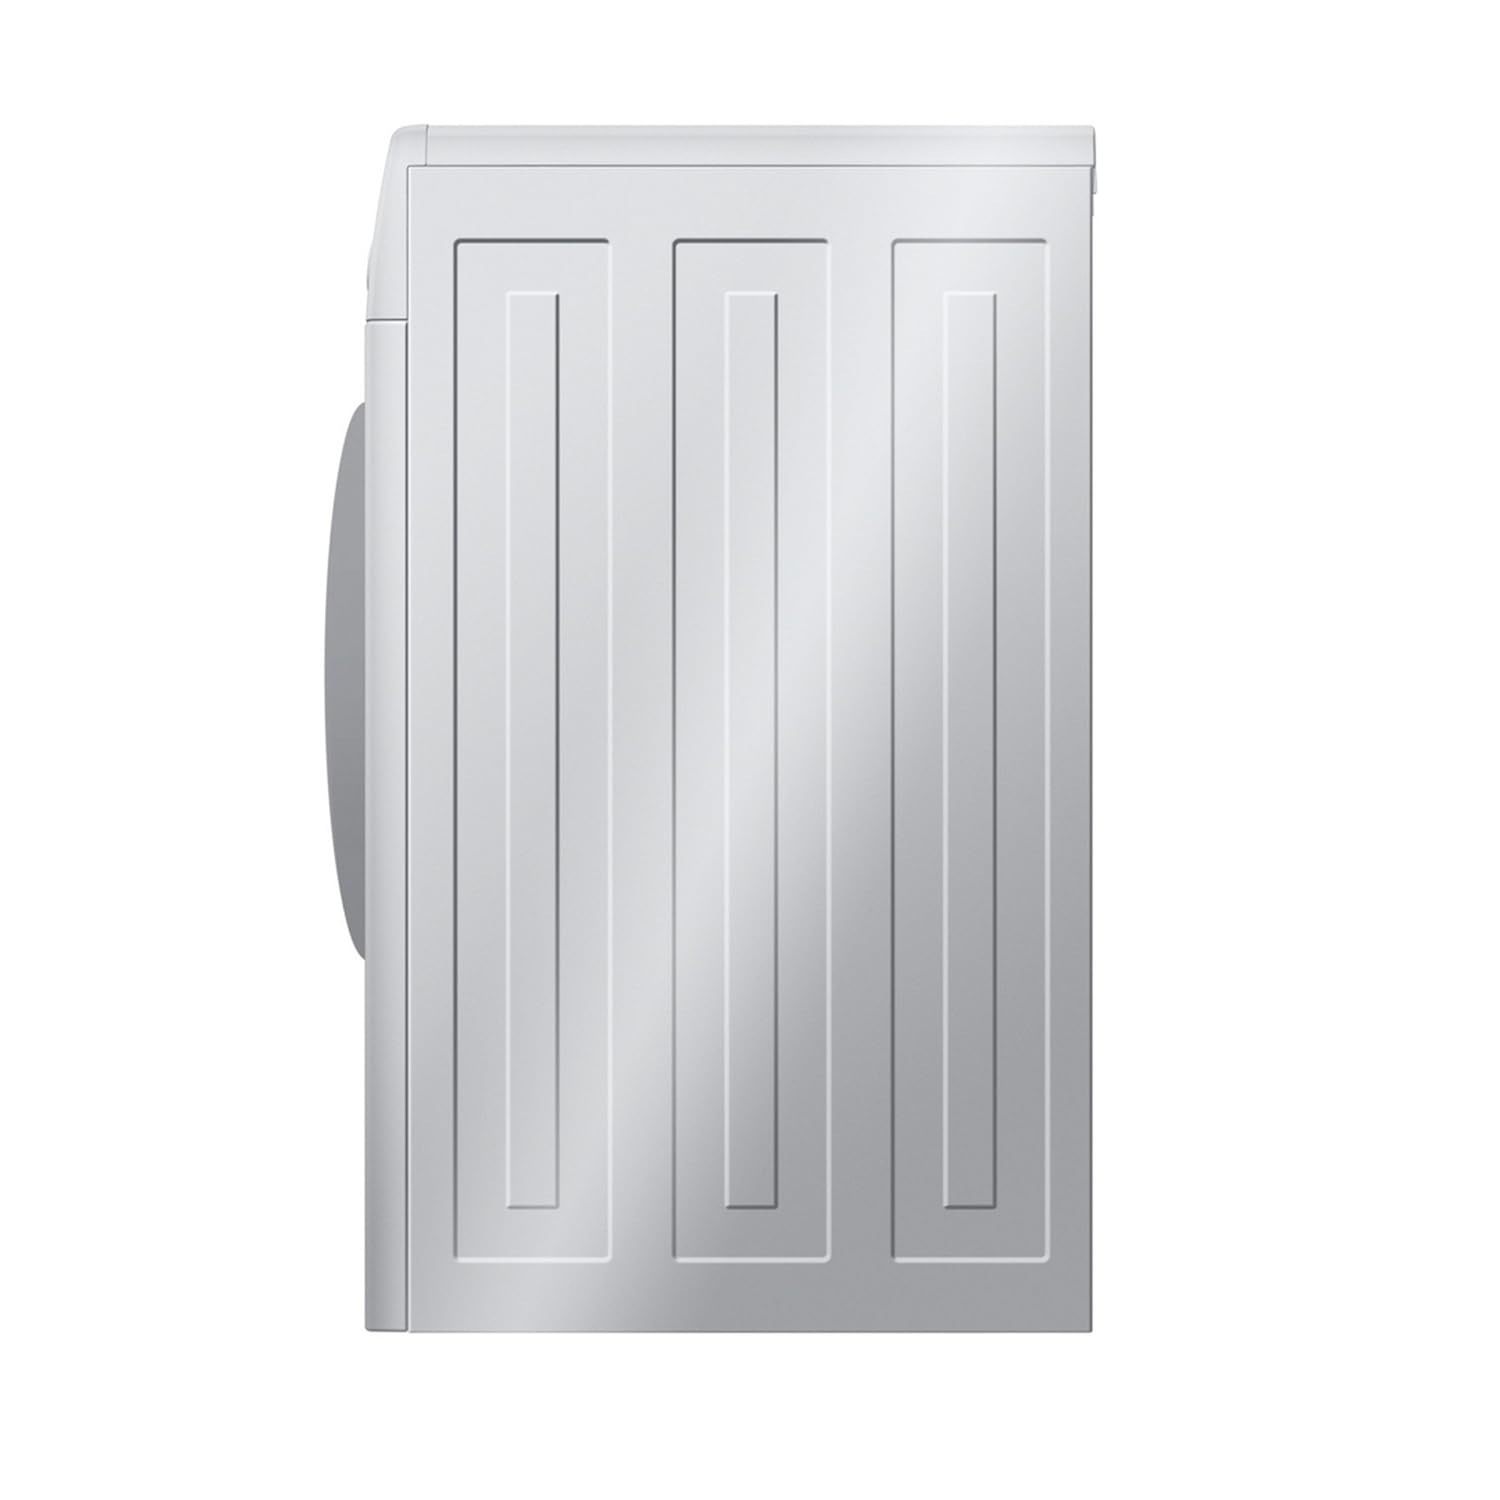
Image Description: Side view of the Bosch WAX20168IN washing machine, showing the textured side panel design.

Image Description: Close-up view of the stainless steel drum interior of the Bosch WAX20168IN washing machine, highlighting the textured surface and lifters designed for effective washing.
Control Panel
The control panel features an LED digital display, a program selector dial, and buttons for various functions. The fully electronic control dial allows selection of wash programs, temperature, and special programs. It also includes a 24-hour time delay function and provides feedback on the cycle status and error codes.
4. Setup
Unpacking
- Remove all packaging materials and transit bolts from the rear of the machine. Refer to the separate installation guide for detailed instructions on transit bolt removal.
- Ensure all accessories are present.
Positioning
- Place the washing machine on a firm, level surface.
- Adjust the feet to ensure the machine is stable and level, minimizing vibration and noise.
- Maintain adequate space around the machine for ventilation and access.
Water Connection
- Connect the water inlet hose to a cold water tap with a 3/4" thread. Ensure the connection is tight to prevent leaks.
- Position the drain hose into a standpipe or over the edge of a sink, ensuring it is securely fixed to prevent displacement during operation.
Electrical Connection
- Plug the power cord into a grounded electrical outlet.
- Ensure the power supply meets the appliance's requirements (980 Watts).
5. Operating Instructions
Before First Use
- Run an empty wash cycle with a small amount of detergent to clean the drum and remove any manufacturing residues.
Loading Laundry
- Open the porthole door (which has a 165-degree opening angle for easy loading).
- Load laundry loosely into the drum, ensuring not to exceed the 6 kg capacity. Overloading can affect wash performance.
- Close the door firmly until it clicks.
Adding Detergent and Additives
- Pull out the detergent dispenser drawer.
- Add detergent to the main wash compartment and fabric softener to the designated compartment. Refer to detergent packaging for correct dosage.
- Close the dispenser drawer completely.
Selecting a Wash Program
Turn the program selector dial to choose one of the available wash programs:
- Cotton: For durable cotton items.
- Delicate: For delicate fabrics requiring gentle care.
- Rinse plus Spin: For rinsing and spinning items separately.
- Synthetic: For synthetic or mixed fabric items.
- Wool: For wool items suitable for machine washing.
- Super Quick Program: For lightly soiled items when time is limited.
Adjusting Settings
Use the control panel buttons to adjust settings such as temperature, spin speed (up to 1000 RPM), and to activate special functions like the 24-hour time delay.
Starting a Wash Cycle
- Press the Start/Pause button to begin the selected wash program.
- The LED digital display will show the program status and any error codes. The machine features a foam detection system and unbalanced load detection to optimize the wash.
Ending a Wash Cycle
- Once the cycle is complete, the machine will signal.
- Open the door and remove the laundry.
- Leave the door slightly ajar to allow the drum to air dry and prevent odors.
6. Maintenance
Regular maintenance ensures optimal performance and extends the lifespan of your washing machine.
Cleaning the Exterior
- Wipe the exterior surfaces with a soft, damp cloth. Do not use abrasive cleaners or solvents.
Cleaning the Detergent Dispenser
- Regularly remove and clean the detergent dispenser drawer under running water to prevent residue buildup and blockages.
Cleaning the Drum
- Run a maintenance wash cycle (e.g., a hot wash without laundry) periodically to clean the drum and remove any odors or detergent residues.
Cleaning the Drain Pump Filter
- Periodically check and clean the drain pump filter to remove lint and foreign objects. Refer to the full manual for the exact location and procedure.
Door Seal Care
- Wipe the door seal after each wash to remove moisture and lint, preventing mold and odors.
7. Troubleshooting
This section addresses common issues you might encounter. For more complex problems or issues not listed here, contact customer support.
Machine Not Starting
- Ensure the power cord is securely plugged into a live outlet.
- Check if the door is fully closed and latched.
- Verify that a wash program has been selected and the Start/Pause button pressed.
Water Not Filling
- Check if the water tap connected to the machine is fully open.
- Ensure the water inlet hose is not kinked or blocked.
- Verify adequate water pressure. The machine is designed for low water consumption (55 litres per cycle), but sufficient pressure is still required.
Machine Not Draining/Spinning
- Check if the drain hose is kinked or blocked.
- Clean the drain pump filter, as it may be clogged with lint or foreign objects.
- The unbalanced load detection system may prevent spinning if the laundry is unevenly distributed. Redistribute laundry evenly in the drum.
Excessive Foam
- The foam detection system will adjust the cycle if too much foam is detected. Reduce detergent quantity for future washes, especially with soft water or concentrated detergents.
Error Codes
The LED digital display shows error codes to indicate specific issues. Consult the full user manual for a comprehensive list of codes and their solutions. For example, an E17 error code often indicates a water pressure issue.
8. Specifications
| Feature | Specification |
|---|---|
| Brand | Bosch |
| Model | WAX20168IN |
| Capacity | 6 Kilograms |
| Type | Front-Loading |
| Maximum Rotational Speed | 1000 RPM |
| Water Consumption | 55 litres (per cycle) |
| Noise Level (Washing) | 55 Decibels |
| Noise Level (Spinning) | 67 dB |
| Wattage | 980 Watts |
| Dimensions (LxWxH) | 55 x 60 x 85 Centimeters |
| Item Weight | 70 kg |
| Control Console | Fully Automatic |
| Color | Silver |
| Wash Programs | Cotton, Delicate, Rinse plus Spin, Synthetic, Wool |
9. Warranty and Support
Warranty Information
This Bosch WAX20168IN Front-loading Washing Machine comes with a 2-year warranty on the product from the date of purchase. Please retain your proof of purchase for warranty claims. The warranty covers manufacturing defects under normal domestic use.
Customer Support
For technical assistance, service requests, or further information, please contact Bosch customer support. Refer to the contact details provided in your warranty card or visit the official Bosch website for the most up-to-date support information.


