1. Introduction
Thank you for choosing the TFA Dostmann BINGO Radio-Controlled Alarm Clock, Model 60.2528.01. This device offers precise timekeeping through radio control, dual alarm functions, an automatic backlight, and a temperature display. Please read this manual carefully to ensure proper setup and operation.
2. Safety Information
- Keep this instruction manual for future reference.
- Do not expose the device to extreme temperatures, vibrations, or shocks.
- Avoid direct sunlight.
- Do not immerse the device in water.
- Use only specified batteries. Ensure correct polarity.
- Keep batteries out of reach of children.
3. Package Contents
- TFA Dostmann BINGO Radio-Controlled Alarm Clock (Model 60.2528.01)
- 2 x AA Batteries
- Instruction Manual
4. Product Overview
4.1 Front View

Image 1: Front view of the alarm clock. The display shows time, date, day of the week, and indoor temperature. Below the display are the 'SET 1', '-', '+', and 'SET 2' buttons. The top features a large 'SNOOZE & LIGHT' button.
- Display: Shows time, date, day of the week, indoor temperature, and alarm status.
- SET 1 Button: Used to set Alarm 1.
- - Button: Decreases values during setting.
- + Button: Increases values during setting.
- SET 2 Button: Used to set Alarm 2.
- SNOOZE & LIGHT Button: Activates snooze function or temporary backlight.
4.2 Side View (Left)
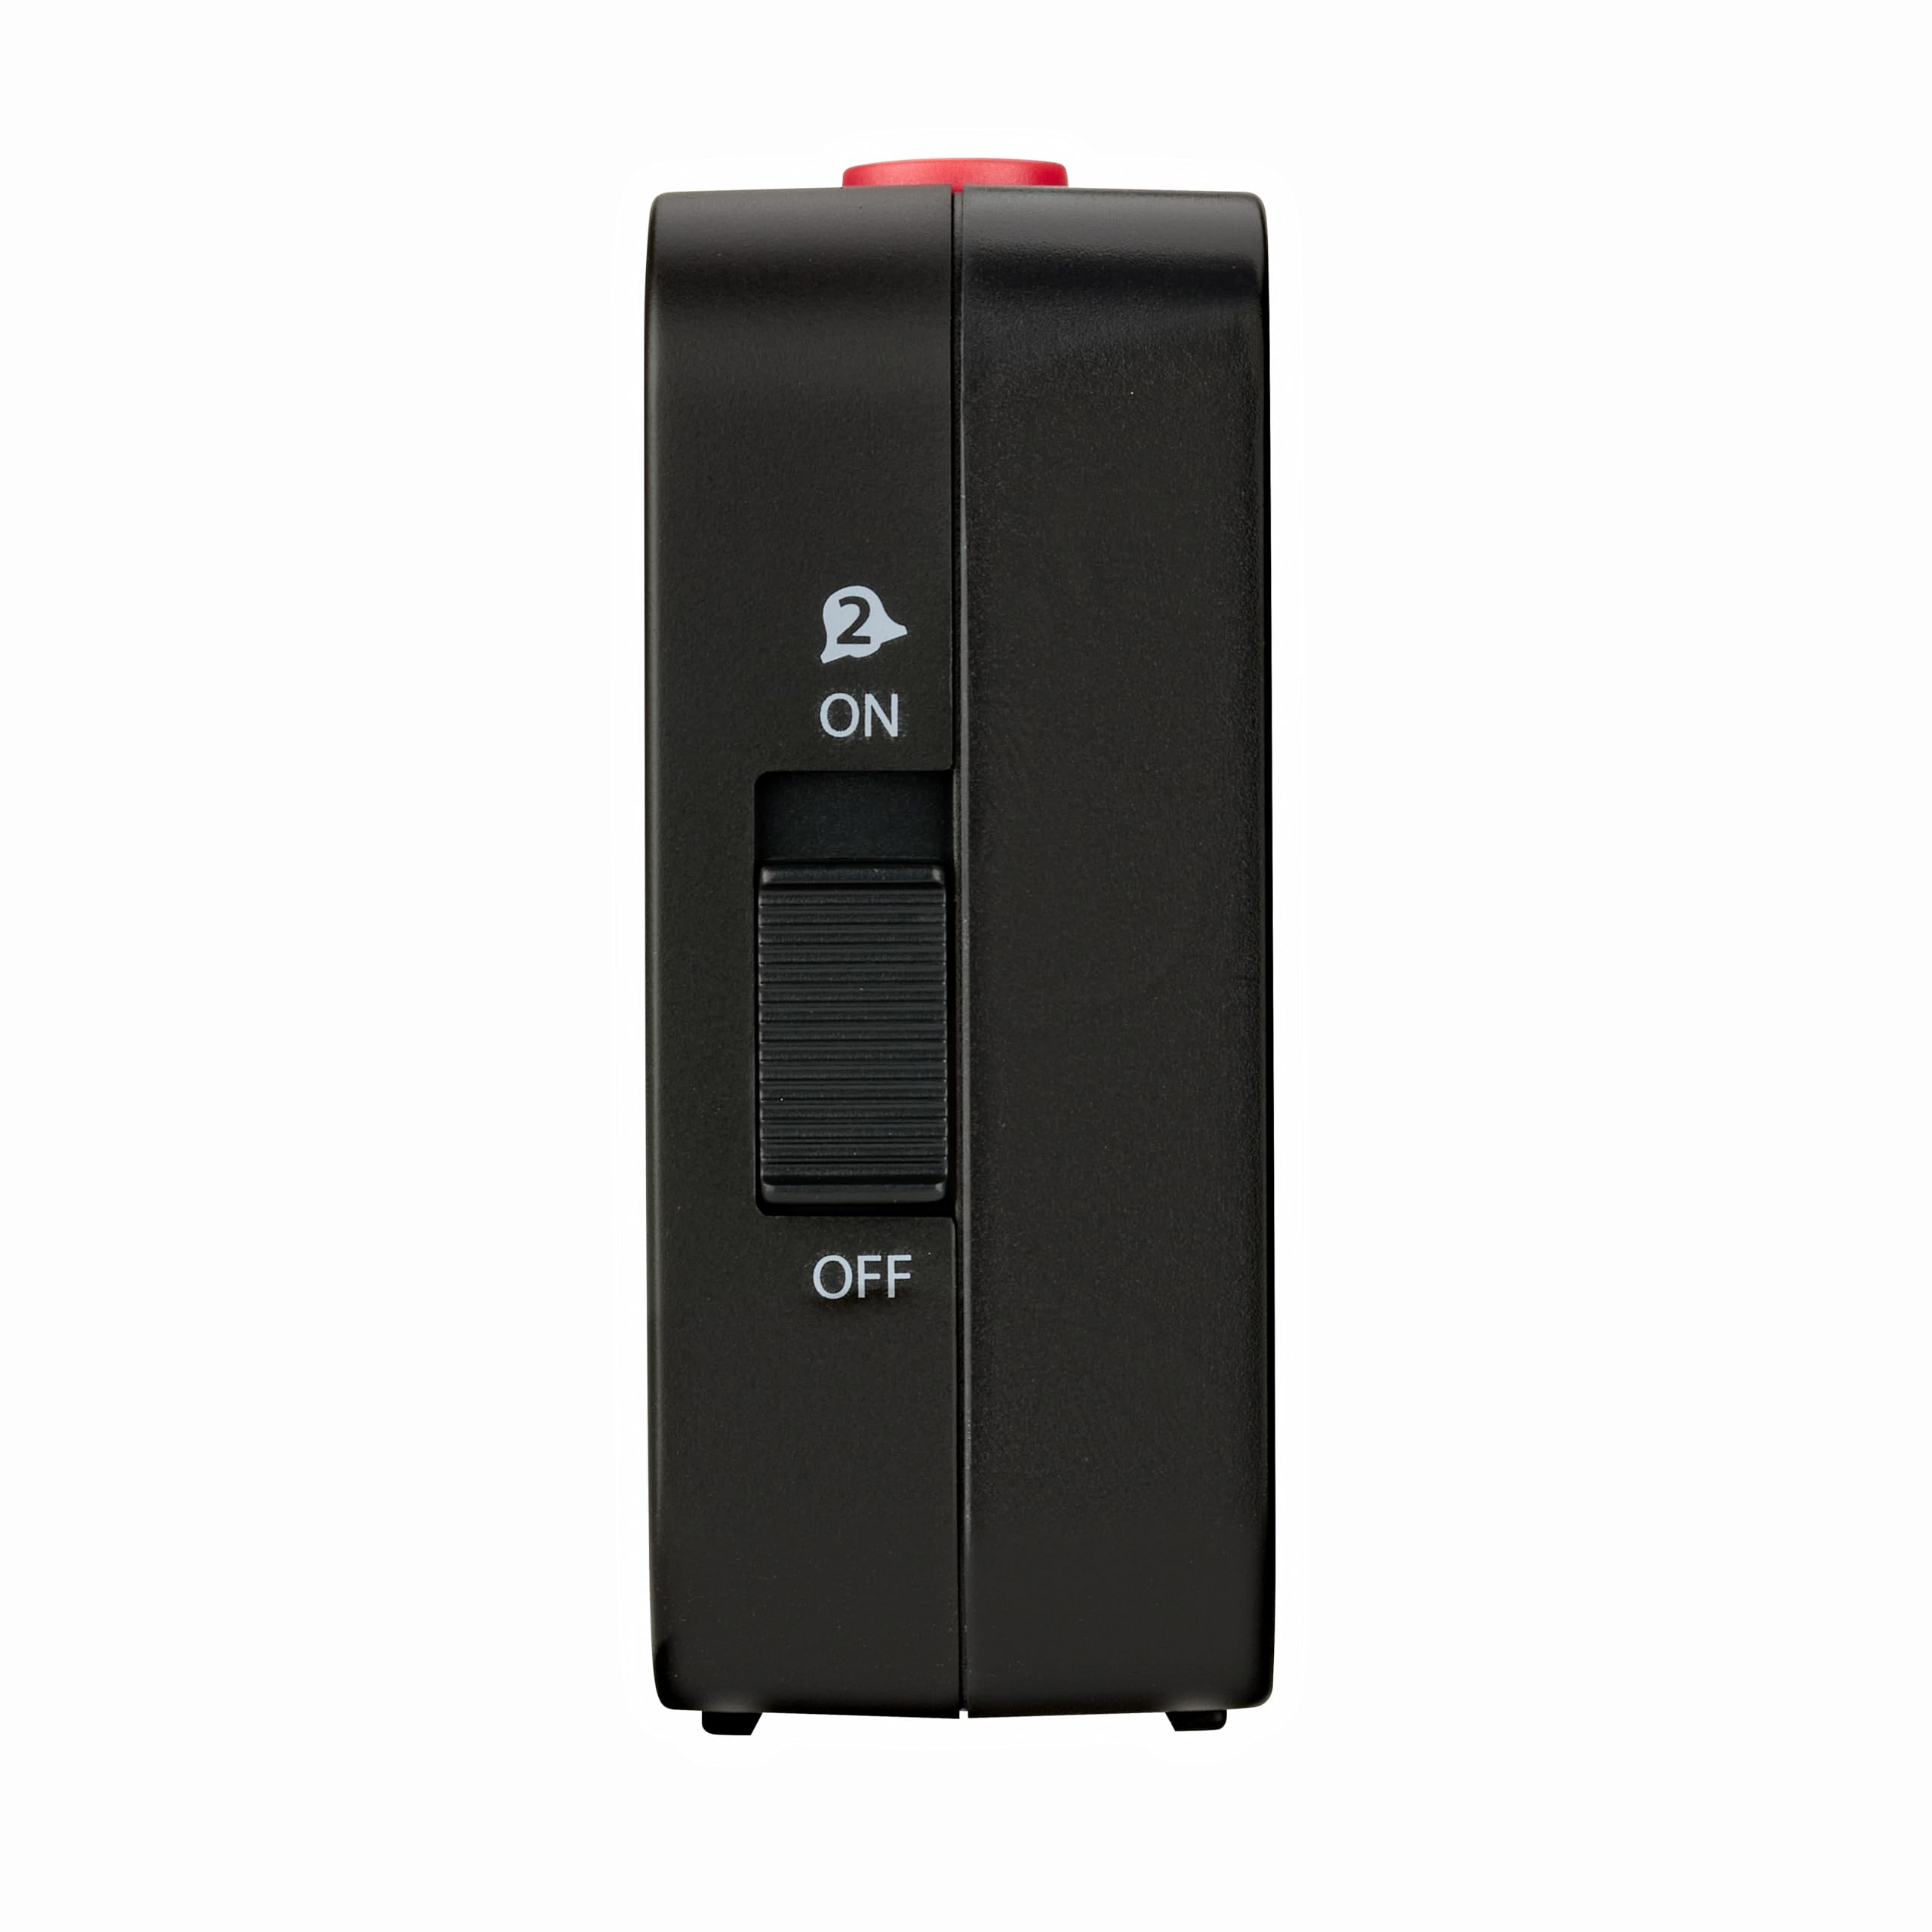
Image 2: Left side of the alarm clock. A slider switch labeled 'ON' and 'OFF' with an alarm bell icon (2) controls Alarm 2 activation.
- Alarm 1 ON/OFF Slider: (Located on the right side, not pictured but functionally similar to Alarm 2 slider) Activates or deactivates Alarm 1.
- Alarm 2 ON/OFF Slider: (Pictured) Activates or deactivates Alarm 2.
4.3 Back View

Image 3: Back view of the alarm clock. Features include the battery compartment cover, an 'OFF / AUTO LIGHT' slider switch, and a 'SET' button.
- Battery Compartment: Holds 2 x AA batteries.
- AUTO LIGHT Switch: Toggles the automatic backlight sensor.
- SET Button: Used for manual time and date settings.
5. Setup
5.1 Battery Installation
- Open the battery compartment cover on the back of the device.
- Insert the 2 x AA batteries, ensuring correct polarity (+/-).
- Close the battery compartment cover.
The device will power on and begin searching for the radio-controlled time signal.
5.2 Radio-Controlled Time Reception
Upon battery insertion, the clock automatically attempts to receive the DCF radio signal. This process can take several minutes. Once the signal is successfully received, the time, date, and day of the week will be set automatically. A radio tower icon will appear on the display, indicating successful reception.
For optimal reception, place the clock away from potential interference sources such as electronic devices, metal structures, or concrete walls. The ideal distance from such sources is typically at least 1.5 meters (5 feet).
5.3 Manual Time Setting (If Radio Signal is Unavailable)
If the radio signal cannot be received, or if you are outside the reception range, you can set the time manually.
- Press and hold the SET button on the back of the clock for approximately 3 seconds. The time digits will start flashing.
- Use the + and - buttons on the front to adjust the hour.
- Press SET again to confirm the hour and move to minutes. Adjust minutes using + and -.
- Continue pressing SET to cycle through and adjust year, month, date, and day of the week.
- After setting all parameters, press SET one last time to exit the setting mode.
6. Operating Instructions
6.1 Setting Alarms (Alarm 1 and Alarm 2)
The clock features two independent alarms.
- Press the SET 1 button (for Alarm 1) or SET 2 button (for Alarm 2) on the front of the clock. The alarm time will flash.
- Use the + and - buttons to adjust the desired alarm hour.
- Press the respective SET button again to confirm the hour and move to minutes. Adjust minutes using + and -.
- Press the SET button one last time to save the alarm time and exit setting mode.
6.2 Activating/Deactivating Alarms
Use the slider switches on the sides of the clock to activate or deactivate each alarm. Slide the switch to ON to enable the alarm, and to OFF to disable it. A color mark on the slider indicates if the alarm is active.
6.3 Snooze Function
When an alarm sounds, press the large SNOOZE & LIGHT button on top of the clock. The alarm will pause for approximately 5 minutes and then sound again. This can be repeated multiple times.
6.4 Stopping the Alarm
To stop the alarm completely, slide the corresponding alarm switch (Alarm 1 or Alarm 2) to the OFF position.
6.5 Automatic Backlight
The clock features an automatic backlight that activates in low-light conditions. To enable this feature, slide the AUTO LIGHT switch on the back of the clock to the ON position. The display will emit a soft, economical LED backlight, making it readable in the dark.
To temporarily illuminate the display, press the SNOOZE & LIGHT button on top. The backlight will stay on for a few seconds.
6.6 Temperature Display
The integrated thermometer measures the ambient room temperature and displays it on the screen. The temperature range is typically -10°C to +50°C (14°F to 122°F).
7. Maintenance
Clean the device with a soft, damp cloth. Do not use abrasive cleaners or solvents. Avoid getting moisture into the device.
8. Troubleshooting
- No display or faint display: Replace batteries with new ones, ensuring correct polarity.
- Incorrect time or no radio signal icon:
- Ensure the clock is placed in an area with good radio signal reception, away from electronic interference.
- Initiate manual reception: Press and hold the - button for three seconds. The DCF icon will flash. To stop reception, hold the - button for three seconds again.
- If reception remains unsuccessful, set the time manually as described in Section 5.3.
- Alarm not sounding: Check if the alarm is activated using the side slider switch (ON position). Verify the alarm time is set correctly.
9. Specifications
- Model: 60.2528.01
- Brand: TFA Dostmann
- Dimensions (L x W x H): 8.4 x 3.4 x 8.8 cm (approx. 3.3 x 1.3 x 3.5 inches)
- Weight: 210 grams (approx. 7.4 ounces)
- Material: Plastic
- Power Source: 2 x AA batteries (included)
- Display Type: Digital
- Temperature Measurement Range: -10°C to +50°C (14°F to 122°F)
- Special Features: Radio-controlled time, Dual alarms, Snooze function, Automatic backlight (light sensor), Temperature display, Date and day of week display.
- Country of Origin: China
10. Warranty and Support
This product comes with a 1-year availability for spare parts. For further support or warranty claims, please contact your retailer or the manufacturer directly. Keep your proof of purchase for warranty purposes.


