1. Important Safety Information
Always observe the following safety precautions when installing, operating, or maintaining your Himore Pressure Washer Pump. Failure to follow these instructions may result in serious injury or property damage.
- Read and understand all instructions in this manual and the pressure washer engine manual before use.
- Wear appropriate personal protective equipment, including eye protection, during operation and maintenance.
- Never point the spray gun at people, animals, or electrical equipment.
- Ensure all connections are secure and free of leaks before starting the pressure washer.
- Do not operate the pressure washer in an enclosed space without adequate ventilation to prevent carbon monoxide poisoning from the engine exhaust.
- Always disconnect the spark plug wire or turn off the engine before performing any maintenance or adjustments.
- Keep children and pets away from the operating area.
- Use only clean water for the pressure washer pump.
2. Product Overview
The Himore Pressure Washer Pump is designed as a replacement or upgrade component for various gasoline-powered pressure washers. It is engineered for durability and efficient water pressure delivery.

Image 2.1: Himore Pressure Washer Pump with keyway and siphon tube.
2.1 Key Features
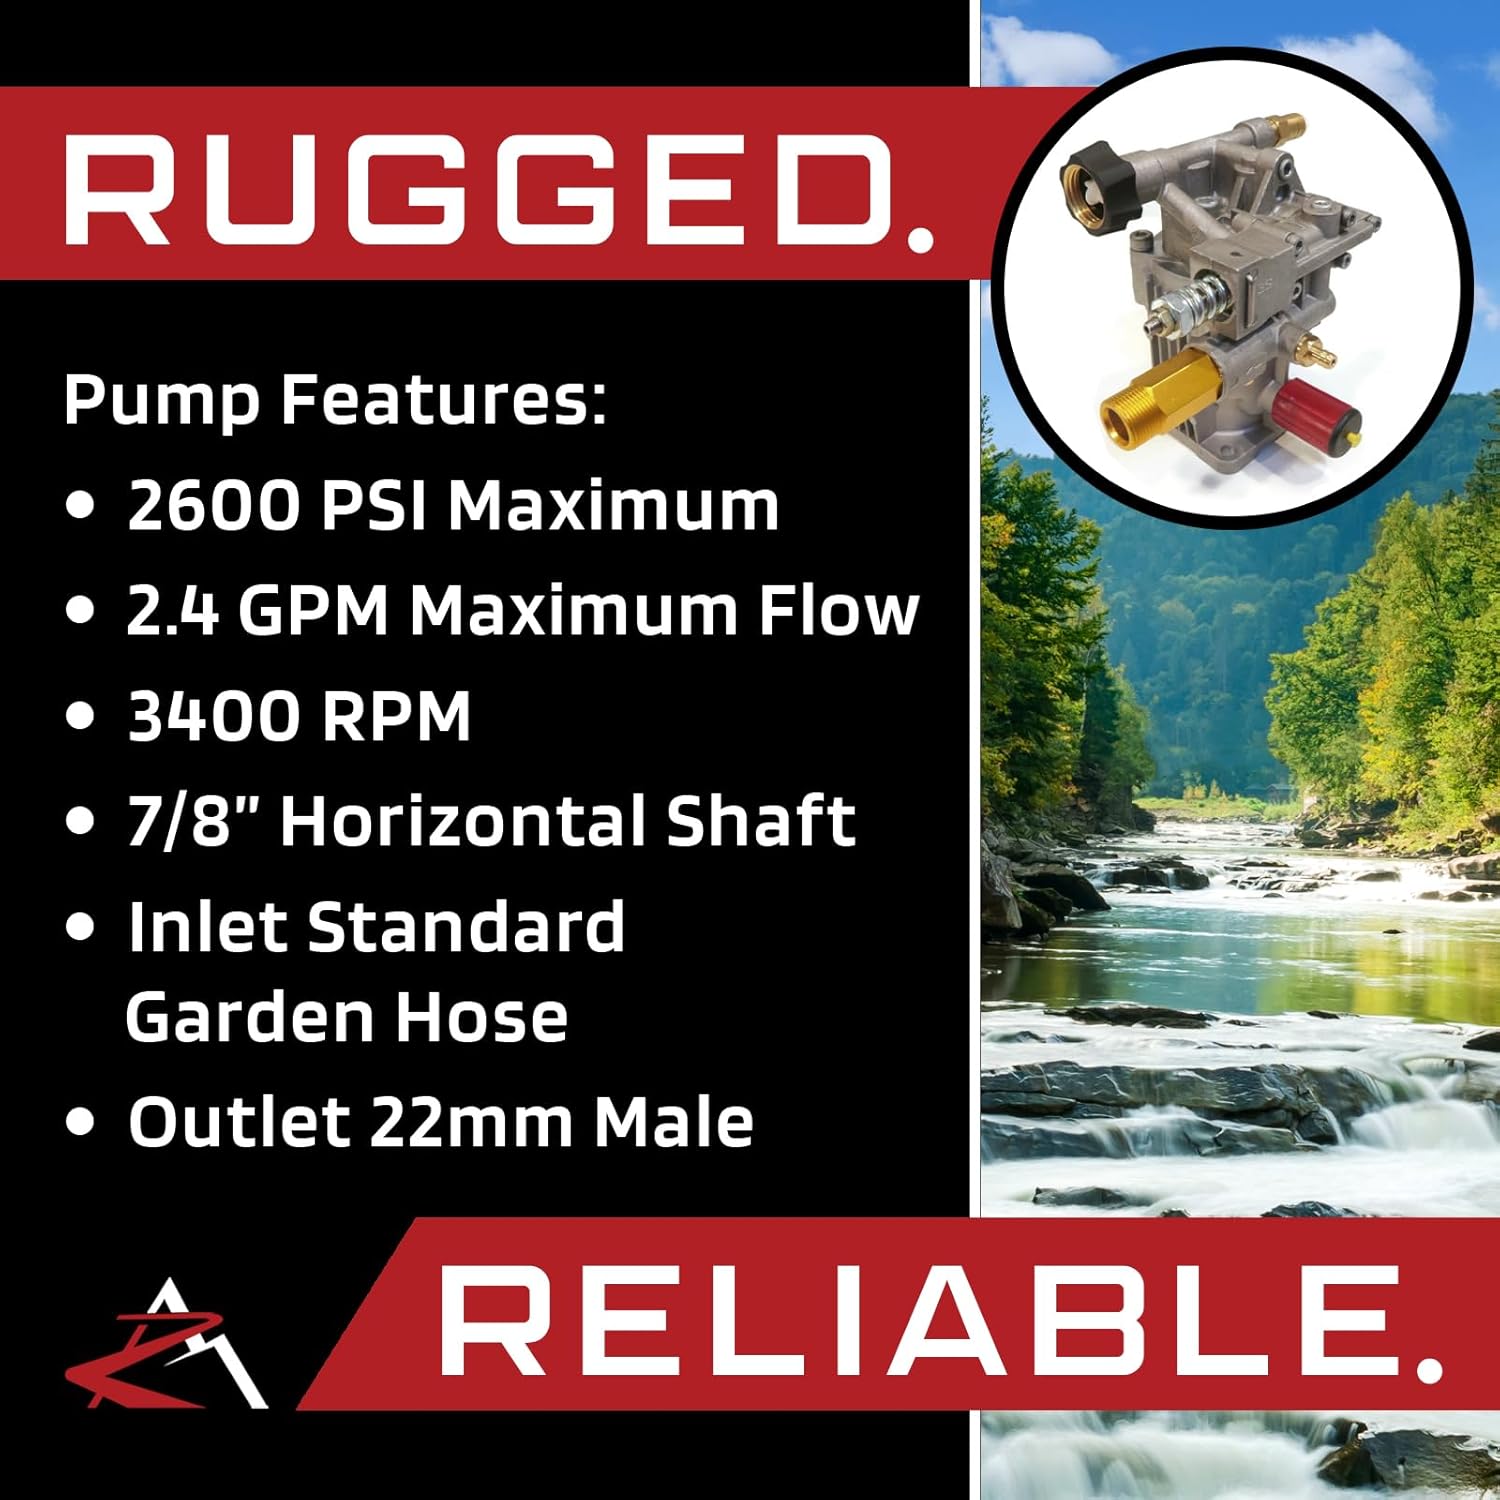
Image 2.2: Overview of Himore Pressure Washer Pump specifications.
- Maximum Pressure: 2600 PSI
- Maximum Flow Rate: 2.4 GPM
- Engine Speed Compatibility: 3400 RPM
- Shaft Type: 7/8-inch Horizontal Shaft
- Inlet Connection: Standard Garden Hose
- Outlet Connection: 22mm Male
2.2 Components and Connections

Image 2.3: Labeled diagram of the pump's connections.
- Thermal Release Valve: Protects the pump from overheating by releasing hot water.
- Standard Garden Hose Inlet: Connects to your water supply hose.
- Unloader: Regulates pressure and diverts water flow when the spray gun trigger is released.
- 22mm Male Outlet: Connects to the high-pressure hose.
- Keyway: Ensures proper alignment and secure attachment to the engine shaft.
3. Installation and Setup
3.1 Compatibility Check
This pump is designed for pressure washers equipped with a Honda GC160 engine or similar engines featuring a 7/8-inch horizontal shaft. It is crucial to verify your engine's shaft size before installation. This pump is not compatible with 3/4-inch shafts.
Note: For some EXHA2425 models, the pump may not fit under the existing cover. Modification of the cover or operating without it may be necessary.

Image 3.1: Detailed dimensions of the pump, highlighting the 7/8-inch horizontal shaft.
3.2 Mounting the Pump
The pump utilizes a 4-bolt mounting pattern for secure attachment to the engine.

Image 3.2: View of the pump's 4-bolt mounting pattern.
- Ensure the engine is turned off and cooled down.
- Carefully align the pump's shaft with the engine's output shaft, ensuring the keyway is properly seated.
- Secure the pump to the engine using the four mounting bolts. Tighten bolts evenly to prevent misalignment.
- Verify that the pump is firmly attached and there is no wobble.
3.3 Connecting Hoses
- Water Inlet: Connect a standard garden hose from your water supply to the pump's garden hose inlet. Ensure the connection is tight to prevent air leaks, which can damage the pump.
- High-Pressure Outlet: Connect your high-pressure hose to the 22mm male outlet on the pump. Hand-tighten, then use a wrench to ensure a secure, leak-free connection.
- Chemical Injector (if applicable): If your model includes a chemical injector siphon tube, insert it into the appropriate port and place the other end into your cleaning solution.
4. Operating Instructions
- Before Starting: Ensure all hoses are connected, the water supply is turned on, and the engine has sufficient fuel and oil. Squeeze the spray gun trigger to purge air from the pump and hose until a steady stream of water emerges.
- Starting the Engine: Follow your engine manufacturer's instructions for starting. Once the engine is running, the pump will begin to pressurize.
- Operation: Squeeze the spray gun trigger to begin spraying. The unloader valve will regulate pressure when the trigger is released.
- Stopping: Release the spray gun trigger, allow the engine to idle for a few moments, then turn off the engine. Turn off the water supply and squeeze the spray gun trigger to release any remaining pressure in the system.
5. Maintenance
Regular maintenance ensures optimal performance and extends the life of your Himore Pressure Washer Pump.
- After Each Use: Flush the pump with clean water to remove any chemical residues. Disconnect hoses and store them properly.
- Winterization (for cold climates): To prevent freezing damage, drain all water from the pump and hoses. Consider using a pump saver solution.
- Check for Leaks: Periodically inspect all connections and seals for leaks. Replace worn O-rings or seals as needed.
- Inspect Inlet Screen: Ensure the inlet screen on the garden hose connection is clean and free of debris.
- Oil Changes: Refer to your pressure washer engine manual for engine oil change intervals. The pump itself is typically a sealed unit and does not require oil changes.
6. Troubleshooting
This section addresses common issues you might encounter with your pressure washer pump.
| Problem | Possible Cause | Solution |
|---|---|---|
| No pressure or low pressure |
|
|
| Water leaks from pump |
|
|
| Pump overheating |
|
|
| Engine runs but pump does not pressurize |
|
|
7. Specifications
Detailed technical specifications for the Himore Pressure Washer Pump.
| Specification | Value |
|---|---|
| Brand | Himore |
| Model Numbers | 308418003, PW 25/2.3L, PW24/2.3L |
| Material | Stainless Steel / Metal |
| Power Source | Gasoline-powered (Engine dependent) |
| Maximum Flow Rate | 2.5 Gallons Per Minute (GPM) |
| Maximum Pressure | 2600 PSI (as per image) |
| Engine Speed Compatibility | 3400 RPM (as per image) |
| Shaft Type | 7/8" Horizontal Shaft |
| Inlet Connection | Standard Garden Hose |
| Outlet Connection | 22mm Male |
| Item Weight | 6.28 pounds |
| Package Dimensions | 8.7 x 7.9 x 7.8 inches |
| UPC | 852671937259 |
8. Support
For technical assistance, replacement parts, or further inquiries, please contact your product retailer or the Himore customer support channel. Keep your model number and purchase information readily available when seeking support.
While specific warranty details are not provided in this manual, many retailers offer protection plans. Please consult your purchase documentation or retailer for information regarding warranty coverage and extended protection options.


