Whirlpool W10404412
Whirlpool W10404412 Dishwasher Door Latch Instruction Manual
Model: W10404412 | Brand: Whirlpool
1. Product Overview
The Whirlpool W10404412 is a genuine replacement door latch assembly designed for various Whirlpool and KitchenAid dishwasher models. This component is crucial for ensuring the dishwasher door remains securely closed during operation, allowing the wash cycle to initiate and complete correctly. It often includes the door switch mechanism.
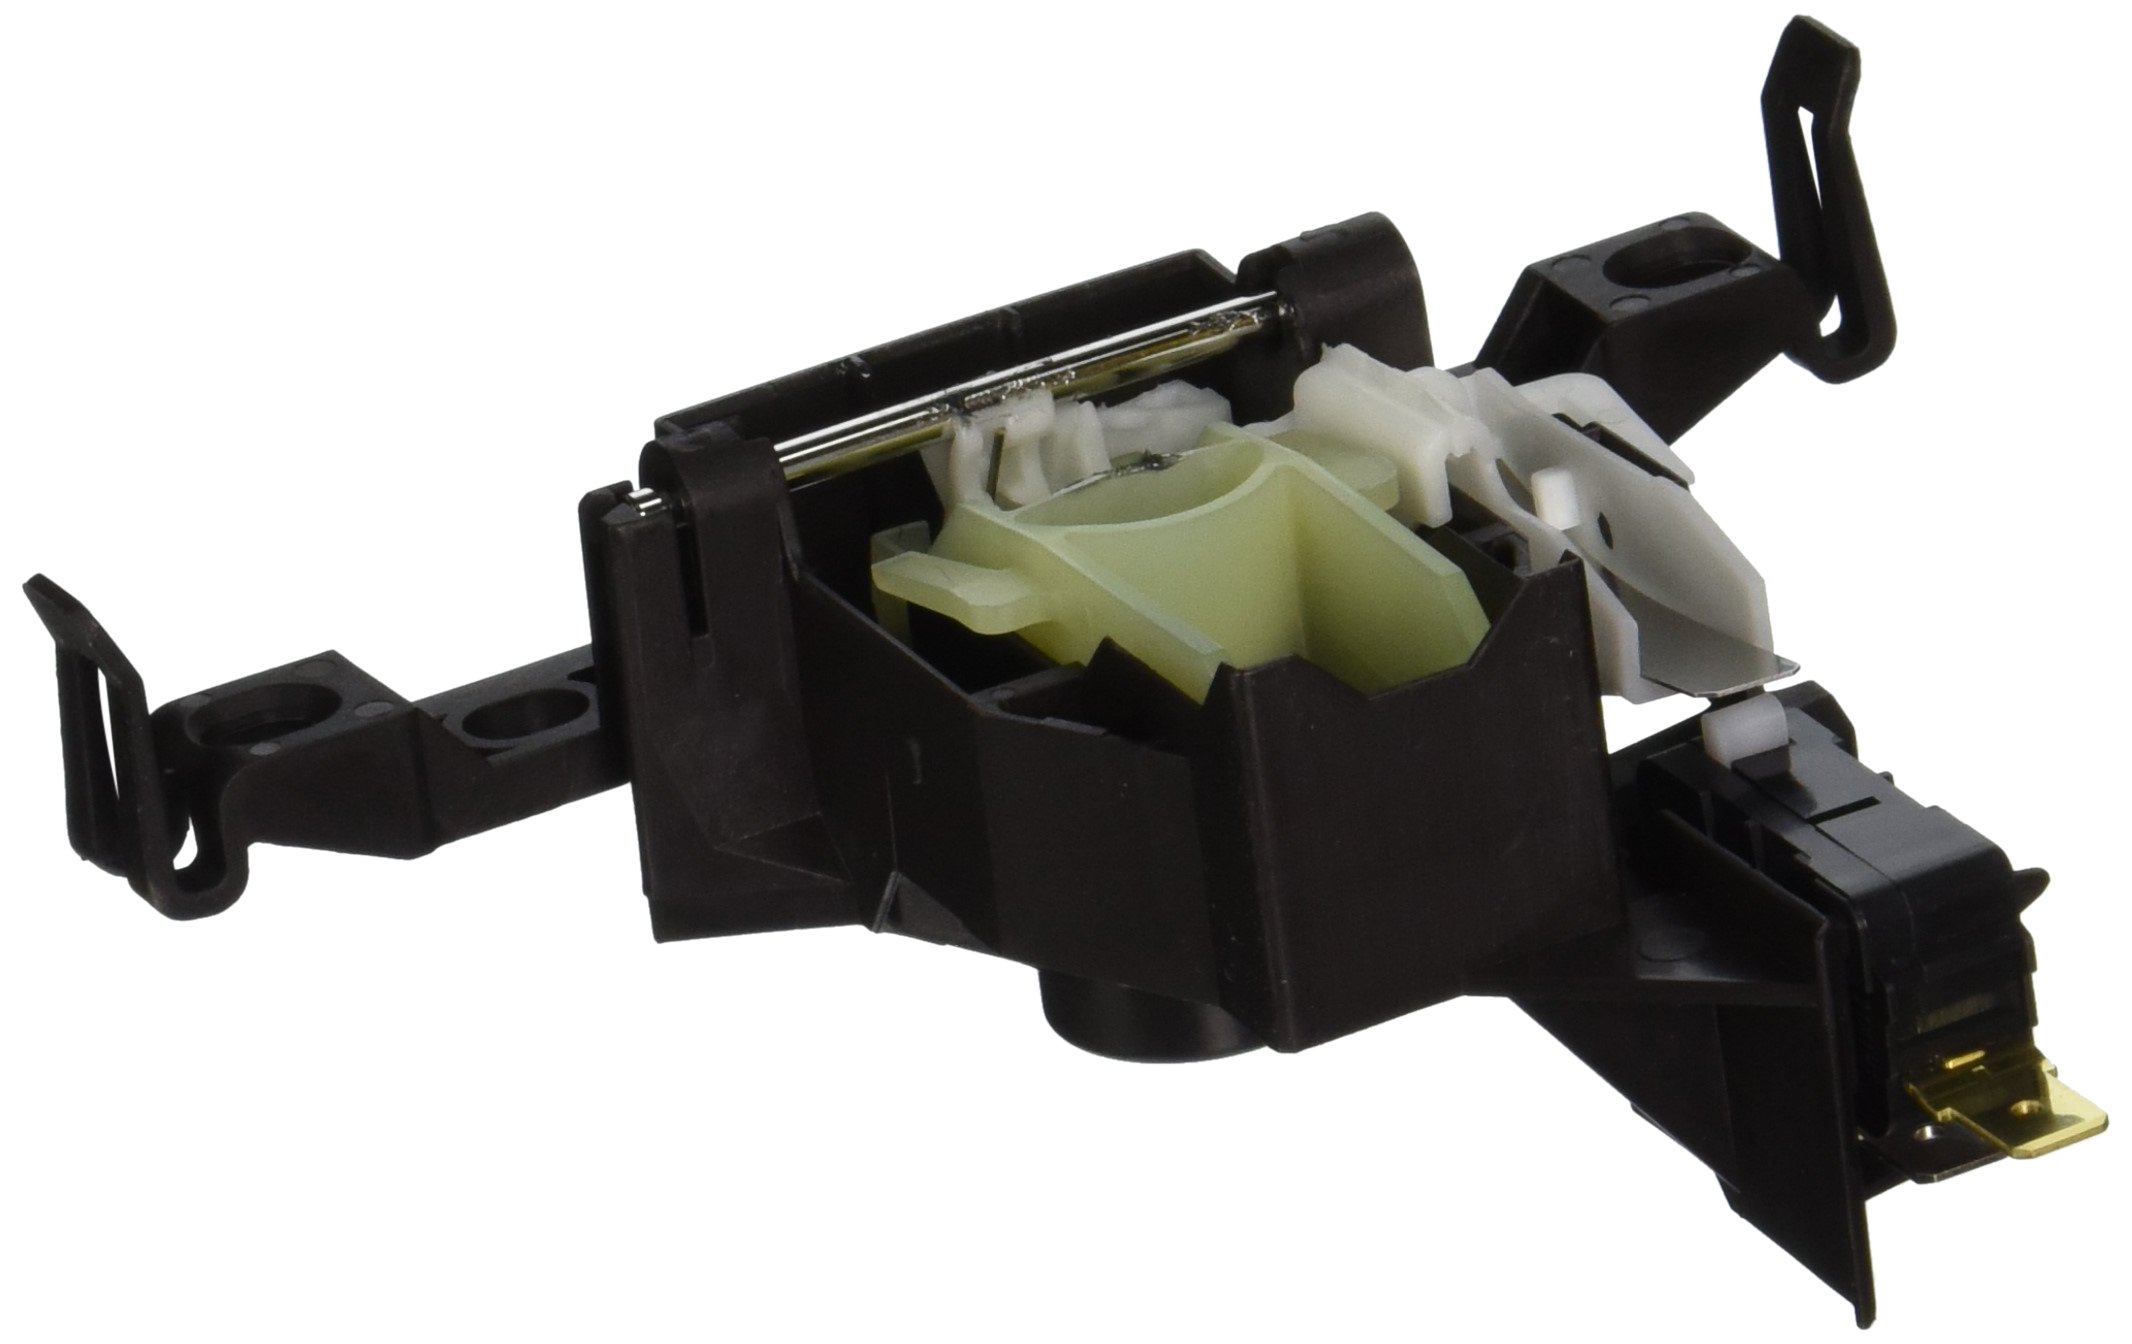
Figure 1: Whirlpool W10404412 Dishwasher Door Latch Assembly. This image shows the complete latch mechanism, including the main housing, internal plastic components, and electrical contacts for the door switch.
2. Installation Instructions
This door latch is a replacement part. Installation typically involves accessing the dishwasher's control panel and door assembly. It is recommended to consult a qualified technician or refer to specific model-based repair guides for detailed steps. Always ensure the appliance is disconnected from power before beginning any repair work.
2.1 Safety Precautions
- Disconnect Power: Before starting any installation or repair, always unplug the dishwasher from the electrical outlet or turn off the circuit breaker supplying power to the appliance.
- Wear Protective Gear: Use gloves to protect hands from sharp edges and safety glasses to protect eyes.
- Handle with Care: The latch assembly contains delicate components; handle it carefully to avoid damage.
2.2 General Installation Steps (Consult Model-Specific Guide)
- Access the Door Panel: Open the dishwasher door and locate the screws securing the inner door panel to the outer panel. Remove these screws.
- Separate Panels: Carefully separate the inner and outer door panels. The control panel may need to be partially detached or removed to gain full access.
- Locate Old Latch: Identify the existing door latch assembly. Note how it is mounted and connected.
- Disconnect Wiring: Disconnect any electrical connectors attached to the old latch. Take a photo if necessary to remember the wiring configuration.
- Remove Old Latch: Unscrew or unclip the old latch assembly from its mounting position.
- Install New Latch: Position the new W10404412 latch assembly and secure it with the original screws or clips.
- Reconnect Wiring: Attach the electrical connectors to the new latch, ensuring a secure connection.
- Reassemble Door: Carefully reassemble the inner and outer door panels, securing them with the screws removed earlier.
- Test Functionality: Reconnect power to the dishwasher and test the door latch by opening and closing the door, and attempting to start a cycle.
Note: Many helpful video tutorials for replacing dishwasher door latches on Whirlpool and KitchenAid models can be found online by searching for your specific dishwasher model number.
3. Operating Principles
The door latch assembly serves two primary functions:
- Secure Closure: It physically holds the dishwasher door firmly shut during operation, preventing water leaks and ensuring proper wash performance.
- Safety Interlock: The integrated door switch within the latch assembly detects whether the door is fully closed and latched. For safety and proper operation, the dishwasher's control board will only allow a wash cycle to begin or continue if this switch signals that the door is securely shut. If the door is opened during a cycle, the switch will interrupt power to internal components, pausing or stopping the cycle.
4. Maintenance
The Whirlpool W10404412 door latch is designed for durability and typically requires minimal maintenance. However, to prolong its lifespan and ensure reliable operation:
- Keep Area Clean: Periodically wipe down the area around the door latch and strike plate on the dishwasher tub to prevent buildup of food debris or detergent residue, which could impede smooth latching.
- Avoid Forceful Closing: Close the dishwasher door gently but firmly. Slamming the door can put undue stress on the latch mechanism, leading to premature wear or breakage.
- Inspect for Damage: Occasionally inspect the latch for any visible signs of wear, cracks, or misalignment. If any issues are observed, consider replacement to prevent further problems.
5. Troubleshooting
A faulty door latch is a common cause of various dishwasher issues. If you experience any of the following, the W10404412 latch may need inspection or replacement:
| Symptom | Possible Cause | Solution |
|---|---|---|
| Dishwasher will not start. | Door not fully latched; faulty door switch. | Ensure door is firmly closed. If issue persists, the latch assembly (including the switch) may need replacement. |
| "Start/Resume" button flashing or blinking. | Dishwasher control board not detecting door closure. | This often indicates a problem with the door latch switch. Replacement of the W10404412 latch assembly is typically required. |
| Dishwasher stops mid-cycle. | Intermittent door switch failure. | The door switch connection may be broken or loose. Consider replacing the latch assembly. |
| Door does not stay closed. | Broken or worn mechanical components of the latch. | The plastic components of the latch can wear out over time. Replace the W10404412 latch assembly. |
| Error codes related to door or heating (e.g., "7 blinks" on some KitchenAid/Whirlpool models). | Faulty door switch can sometimes mimic other issues. | While "7 blinks" often relates to heating, a faulty door switch can sometimes be the underlying cause. Inspect or replace the latch. |
Important: Always disconnect power to the dishwasher before attempting any troubleshooting or repair. If you are unsure about any step, consult a professional appliance technician.
6. Specifications
| Attribute | Detail |
|---|---|
| Part Number | W10404412 |
| Manufacturer | Whirlpool |
| Item Weight | 3.2 ounces |
| Product Dimensions | 17.5 x 4 x 1.25 inches |
| Item Model Number | W10404412 |
| Item Package Quantity | 1 |
| Batteries Required? | No |
| Date First Available | June 21, 2012 |
7. Warranty Information
Specific warranty details for replacement parts like the W10404412 door latch are typically provided at the point of purchase or by the retailer/distributor. Genuine Whirlpool parts generally come with a limited warranty against defects in material and workmanship. Please retain your proof of purchase for any warranty claims. For detailed warranty terms, refer to the documentation provided with your purchase or contact Whirlpool customer service.
8. Customer Support
For further assistance, technical support, or to inquire about other genuine Whirlpool replacement parts, please visit the official Whirlpool website or contact their customer service department. When contacting support, have your appliance's full model number and serial number ready for faster service.
Whirlpool Official Website: www.whirlpool.com
Related Documents - W10404412
 |
Whirlpool/KitchenAid Ice Maker Optics Diagnostics and Troubleshooting Guide Comprehensive guide for diagnosing and troubleshooting ice maker optics systems in Whirlpool and KitchenAid refrigerators. Covers original and 2002 design boards, component tests, motor checks, switch pack diagnostics, and wiring diagrams. |
 |
Whirlpool WFW9150WW01 Parts Diagram and List This document provides a detailed breakdown of the top and cabinet parts, door and latch parts, control panel parts, dispenser parts, pump and motor parts, and tub and basket parts for the Whirlpool WFW9150WW01 automatic washer. It includes illustrations with numbered parts and corresponding part numbers and descriptions for easy identification and ordering. |
 |
Whirlpool WFW8300SW0 Automatic Washer Parts List and Diagrams Comprehensive parts list and diagrams for the Whirlpool WFW8300SW0 Automatic Washer, detailing components for the top and cabinet, door and latch, control panel, dispenser, pump and motor, and tub and basket. |
 |
Whirlpool WFW9400 Series Washing Machine Parts Diagrams and Lists Comprehensive parts catalog for Whirlpool WFW9400 series washing machines, featuring detailed diagrams and part number listings for top and cabinet, door and latch, control panel, dispenser, tub and basket, pump and motor, and optional components. |
 |
Whirlpool Washer Installation Guide Comprehensive installation instructions for Whirlpool washers, covering electrical requirements, water connections, drain setup, leveling, and final checks. Includes essential safety warnings and tips for proper setup. |
 |
Whirlpool Electric Set-In Unit Installation Instructions Detailed installation instructions for Whirlpool electric set-in units, covering carpentry, electrical requirements, installation steps, and function checks. Includes diagrams and safety precautions for models starting from 1982. |
Ask a question about this manual
Ask about setup, troubleshooting, compatibility, parts, safety, or missing instructions. Manuals+ will review the question and use this page’s manual context to help answer it.