Retevis RT602 Walkie Talkies for Kids Rechargeable User Manual
Model: RT602 | Brand: Retevis
Introduction
This manual provides essential information for the safe and effective use of your Retevis RT602 Walkie Talkies. Please read this guide thoroughly before operating the device to ensure proper functionality and to understand all features.

What's in the Box
Upon opening your package, verify that all the following items are included:
- 2 x RT602 rechargeable walkie talkies (orange and black)
- 1 x Charging station
- 1 x Charging cable
- 1 x Power adapter
- 2 x Lithium batteries (pre-installed or separate)
- 1 x User Manual (this document)

Setup Instructions
1. Battery Installation
- Locate the battery compartment cover on the back of each walkie talkie.
- Gently slide the cover downwards or unclip it to open.
- Insert the provided Lithium-Ion battery into the compartment, ensuring the contacts align correctly.
- Replace the battery compartment cover and secure it.

2. Charging the Walkie Talkies
- Connect the charging cable to the power adapter, then plug the adapter into a standard wall outlet.
- Connect the other end of the charging cable to the charging station.
- Place the walkie talkies into the charging slots on the charging station. Ensure they are seated correctly and the charging indicator light on the station illuminates (typically red for charging, green for fully charged).
- Allow approximately 3-4 hours for a full charge.

Operating Instructions
1. Power On/Off
- To power on, press and hold the Power button (usually marked with an 'O' or power symbol) until the LCD screen illuminates.
- To power off, press and hold the Power button again until the screen turns off.
2. Channel Selection
- Press the Menu (M) button once. The channel number on the LCD screen will flash.
- Use the Up (▲) or Down (▼) buttons to select one of the 22 available channels.
- Press the Menu (M) button again or wait a few seconds for the selection to be confirmed.
3. CTCSS/DCS Sub-codes
The RT602 supports 99 CTCSS/DCS sub-codes to help ensure private communication and reduce interference from other users on the same main channel.
- After selecting a main channel, press the Menu (M) button twice. The sub-code number will flash.
- Use the Up (▲) or Down (▼) buttons to select a sub-code (01-99).
- Press the Menu (M) button again or wait for the selection to be confirmed. Both walkie talkies must be on the same channel and sub-code to communicate.
4. Transmitting and Receiving
- To transmit, press and hold the Push-to-Talk (PTT) button (located on the side of the unit) and speak clearly into the microphone. Release the PTT button to listen.
- The walkie talkie will automatically receive messages when the PTT button is not pressed.
5. Voice Activated Transmission (VOX)
The VOX function allows hands-free communication. When activated, the walkie talkie will transmit automatically when it detects your voice.
- Press the Menu (M) button multiple times until 'VOX' appears on the screen.
- Use the Up (▲) or Down (▼) buttons to select a VOX sensitivity level (e.g., 1-3, with 3 being most sensitive). 'OF' typically disables VOX.
- Press the Menu (M) button again or wait for the selection to be confirmed.
6. Flashlight Function
- To activate the built-in flashlight, press the Call (C) button once.
- Press the Call (C) button again to turn it off.

7. Keypad Lock
The keypad lock prevents accidental changes to your settings.
- To lock the keypad, press and hold the Menu (M) button until a key icon appears on the LCD screen.
- To unlock, press and hold the Menu (M) button again until the key icon disappears.
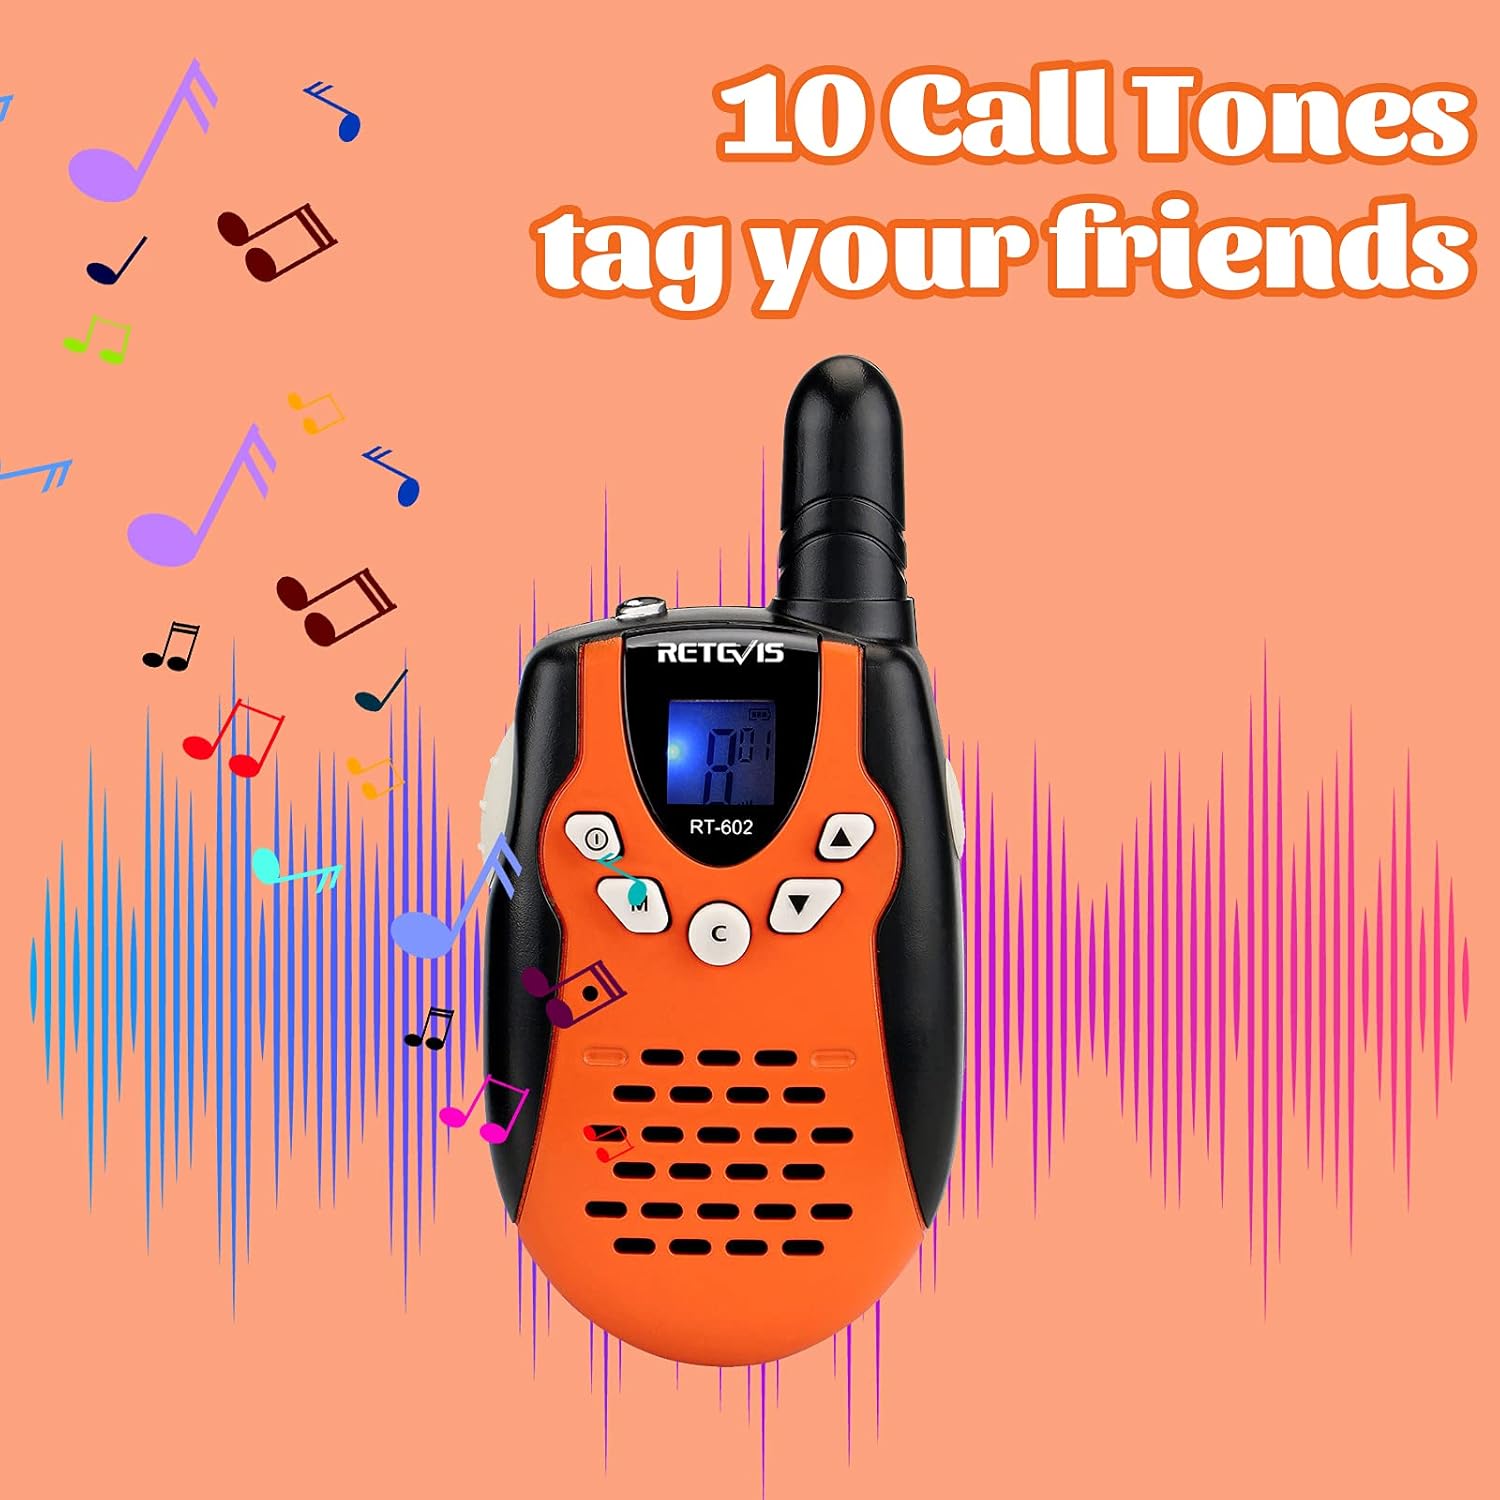
8. Call Tones
The RT602 offers 10 different call tones to alert other users.
- Press the Call (C) button to send a selected call tone.
- To change the call tone, press the Menu (M) button until the call tone setting appears (refer to the full manual for specific menu navigation). Use the Up (▲) or Down (▼) buttons to cycle through the tones.

Maintenance
General Care
- Clean the walkie talkie with a soft, damp cloth. Do not use harsh chemicals or abrasive cleaners.
- Keep the device dry. This product is Not Water Resistant. Avoid exposure to rain, splashes, or submersion in water.
- Store the walkie talkies in a cool, dry place when not in use.
- Avoid dropping the device or subjecting it to strong impacts.
Battery Care
- Always use the original Retevis charger and batteries provided with the product.
- Do not attempt to open or modify the battery pack.
- If the walkie talkies will not be used for an extended period, fully charge the batteries and then remove them from the units to prevent potential leakage.
- Dispose of used batteries according to local regulations.
Troubleshooting
| Problem | Possible Cause | Solution |
|---|---|---|
| No power | Battery is depleted or not installed correctly. | Charge the battery. Ensure the battery is correctly inserted and the compartment cover is secured. |
| Cannot communicate with other walkie talkie | Different channels or sub-codes. Out of range. | Ensure both walkie talkies are on the same channel and sub-code. Move closer to the other unit. |
| Poor sound quality or static | Weak signal, interference, or low battery. | Move to an open area. Avoid obstacles. Charge the battery. |
| Walkie talkie not charging | Charger or cable faulty, walkie talkie not seated correctly. | Check if the charging station indicator light is on. Ensure the walkie talkie is properly placed in the charging slot. Try a different power outlet. Inspect the charging cable and adapter for damage. |
| Keypad is unresponsive | Keypad lock is activated. | Unlock the keypad by pressing and holding the Menu (M) button until the key icon disappears. |
Specifications
- Model: RT602 (USA7120A)
- Item Weight: 4.4 ounces
- Product Dimensions: 4.53 x 2.17 x 1.1 inches
- Batteries: 2 Lithium Ion batteries required (included)
- Display Type: LCD
- Color: Orange
- Number of Channels: 22
- Frequency Range: 462.55-462.725Mhz/467.5625-467.7125Mhz
- Talking Range Maximum: 1000 Meter (actual range may vary based on terrain and conditions)
- Voltage: 3.7 Volts
- Water Resistance Level: Not Water Resistant
- Manufacturer Recommended Age: 4 - 4 years (Note: Product description states 6-12 years for gifts)
Warranty Information
The Retevis RT602 Walkie Talkies come with a 60-day warranty from the date of purchase. This warranty covers manufacturing defects. For warranty claims or issues, please contact Retevis customer support.
Additionally, a 30-day no-reason return policy is available for this product.
Support
For further assistance, technical support, or inquiries regarding your Retevis RT602 Walkie Talkies, please refer to the official Retevis website or contact their customer service department. You can also visit the Retevis Store on Amazon for more product information and support resources.


