1. Product Overview
The GSP 114092 Wheel Bearing and Hub Assembly is engineered to provide original equipment (OE) fit, form, and function. It utilizes premium materials, precise machining, and balancing to ensure smooth, vibration-free performance in all driving conditions. This assembly is designed for the left or right front (driver or passenger side) of compatible vehicles.
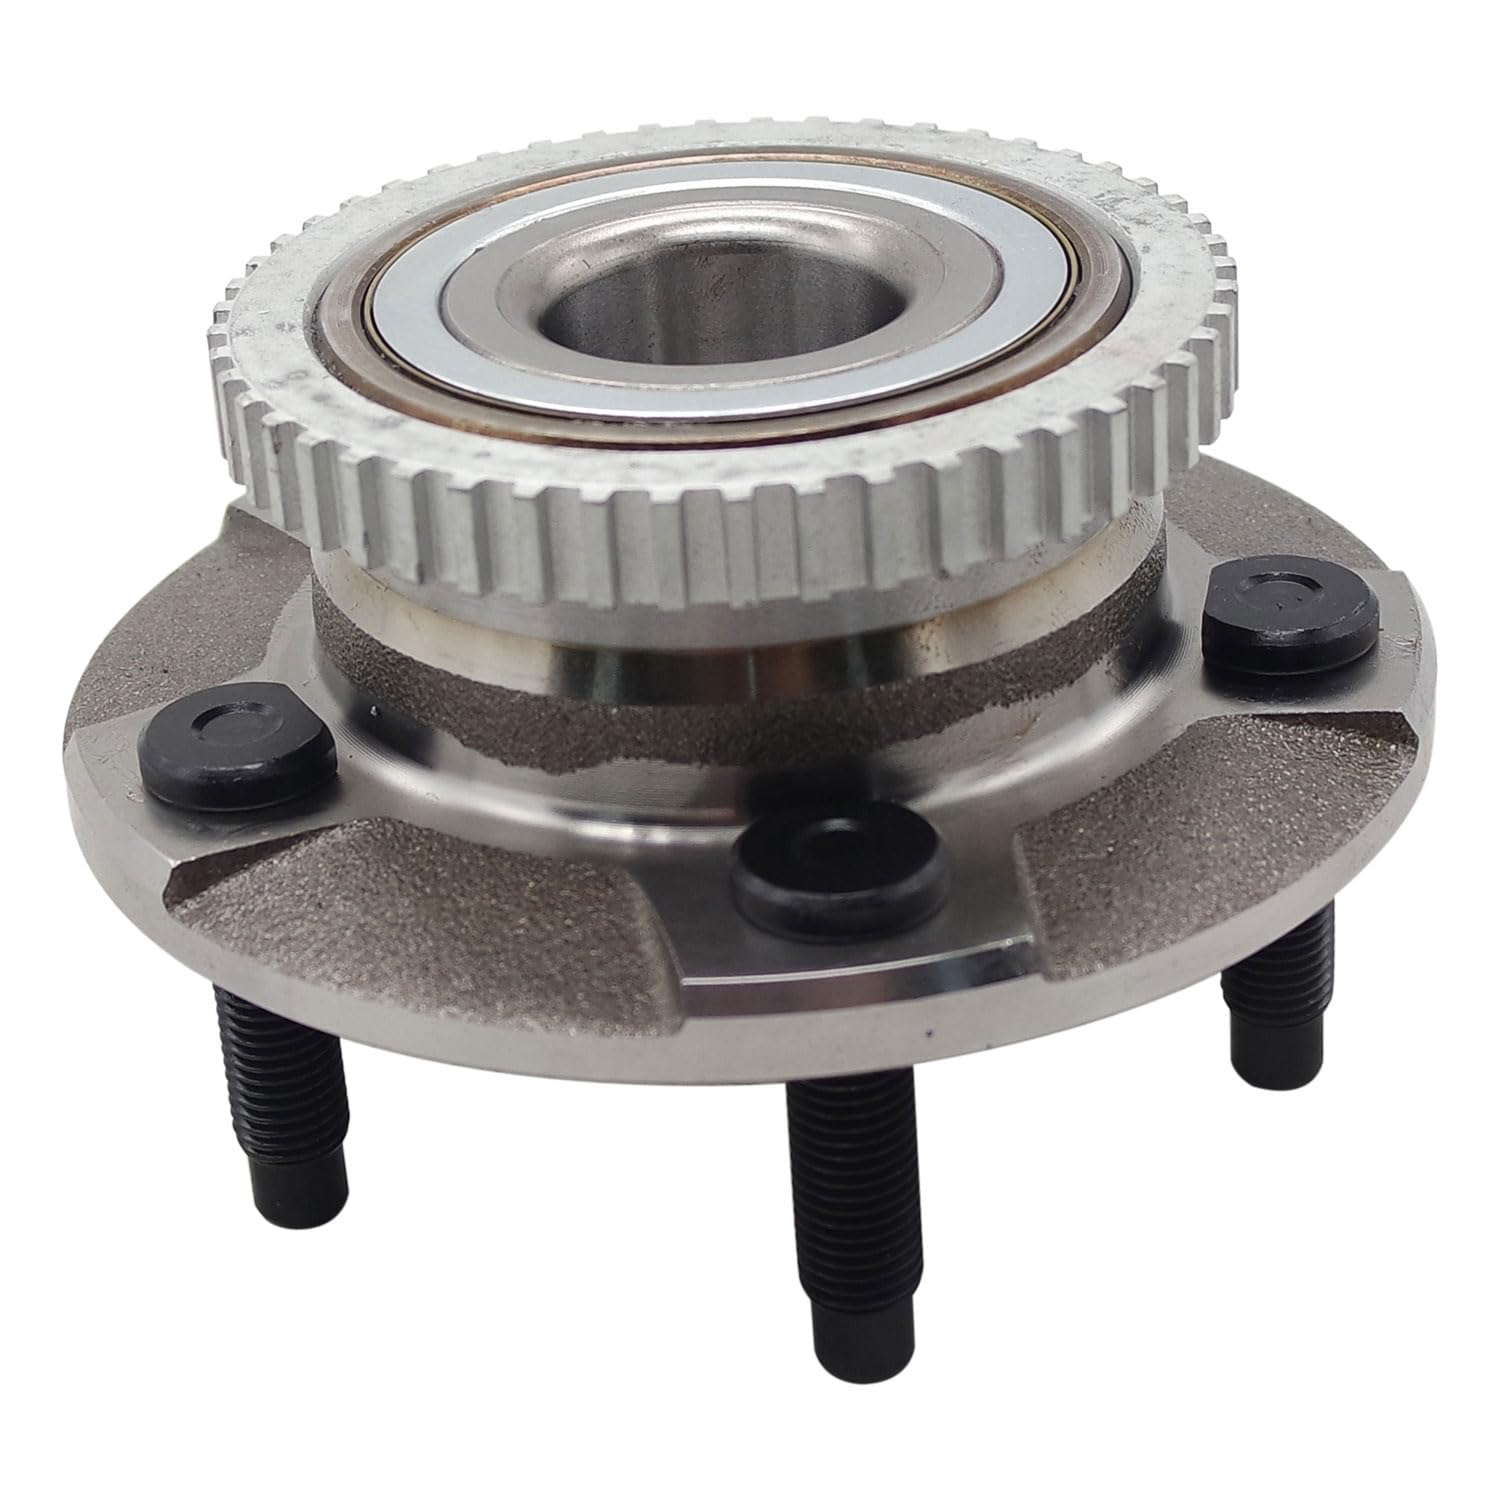
Image: GSP 114092 Wheel Bearing and Hub Assembly, showcasing its design and components.
Key Features:
- Engineered for OE fit, form, and function, ensuring smooth, vibration-free performance.
- Manufactured with all new components, meeting or exceeding OE standards.
- Tempered hub components increase toughness and reduce brittleness for long-term durability and impact resistance.
- Features OE specific harnesses/connectors (where applicable) for 'plug and play' compatibility.
- Each hub is dyno checked for proper sensor output before leaving the factory.
Product Video: GSP Hub Assemblies Features & Benefits
Video: This video highlights the key features and benefits of GSP Hub Assemblies, demonstrating their quality and design.
2. Safety Precautions
Always prioritize safety when working on your vehicle. Failure to follow safety guidelines can result in serious injury or damage to the vehicle.
- Wear appropriate personal protective equipment (PPE), including safety glasses and gloves.
- Ensure the vehicle is on a stable, level surface before lifting.
- Use jack stands or a vehicle lift to securely support the vehicle. Never rely solely on a jack.
- Disconnect the vehicle's battery before starting any electrical work.
- Refer to your vehicle's service manual for specific torque specifications and procedures.
3. Tools Required
The following tools are typically needed for the installation of a wheel bearing and hub assembly:
- Flat Head Screwdriver
- Wrench Set
- Axle Nut Socket
- 12mm Socket
- Torque Wrench
- Hand Ratchet
- Puller (may be required)
- Wire or String (to support brake caliper)
- Brake Cleaner and Shop Rags
4. Installation Guide
This section provides a step-by-step guide for installing the GSP 114092 Wheel Bearing and Hub Assembly. For a visual demonstration, please refer to the embedded video.
Installation Video: GSP Wheel Hub Assembly Step by Step Installation
Video: A detailed step-by-step guide demonstrating the installation process for a GSP Wheel Hub Assembly.
Step-by-Step Instructions:
- Safely Raise Vehicle: First, safely raise the vehicle using a lift or jack stands. Ensure the vehicle is stable and secure before proceeding.
- Remove Wheel: Once the vehicle is safely elevated, remove the lug nuts and then carefully remove the wheel from the hub.
- Remove Brake Caliper and Rotor: Remove the brake caliper and rotor. Use a wire or string to tie the brake caliper to the control arm or frame to prevent it from dangling and stressing the brake line.
- Remove Axle Nut: Use an axle nut socket to remove the axle nut.
- Disconnect ABS Sensor (if applicable): If your vehicle has an Anti-lock Braking System (ABS) sensor, carefully disconnect its wire from its mating connector. Note its proper positioning for reinstallation. This connector is typically found in the wheel well or on the chassis frame.
- Remove Hub Assembly Mounting Bolts: Remove the bolts that secure the old hub assembly to the steering knuckle. Exercise caution to avoid damaging the knuckle or axle shaft during this step.
- Remove Old Hub Assembly: Carefully remove the old hub assembly from the knuckle. A puller may be necessary if the assembly is seized.
- Inspect Related Components: Take this opportunity to perform a thorough inspection of all related components (e.g., CV axle boots, ball joints, tie rod ends) for any signs of damage or wear. Replace any worn components as needed.
- Clean Steering Knuckle: Clean the steering knuckle thoroughly, removing any debris, rust, or burrs to ensure a smooth mating surface for the new hub assembly.
- Install New GSP Hub Assembly: Carefully position and attach the new GSP hub assembly to the steering knuckle.
- Torque Hub Mounting Bolts: Use a torque wrench to tighten the hub mounting bolts to the vehicle manufacturer's specified torque settings.
- Connect ABS Sensor: Reconnect the ABS sensor to the new hub assembly, ensuring a secure connection.
- Install and Torque Axle Nut: Install the axle nut and tighten it to the vehicle manufacturer's specified torque using a torque wrench.
- Replace Brake Rotor and Caliper: Reinstall the brake rotor and then the brake caliper, ensuring all bolts are tightened to specification.
- Reattach Wheel and Torque Lug Nuts: Reattach the wheel and torque the lug nuts to the vehicle manufacturer's specifications in the correct pattern.
- Perform Wheel Alignment: After replacing a wheel bearing and hub assembly, it is highly recommended to get a professional wheel alignment to prevent premature tire wear and ensure proper vehicle handling.
5. Maintenance
Regular maintenance and inspection can extend the life of your wheel bearing and hub assembly and ensure safe vehicle operation.
- Regular Inspections: Periodically inspect your wheel bearings for signs of wear, such as excessive play, noise, or vibrations.
- Wheel Alignment: Ensure your vehicle's wheel alignment is checked and adjusted regularly, especially after replacing suspension or steering components.
- Tire Rotation and Balancing: Regular tire rotation and balancing can help distribute wear evenly and reduce stress on wheel bearings.
- Avoid Potholes and Curbs: Minimize impacts from potholes and curbs, as these can damage wheel bearings and other suspension components.
6. Troubleshooting Common Issues
A worn or failing wheel bearing and hub assembly can exhibit several symptoms. If you experience any of the following, it may be time for replacement:
- Vibrations in the Steering Wheel: Noticeable shaking or vibrations felt through the steering wheel, especially at certain speeds.
- Grinding or Growling Noise During Turns: A distinct grinding or growling sound that becomes louder when turning the vehicle.
- Rumbling or Humming While Driving Straight: A continuous rumbling or humming noise that changes with vehicle speed, even when driving in a straight line.
- Wheel Wobble or Vibration: Excessive play or looseness in the wheel when the vehicle is lifted, indicating mechanical damage.
- Malfunctioning Anti-Lock Brakes: A faulty wheel bearing can affect ABS sensor readings, leading to ABS system malfunctions.
If you suspect a wheel bearing issue, it is recommended to have it inspected by a qualified technician promptly to ensure vehicle safety.
7. Product Specifications
| Specification | Value |
|---|---|
| Brand | GSP |
| Model | 114092 |
| Item Weight | 5.21 pounds |
| Product Dimensions | 6.3 x 5.91 x 3.94 inches |
| Exterior | Machined |
| Manufacturer Part Number | 114092 |
| OEM Part Number | 295-13092 406.61009 513091 513092 725-0027 951-035 BR930048 DL513092 F6SZ 1104-AA F6SZ 1104-BA GH20770 H513092 PBR930048 PT 513092 WA513092 WE61369 WH513092 |
| Compatible Vehicles | 1991-97 Ford Thunderbird; 1993-98 Lincoln Mark VIII; 1991-97 Mercury Cougar |
| What's in the Box | Hub Assembly |
8. Warranty and Customer Support
Every GSP hub assembly comes with a 2-year/40,000-mile warranty, reflecting our confidence in the exceptional quality of our components.
For technical assistance, product inquiries, or warranty claims, please visit the official GSP North America website or contact their customer support directly.
GSP North America Website: www.gspnorthamerica.com