Introduction
This manual provides instructions for the proper installation and use of the Shop-Vac E87S450/QPSH400 Replacement Filter Nut. This component is essential for securing the filter in compatible Shop-Vac wet/dry vacuums, ensuring optimal performance and filtration.
Safety Information
Always ensure the vacuum is unplugged from the power source before performing any maintenance, installation, or removal of parts. Wear appropriate personal protective equipment if necessary. Keep small parts away from children.
Setup and Installation
Follow these steps to correctly install the replacement filter nut:
- Prepare the Vacuum: Disconnect the Shop-Vac wet/dry vacuum from its power source. Remove the power head assembly from the collection tank.
- Access the Filter: If a filter is already installed, carefully remove the old filter nut and filter. Dispose of the old filter if it is worn or dirty.
- Install New Filter (if applicable): Place the new filter onto the filter cage, ensuring it is seated correctly and covers the cage completely.
- Secure with Filter Nut: Position the replacement filter nut over the center of the filter and filter cage. Align the nut with the threaded post extending from the motor housing.
- Tighten the Nut: Turn the filter nut clockwise until it is hand-tight. Do not overtighten, as this can damage the filter or the nut. The filter should be held firmly in place.
- Reassemble: Place the power head assembly back onto the collection tank and secure it. Reconnect the vacuum to the power source.
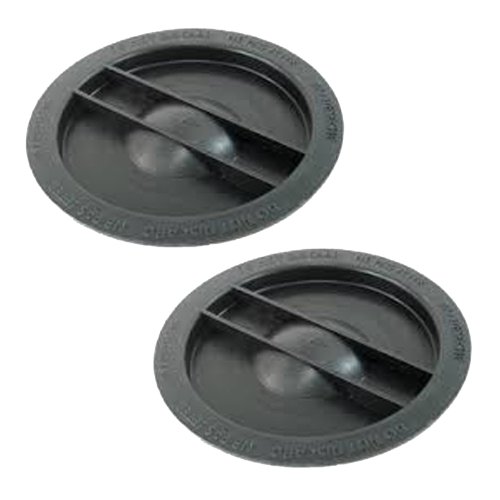
This image displays two black, circular Shop-Vac replacement filter nuts. Each nut features a central raised dome and two perpendicular bars across its surface, designed to secure a filter within a wet/dry vacuum.
Operating Instructions
Once installed, the filter nut's function is to securely hold the vacuum filter in place during operation. This ensures that debris is properly filtered and prevents it from entering the motor. No specific operational steps are required for the filter nut itself beyond proper installation.
Maintenance
- Regular Inspection: Periodically inspect the filter nut for any signs of wear, cracks, or damage. A damaged nut may not secure the filter effectively.
- Cleaning: If the filter nut becomes dirty, wipe it clean with a damp cloth. Ensure it is dry before reinstallation.
- Replacement: If the filter nut is damaged or no longer holds the filter securely, replace it with a new, compatible Shop-Vac filter nut.
Troubleshooting
| Problem | Possible Cause | Solution |
|---|---|---|
| Filter is loose or falls off | Filter nut not tightened sufficiently or is damaged. | Ensure the filter nut is hand-tight. Inspect the nut for damage; replace if necessary. |
| Difficulty tightening filter nut | Threads on the nut or post are stripped or dirty. | Clean threads. If stripped, replace the filter nut. |
Specifications
- Product Name: Shop-Vac Replacement Filter Nut
- Model Compatibility: E87S450, QPSH400 (and other compatible Shop-Vac models)
- Part Number: SV-3183000-2PK
- UPC: 704660065859
- Material: Durable plastic
- Dimensions: Approximately 5 x 10 x 5 inches (packaging dimensions)
- Item Weight: 2.88 ounces
- Quantity: 2 per pack
- Reusability: Reusable (component)
Warranty and Support
For specific warranty information or technical support regarding your Shop-Vac product, please refer to the documentation provided with your original Shop-Vac wet/dry vacuum or visit the official Shop-Vac website. This replacement part is subject to the manufacturer's standard accessory warranty terms.
For additional assistance, you may contact Shop-Vac customer service directly.