Dorman 1610049
Dorman 1610049 Passenger Side Tail Light Assembly Instruction Manual
This manual provides installation, operation, and maintenance instructions for the Dorman 1610049 Passenger Side Tail Light Assembly, designed for select Cadillac, Chevrolet, and GMC models.
1. Product Overview
The Dorman 1610049 is a reliable replacement tail light assembly engineered to match the fit, form, and function of the original passenger side tail light on specific vehicles. It is constructed from durable materials to withstand various weather and road conditions.

Image 1.1: Front view of the Dorman 1610049 Passenger Side Tail Light Assembly, showcasing its red lens and clear reverse light section.
2. Vehicle Compatibility
This tail light assembly is compatible with select Cadillac, Chevrolet, and GMC models. To ensure proper fitment for your specific vehicle, it is essential to verify compatibility. Please use a vehicle fitment tool or consult your vehicle's owner's manual and the product specifications.
Important: Always confirm fitment by inputting your vehicle details into a compatibility checker. If an 'i' in a blue circle appears, additional verification may be needed. Hover over the 'i' to review specific fitment notes for your vehicle.
3. What's in the Box
- One (1) Dorman 1610049 Passenger Side Tail Light Assembly
4. Installation Instructions
Installation of the Dorman 1610049 Tail Light Assembly is designed to be straightforward, matching original dimensions for a proper fit. Basic automotive tools are typically required. If you are unsure about any step, it is recommended to consult a qualified automotive technician.
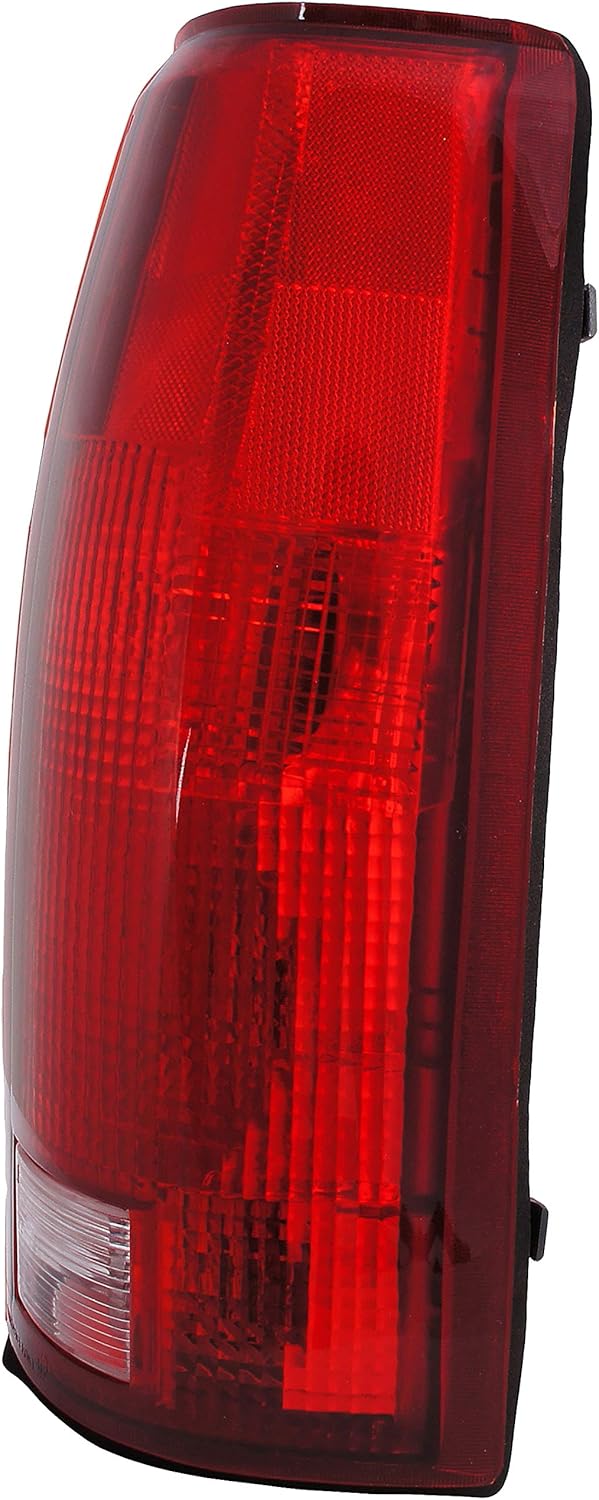
Image 4.1: Rear view of the tail light assembly, highlighting the electrical connector and mounting points.
- Preparation: Ensure your vehicle is turned off and the parking brake is engaged. For safety, disconnect the negative terminal of the vehicle's battery.
- Access Existing Assembly: Locate the existing passenger side tail light assembly. Depending on your vehicle model, you may need to open the tailgate or access panel to reach the mounting screws or bolts.
- Remove Old Assembly: Carefully remove the screws or bolts securing the old tail light assembly. Gently pull the assembly away from the vehicle body.
- Disconnect Wiring: Disconnect the electrical harness from the old tail light assembly. This usually involves pressing a tab and pulling the connector apart.
- Inspect Bulbs (Optional): If your new Dorman assembly does not include bulbs, transfer the functional bulbs from your old assembly to the new one. Ensure they are securely twisted into their sockets.
- Connect New Assembly: Connect the vehicle's electrical harness to the new Dorman 1610049 tail light assembly. Ensure the connection is secure.
- Test Functionality: Before fully securing the new assembly, reconnect the battery and test all tail light functions (running lights, brake lights, turn signals, reverse lights) to ensure they operate correctly.
- Secure New Assembly: Once functionality is confirmed, position the new tail light assembly into place and secure it with the previously removed screws or bolts. Do not overtighten.
- Final Check: Perform a final visual inspection to ensure the assembly is flush with the vehicle body and all lights are working as expected.
5. Operation
Once installed, the Dorman 1610049 Passenger Side Tail Light Assembly operates automatically with your vehicle's electrical system. It provides illumination for running lights, brake lights, turn signals, and reverse lights as intended by the vehicle manufacturer.
6. Maintenance
The Dorman 1610049 Tail Light Assembly is designed for durability and minimal maintenance. Regular maintenance includes:
- Cleaning: Periodically clean the lens with a mild automotive cleaner and a soft cloth to ensure maximum light output and visibility. Avoid abrasive cleaners.
- Inspection: Routinely check the tail light for any cracks, damage, or condensation. Address any issues promptly to maintain optimal performance and safety.
- Bulb Replacement: If a bulb fails, replace it with a bulb of the correct type and wattage as specified by your vehicle manufacturer.

Image 6.1: Side profile of the Dorman 1610049 Tail Light Assembly, illustrating its robust construction.
7. Troubleshooting
If you encounter issues with your Dorman 1610049 Tail Light Assembly, consider the following troubleshooting steps:
- Light Not Functioning:
- Check the bulb: Ensure the bulb is correctly seated and not burnt out. Replace if necessary.
- Check the fuse: Consult your vehicle's owner's manual for the location of the tail light fuse and inspect it. Replace if blown.
- Inspect wiring harness: Ensure the electrical connector is fully seated and free from corrosion or damage. Some users have reported issues with connectors not making full contact; ensure all pins are properly aligned and engaged.
- Condensation Inside Lens:
- Minor condensation can occur due to temperature changes and usually dissipates. If excessive or persistent, inspect the assembly for cracks or improper sealing. Some users suggest applying a silicone sealant around the edges before installation to prevent water intrusion, particularly in areas prone to moisture.
- Loose Fitment:
- Ensure all mounting screws/bolts are securely tightened. Do not overtighten, as this can damage the plastic housing.
8. Specifications
| Feature | Specification |
|---|---|
| Brand | Dorman |
| Model Number | 1610049 |
| Auto Part Position | Right (Passenger Side) |
| Specific Uses For Product | Rear Lights |
| Lens Material | Plastic |
| Special Feature | Waterproof |
| Wattage | 35 watts |
| Item Weight | 1.23 pounds |
| Product Dimensions | 95.64 x 49.45 x 27.26 inches |
| UPC | 747214100491 |
9. Warranty and Support
Dorman Products are manufactured to high-quality standards. For specific warranty information or technical support, please refer to the official Dorman website or contact Dorman customer service directly. Keep your purchase receipt for warranty claims.
Dorman Customer Service: For assistance, visit the Dorman Products website or contact their support channels.
Ask a question about this manual
Ask about setup, troubleshooting, compatibility, parts, safety, or missing instructions. Manuals+ will review the question and use this page’s manual context to help answer it.