1. Product Overview
The nVent RAYCHEM EasyHeat Gel-Filled End Seal Kit (Model 763791-000) is designed to provide a reliable, watertight seal for the ends of self-regulating heating cables. This kit is essential for ensuring the safe and effective operation of your heating cable system by preventing moisture ingress and protecting the cable's internal components.
Each kit includes two gel-filled end seals and is compatible with all WinterGard, WinterGard Plus, and WinterGard Wet heating cables.
2. Safety Information
WARNING: To reduce the risk of fire, electric shock, or injury, always observe the following safety precautions:
- Disconnect Power: Ensure all power to the heating cable circuit is disconnected before installing or servicing the end seal kit.
- Qualified Personnel: Installation and maintenance should only be performed by qualified personnel familiar with electrical heating systems and local electrical codes.
- Inspect Components: Before installation, inspect all kit components for any damage. Do not use damaged parts.
- Proper Application: The end seal must be applied correctly to ensure a watertight seal and prevent electrical hazards.
- Follow Instructions: Adhere strictly to all instructions provided in this manual.
3. Setup and Installation
This section outlines the steps for properly installing the gel-filled end seal onto your heating cable. Ensure the heating cable is de-energized before beginning installation.
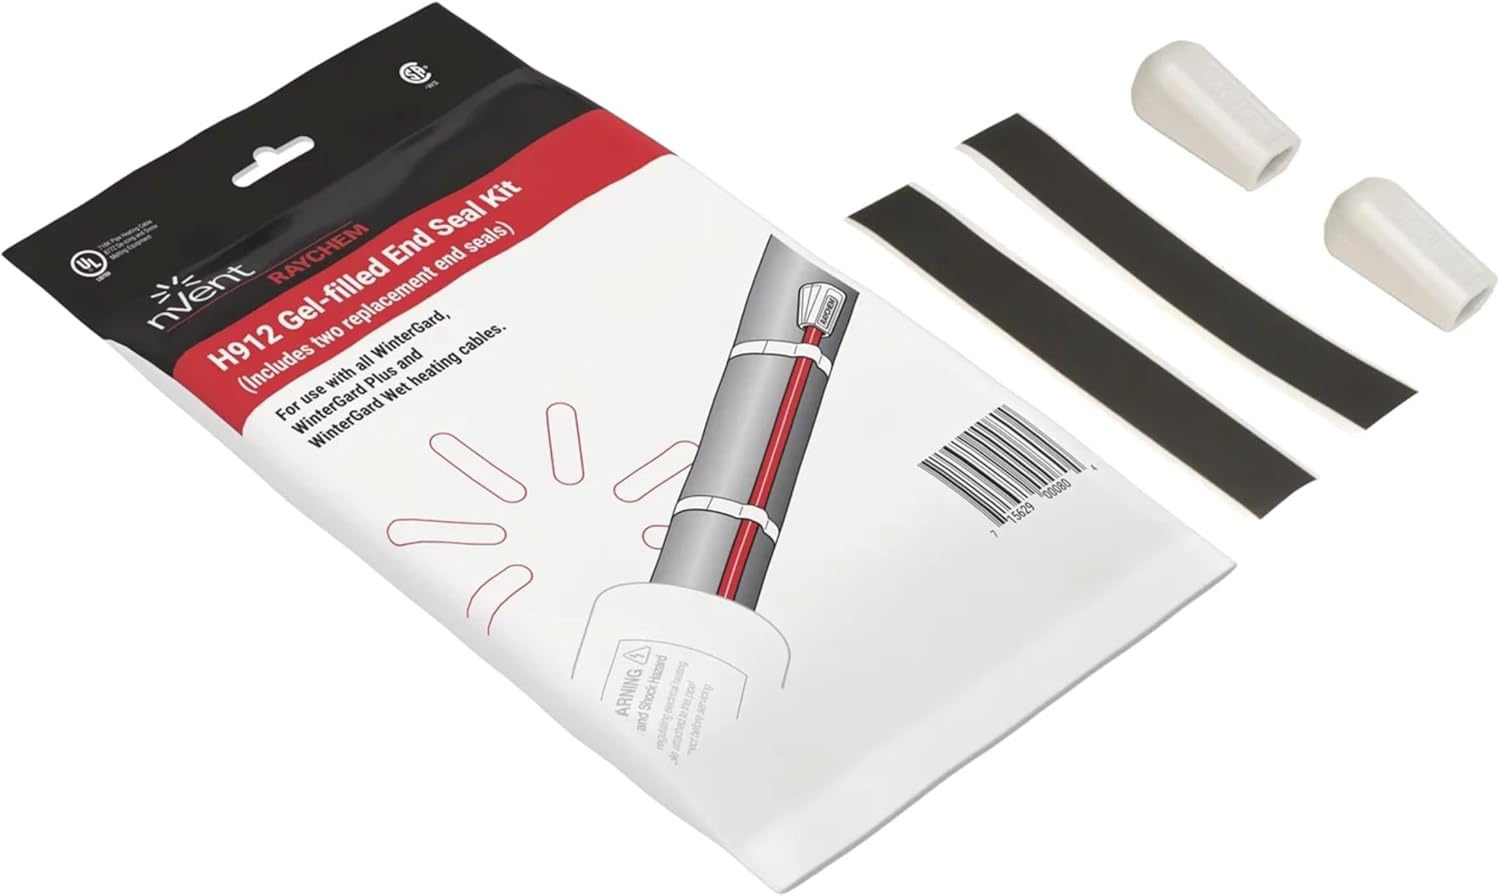
Image 1: nVent RAYCHEM EasyHeat Gel-Filled End Seal Kit showing the packaging, two gel-filled end seals, and two adhesive strips. The packaging also illustrates a heating cable secured to a pipe with an end seal applied.
Installation Steps:
- Prepare the Cable End: Carefully cut the heating cable to the desired length. Ensure the cut is clean and straight. Do not strip the outer jacket or braid of the heating cable.
- Clean the Cable: Wipe the last few inches of the heating cable with a clean cloth to remove any dirt, oil, or moisture.
- Apply the End Seal: Take one gel-filled end seal from the kit. Slide the end seal firmly over the cut end of the heating cable until it is fully seated. The gel inside the seal will encapsulate the cable end, providing a watertight barrier.
- Secure the Cable (Optional but Recommended): If the heating cable is installed on a pipe, use the provided adhesive strips or appropriate cable ties to secure the cable and the end seal to the pipe, ensuring it remains in place and is not subjected to undue stress.
- Repeat for Additional Cables: If you have another heating cable requiring an end seal, repeat the process using the second seal provided in the kit.
Ensure the end seal is securely in place and provides complete coverage of the cable end to prevent moisture ingress.
4. Operating Principles
The gel-filled end seal functions as a passive component within the heating cable system. Once properly installed, it creates a durable, moisture-resistant barrier at the termination point of the self-regulating heating cable. This barrier is crucial for maintaining the electrical integrity and safety of the heating system by preventing water or other contaminants from entering the cable's core. The gel material provides excellent insulation and sealing properties, adapting to minor irregularities for a consistent seal.
5. Maintenance
Regular inspection of the end seals is recommended to ensure their continued effectiveness, especially before and after periods of heavy use or extreme weather conditions.
- Visual Inspection: Check the end seals for any signs of physical damage, cracking, or displacement.
- Moisture Check: Look for any evidence of moisture around the seal or cable end.
- Secureness: Ensure the end seal remains firmly attached to the heating cable.
If any damage or compromise to the seal is observed, the heating cable system should be de-energized immediately, and the affected end seal should be replaced with a new one from a genuine nVent RAYCHEM kit.
6. Troubleshooting
The primary function of the end seal is to prevent moisture ingress. Issues related to the end seal typically manifest as electrical faults in the heating cable system.
- Heating Cable Not Functioning: If the heating cable fails to heat or trips a circuit breaker, a compromised end seal could be a contributing factor due to moisture ingress causing a short circuit.
- Visible Damage to Seal: Cracks, tears, or dislodgement of the end seal indicate a failure point.
- Water Around Cable End: Any sign of water or dampness at the cable termination point suggests the seal has failed.
In case of suspected end seal failure, immediately disconnect power to the heating cable. Inspect the seal and replace it if necessary. If the problem persists after replacing the end seal, consult a qualified electrician or nVent RAYCHEM technical support.
7. Specifications
| Attribute | Value |
|---|---|
| Model Number | 763791-000 |
| Manufacturer | nVent |
| Brand | Raychem |
| Item Weight | 2.29 ounces |
| Package Dimensions | 9.53 x 5.91 x 0.87 inches |
| Color | Black (End Seal Kit components are typically black/white as shown) |
| Included Components | Two gel-filled end seals |
| Compatibility | WinterGard, WinterGard Plus, WinterGard Wet heating cables |
8. Warranty Information
Specific warranty details for the nVent RAYCHEM EasyHeat Gel-Filled End Seal Kit (Model 763791-000) are not provided in this manual. For information regarding product warranty, please refer to the documentation included with your purchase or contact nVent customer service directly. Keep your proof of purchase for warranty claims.
9. Customer Support
For technical assistance, product inquiries, or support regarding the nVent RAYCHEM EasyHeat Gel-Filled End Seal Kit, please contact nVent customer support through their official website or the contact information provided with your product packaging.