
1. Introduction
This manual provides comprehensive instructions for the safe installation, operation, and maintenance of your Allegri Faure 10-Light Chandelier, model 024353-010-FR001. Please read all instructions carefully before beginning installation and retain this manual for future reference. This chandelier is designed for interior use only and features high-quality Firenze Crystal components.
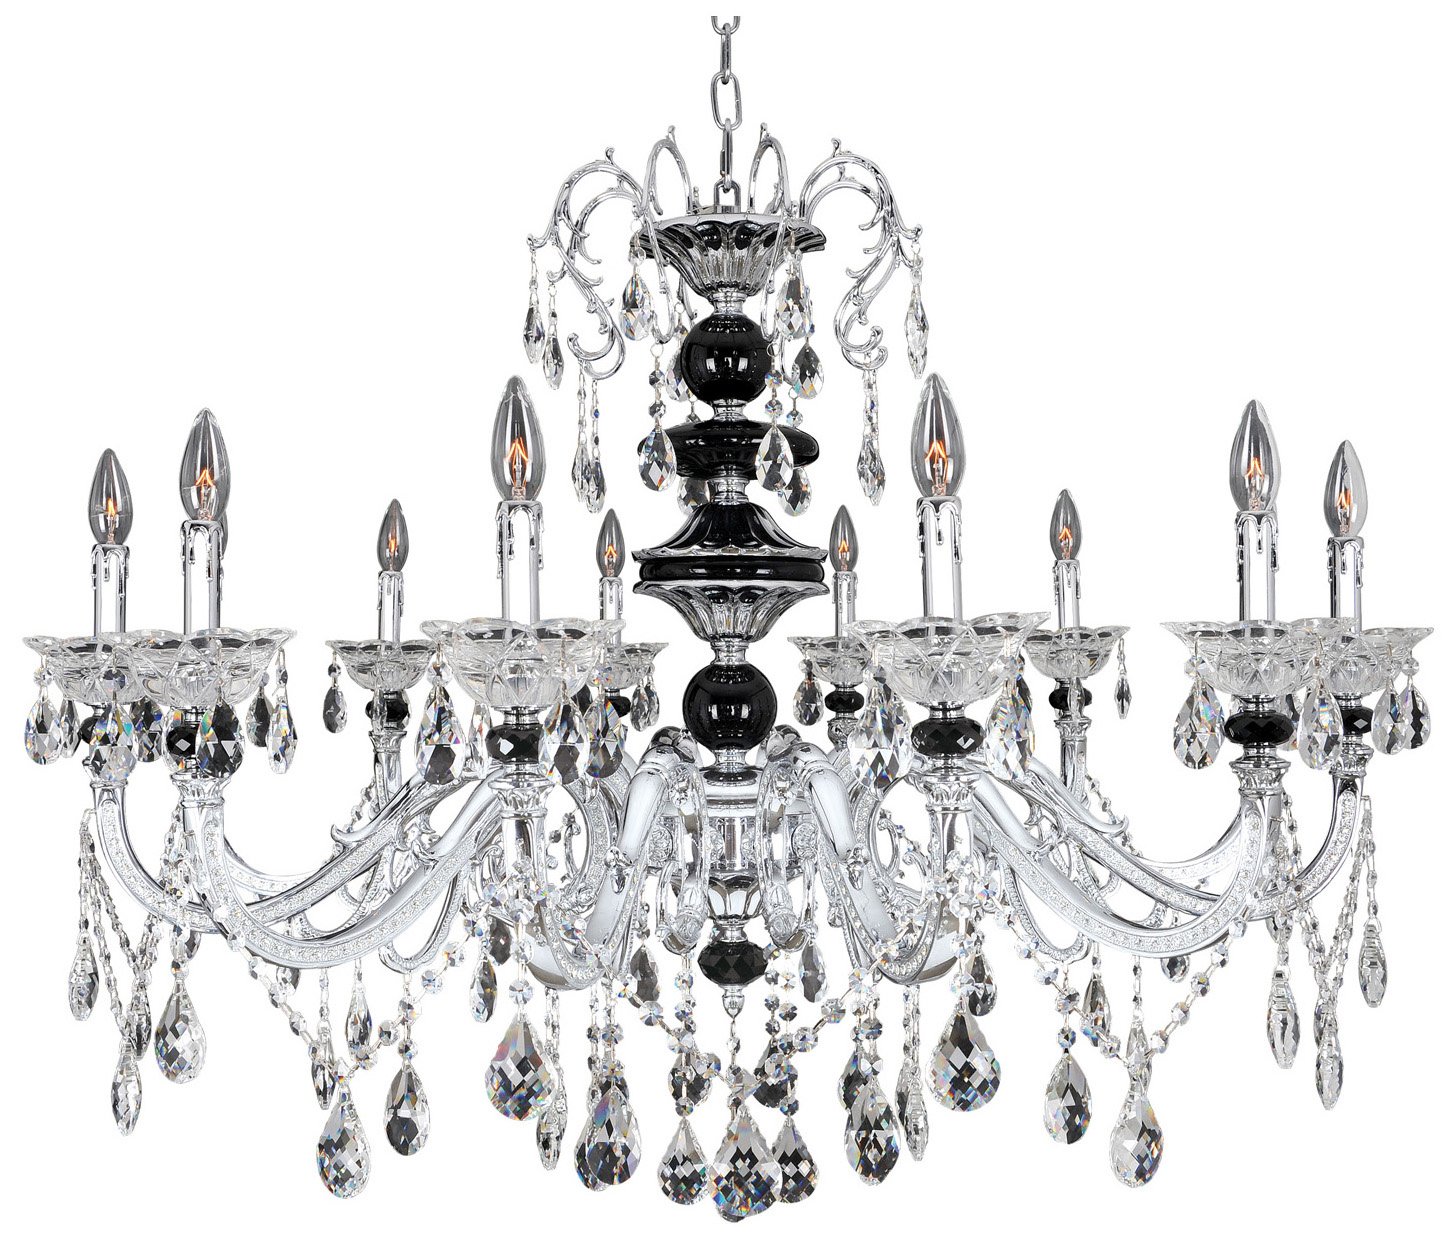
Image of the Allegri Faure 10-Light Chandelier, showcasing its polished finish and intricate crystal design.
2. Safety Information
WARNING: Risk of Electric Shock. Disconnect power at the circuit breaker before installation or servicing.
- Professional installation by a qualified electrician is highly recommended.
- Ensure the electrical supply to the fixture is turned off at the main circuit breaker or fuse box before installation.
- All wiring connections must be in accordance with local and national electrical codes.
- The fixture must be properly grounded.
- Do not exceed the maximum wattage specified for the bulbs.
- Handle crystal components with care to prevent breakage or injury.
- This fixture is intended for indoor, dry location use only.
- Wear protective gloves when handling crystal components to avoid fingerprints and cuts.
3. Package Contents
Carefully unpack all components and inspect for any damage. Keep all packaging materials until you are certain all parts are present and in good condition. The package should contain:
- Chandelier Frame Assembly
- Crystal Components (various shapes and sizes)
- Mounting Hardware Kit (crossbar, mounting screws, wire nuts, ground screw)
- Instruction Manual (this document)
- White Gloves (for handling crystal)
4. Installation
Follow these steps for proper installation. If you are unsure about any step, consult a qualified electrician.
- Preparation:
a. Turn off the electrical power at the main circuit breaker or fuse box.
b. Carefully remove the old fixture (if applicable).
c. Unpack the new chandelier and lay out all components on a clean, soft surface to prevent scratching. - Install Mounting Bracket:
a. Attach the mounting crossbar to the outlet box using the provided mounting screws. Ensure the crossbar is securely fastened. - Wiring:
a. Connect the fixture's ground wire (bare copper or green) to the ground wire from the outlet box (bare copper or green) using a wire nut. Secure the ground wire to the mounting crossbar with the green ground screw.
b. Connect the fixture's neutral wire (white) to the neutral wire from the outlet box (white) using a wire nut.
c. Connect the fixture's hot wire (black or smooth) to the hot wire from the outlet box (black or ribbed) using a wire nut.
d. Ensure all wire connections are secure and tuck them carefully into the outlet box. - Mount Fixture:
a. Carefully lift the chandelier frame and align the mounting holes on the canopy with the screws on the mounting crossbar.
b. Secure the fixture to the crossbar using the decorative nuts or screws provided, ensuring it is flush against the ceiling. - Crystal Dressing:
a. Refer to the included diagram (if applicable, or general design) for crystal placement.
b. Wearing the provided gloves, carefully attach each crystal component to the designated hooks or loops on the chandelier frame. Ensure each crystal is securely fastened. - Install Bulbs:
a. Insert 10 Candelabra (E12 base) bulbs into the sockets. Do not exceed the maximum wattage of 60 watts per bulb. - Restore Power:
a. Once installation is complete and all connections are secure, restore power at the main circuit breaker.
5. Operating Instructions
The Allegri Faure 10-Light Chandelier operates using a standard wall switch connected to your home's electrical system. Simply toggle the wall switch to turn the chandelier on or off.
- Bulb Type: This fixture requires 10 Candelabra (E12 base) bulbs.
- Maximum Wattage: Do not exceed 60 watts per bulb. Using higher wattage bulbs can cause overheating and damage to the fixture or create a fire hazard.
6. Maintenance
Regular maintenance will help preserve the beauty and functionality of your chandelier.
- Cleaning the Frame: Dust the metal frame with a soft, dry cloth. Avoid abrasive cleaners or harsh chemicals, as they may damage the finish.
- Cleaning the Crystals: For light dusting, use a soft, lint-free cloth. For a more thorough cleaning, gently wipe the crystals with a damp cloth moistened with a mild glass cleaner or distilled water. Immediately dry with a clean, soft cloth to prevent water spots. Do not spray cleaner directly onto the fixture.
- Bulb Replacement: Always turn off the power at the circuit breaker and allow bulbs to cool completely before attempting to replace them. Unscrew the old bulb and screw in a new bulb of the correct type and wattage.
7. Troubleshooting
If you encounter any issues with your chandelier, refer to the following troubleshooting guide:
| Problem | Possible Cause | Solution |
|---|---|---|
| Light does not turn on | No power to the fixture; Loose wiring; Faulty bulb; Tripped circuit breaker. | Check power supply at the circuit breaker. Ensure all wire connections are secure. Replace bulb. Reset circuit breaker. |
| Lights flicker | Loose bulb; Incorrect bulb type; Loose wiring connection. | Tighten bulbs. Ensure correct bulb type and wattage are used. Check wiring connections. |
| Fixture is loose | Mounting screws not tightened; Mounting bracket not secure. | Turn off power. Re-tighten mounting screws and ensure the mounting bracket is securely attached to the junction box. |
If you are unable to resolve the issue after following these steps, please contact Allegri customer support or a qualified electrician.
8. Specifications
| Feature | Detail |
|---|---|
| Brand | Allegri |
| Model Number | 024353-010-FR001 |
| Light Fixture Form | Chandelier |
| Number of Light Sources | 10 |
| Lamp Type | Candelabra (E12 base) |
| Voltage | 120 Volts |
| Item Weight | 111 Pounds |
| Product Dimensions | 19.8 x 18 x 17.1 inches |
| Shade Material | Crystal |
| Finish Type | Polished |
| Mounting Type | Ceiling Mount |
| Usage | Interior Use |
9. Warranty and Support
This Allegri product is covered by a manufacturer's warranty against defects in materials and workmanship. For specific warranty terms, claims, or technical assistance, please contact Allegri customer service directly. Please retain your purchase receipt as proof of purchase for any warranty inquiries.
For further support, visit the official Allegri website or contact their customer service department.