Introduction
This manual provides detailed instructions for the assembly, operation, and maintenance of your Casaria® Under-sink Cabinet. Please read all instructions carefully before beginning assembly and retain this manual for future reference.
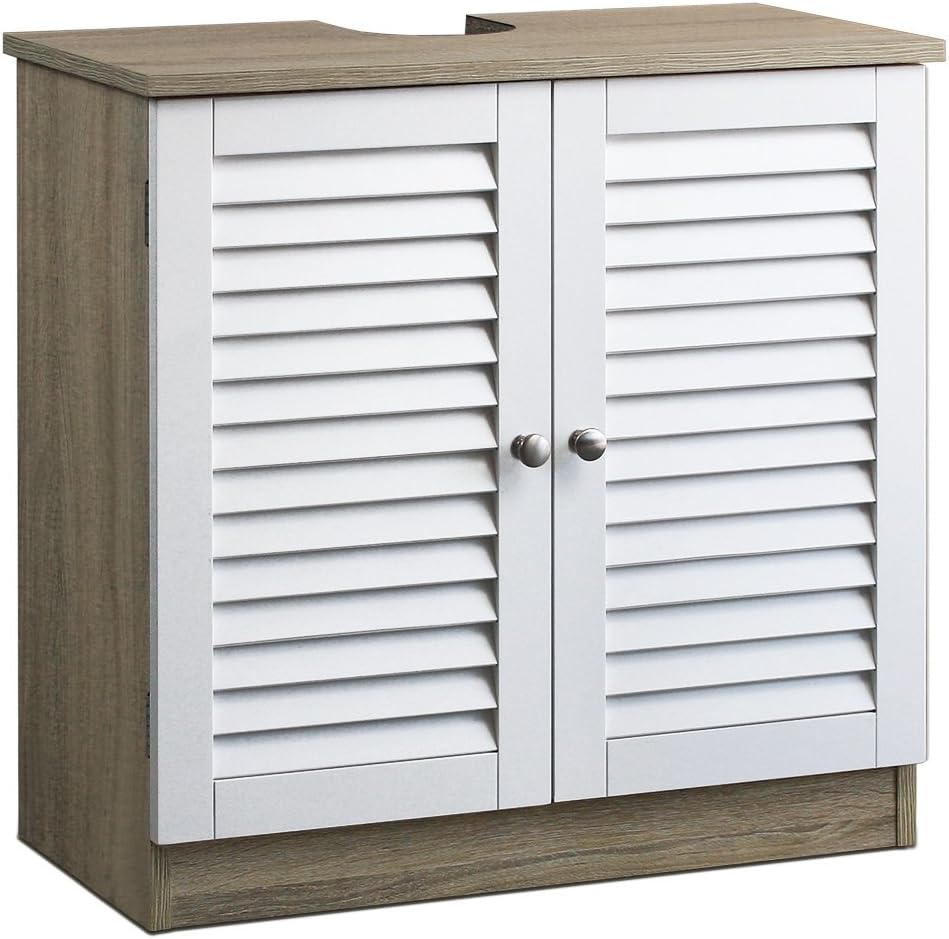
Image: The Casaria under-sink cabinet, featuring a white louvered door design and a brown wood-look top and base, designed to fit under a bathroom sink.
Product Features
The Casaria® Under-sink Cabinet is designed to offer practical storage and enhance your bathroom's aesthetic. Key features include:
- Ample Storage: Measuring 60 x 60 x 30 cm, this cabinet provides significant space for all your bathroom essentials.
- Organized Interior: Behind the two louvered doors with magnetic closures, you will find two storage compartments, perfect for organizing daily necessities like toothbrushes, cotton swabs, or towels.
- Durable and Easy-Care Material: Constructed from coated MDF with an elegant wood decor and white louvered doors, the cabinet is highly resistant and simple to maintain. Dust and dirt can be easily removed with a damp cloth.
- Multifunctional Design: While ideal for the bathroom, this cabinet can also serve as a storage solution in living rooms, hallways, or bedrooms, offering additional space and shelves for improved organization.
- Aesthetic Compatibility: The cabinet's country house style adds charm to your bathroom and seamlessly integrates with existing decor, creating a harmonious overall appearance.

Image: A detailed view of the white louvered doors, highlighting the design and magnetic closure knobs.

Image: The cabinet with both louvered doors open, showcasing the two internal storage compartments and the cut-out for sink plumbing.
Setup (Assembly)
The Casaria® Under-sink Cabinet is designed for straightforward assembly. Please ensure all parts are present before you begin.
Required Tools (Not Included):
- Screwdriver (Phillips head recommended)
- Hammer (for dowels, if applicable)
Assembly Steps:
- Unpack and Verify: Carefully unpack all components and compare them against the parts list provided in the packaging. Ensure no parts are damaged or missing.
- Assemble Side Panels: Attach the side panels to the base and top panels using the provided screws and dowels. Pay attention to the orientation of the panels, especially the top panel with the sink cut-out.
- Install Back Panel: Secure the back panel to the assembled frame.
- Insert Shelves: Place the adjustable or fixed shelves into the designated slots or supports.
- Attach Doors: Mount the louvered doors to the cabinet frame using the hinges. Ensure they open and close smoothly.
- Install Handles/Knobs: Attach the door handles or knobs.
- Final Placement: Position the cabinet under your sink, aligning the plumbing with the cut-out in the top panel.

Image: A visual representation of the cabinet's dimensions, indicating a width of 60cm, depth of 30cm, and height of 60cm.

Image: The cabinet with its louvered doors fully opened, providing a clear view of the internal shelving and the pre-cut opening in the top surface for sink plumbing.
Operating (Usage)
Once assembled and placed, your Casaria® Under-sink Cabinet is ready for use. It is designed to provide convenient and discreet storage for various items.
- Bathroom Storage: Utilize the internal compartments to store toiletries, cleaning supplies, towels, and other bathroom essentials, keeping your space tidy and organized.
- Versatile Placement: While primarily an under-sink cabinet, its design allows it to function as a general storage cabinet in other rooms such as the living room, hallway, or bedroom.
- Door Operation: The louvered doors open smoothly and close securely with magnetic catches, keeping contents out of sight.

Image: A user demonstrating the accessibility of the cabinet's interior while it is installed beneath a standard bathroom sink.

Image: The cabinet seamlessly integrated into a bathroom setting, positioned directly under a white ceramic sink, showcasing its functional and aesthetic fit.
Maintenance
To ensure the longevity and appearance of your Casaria® Under-sink Cabinet, follow these simple maintenance guidelines:
- Cleaning: Wipe the surfaces regularly with a soft, damp cloth. For stubborn marks, a mild, non-abrasive cleaner can be used. Avoid harsh chemicals or abrasive materials that could damage the finish.
- Spills: Immediately wipe up any liquid spills to prevent water damage or staining, especially on the wood-look surfaces.
- Hardware: Periodically check and tighten any loose screws or fittings to maintain stability.
- Avoid Excessive Moisture: While suitable for bathrooms, avoid prolonged exposure to excessive moisture or direct water spray to prevent material degradation.
Troubleshooting
If you encounter any issues with your Casaria® Under-sink Cabinet, please refer to the following common solutions:
- Missing or Incorrect Parts: If you find that parts are missing or you have received duplicate parts (e.g., two left doors instead of a left and a right), please contact customer support with your purchase details and a description of the issue. Do not attempt to force assembly with incorrect parts.
- Doors Do Not Align/Close Properly:
- Check that the cabinet is on a level surface.
- Ensure all hinges are securely fastened and correctly installed. Adjust hinge screws if necessary to align the doors.
- Cabinet Wobbles:
- Verify that all assembly screws are tightened.
- Ensure the cabinet is placed on a flat, stable surface. Use furniture pads or shims if the floor is uneven.
- Damage During Shipping: Inspect the product immediately upon receipt. If any damage is noted, document it with photographs and contact the retailer or manufacturer's customer service promptly.
Specifications
| Brand | Deuba |
| Model Number | 101549 |
| Color | Brown |
| Dimensions (L x W x H) | 60 x 30 x 60 cm |
| Weight | 13.7 Kilograms |
| Material | Engineered Wood (MDF) |
| Special Feature | Easy to Clean |
| Mounting Type | Floor Mount |
| Room Type | Bathroom |
| Door Style | Shutter (Louvered) |
| Included Components | Shelf |
Warranty and Support
For information regarding warranty coverage, spare parts availability, or customer support, please refer to the documentation included with your purchase or contact the retailer directly. Keep your proof of purchase for any warranty claims.