
Introduction
The Can Converter R1 is designed to transform existing 4-inch, 5-inch, or 6-inch recessed can lights into a secure mounting point for various lighting fixtures. This kit allows for the installation of pendant lights, chandeliers, and flush mount ceiling lights, providing a versatile upgrade without extensive renovation.
The kit includes an 8¼-inch beveled trim ring that can be painted to match your ceiling, offering a clean and finished appearance. It supports lighting fixtures up to 5 pounds.
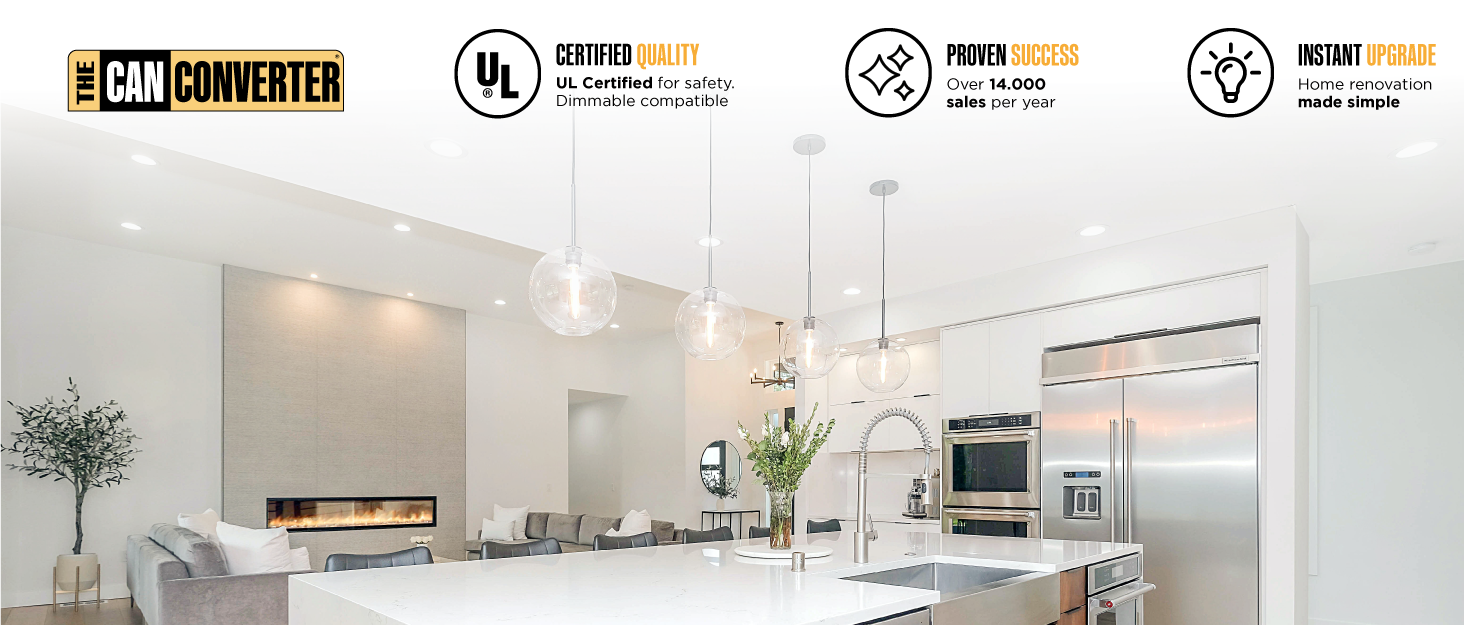
The Can Converter R1 allows you to convert recessed lights to ceiling lights, pendant lights, or chandeliers.
Safety Information
- UL Certified: This product is UL certified, ensuring it meets recognized safety standards.
- Weight Limit: The R1 conversion kit is designed to securely hold lighting fixtures, chandeliers, and ceiling fans weighing up to 5 pounds. Do not exceed this weight limit.
- Compatibility: This kit is not compatible with sloped ceiling can lights, fluorescent can lights, or low voltage can lights. Attempting to install on these types may result in improper function or safety hazards.
- Electrical Safety: Always turn off power at the circuit breaker before beginning any electrical installation. If you are unsure about any steps, consult a qualified electrician.
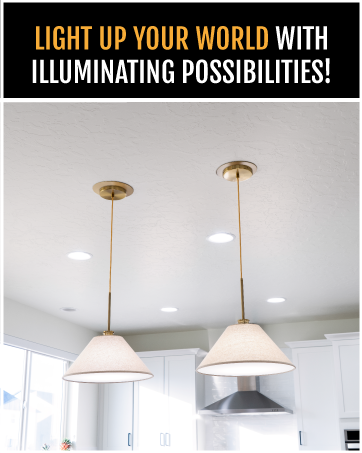
The Can Converter R1 is UL Certified and supports fixtures up to 5 lbs.
Package Contents
The Can Converter R1 kit includes the following components:
- 8¼ inch beveled ceiling medallion
- Medium base light socket adapter (R1 Unit)
- Grounding spring and clip
- Long screws
- Threaded pipe and nuts

Diagram of the assembled R1 kit components.
Installation Instructions
Follow these steps to install The Can Converter R1 kit:
- Step 1: Remove Existing Components
Before starting, ensure the power to the recessed light is turned off at the circuit breaker. Carefully remove the light bulb and the existing trim from the recessed can light.
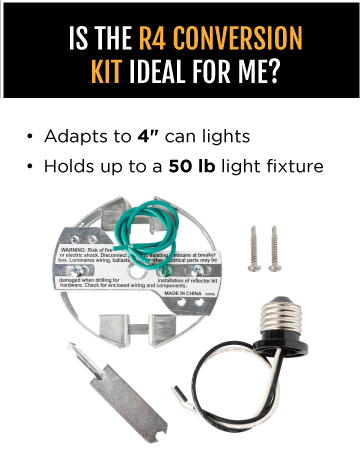
Remove the light bulb and trim from the can light.
- Step 2: Pre-assemble and Install Mounting Bracket
Pre-assemble The Can Converter R1 kit according to the included manual instructions. Then, install the mounting bracket into the recessed can light. This typically involves screwing the medium base light socket adapter into the existing light socket and securing the bracket.
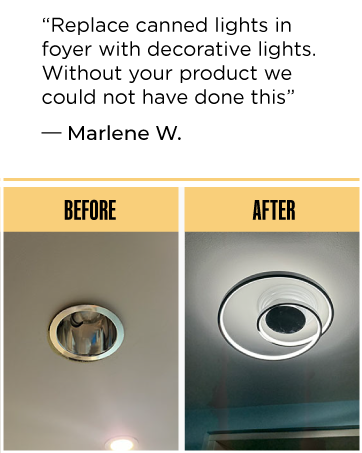
Pre-assemble the kit and install the mounting bracket into the can light.
- Step 3: Attach Lighting Fixture
Once the Can Converter kit is securely installed, attach your desired lighting fixture (pendant, chandelier, or flush mount) to the installed mounting bracket. Ensure all wiring connections are correct and secure, then carefully push the medallion and fixture flush against the ceiling.

Attach your new lighting fixture to the installed mounting bracket.
The design of the R1 kit ensures no visible screws or hardware once installation is complete, providing a clean and professional finish.
Operation
After successful installation, the converted light fixture will operate like any standard ceiling light fixture. Control the light using your existing wall switch or dimmer, provided the new fixture and bulb are dimmable compatible.
Maintenance
The Can Converter R1 requires minimal maintenance. Periodically check that the fixture remains securely attached to the ceiling. Clean the medallion and fixture with a soft, dry cloth. Avoid using abrasive cleaners or solvents that could damage the finish.
Troubleshooting
- Q: Can I use The Can Converter on a sloped ceiling can light?
- A: No, the angle of the can light on a sloped ceiling prevents proper attachment of The Can Converter.
- Q: Will The Can Converter work with fluorescent or low voltage can lights?
- A: No, this kit is not compatible with fluorescent or low voltage can lights.
- Q: Where do I find the can light manufacturer name and model number?
- A: Remove the light bulb and can light trim. You will typically find a label on the inside of the can light housing with the manufacturer name and model number.
- Q: The fixture does not sit flush against the ceiling.
- A: Ensure all components are tightened correctly. The Can Converter R1 allows for height adjustment to achieve a flush fit. If issues persist, re-check the installation steps and ensure no wires are obstructing the medallion.
Specifications
| Brand | The Can Converter |
| Model Name | R1 |
| Part Number | R1-RMB-WHT |
| Color | White |
| Material | Acrylonitrile Butadiene Styrene, Alloy Steel |
| Style | Recessed Light Converter |
| Light Fixture Form | Pendant |
| Product Dimensions | 8"L x 8"W x 5"H |
| Item Weight | 0.75 Pounds (12 ounces) |
| Power Source | AC |
| Voltage | 120 Volts |
| Bulb Base | E26 Medium |
| Specification Met | UL Certified |
| Assembly Required | Yes |
Warranty and Support
This product comes with a Manufacturer's Warranty. For specific details regarding warranty coverage, please refer to the documentation included with your purchase or contact The Can Converter directly.
For technical support or further assistance, please visit The Can Converter's official website or contact their customer service department.


