Introduction
This manual provides detailed instructions for the installation, operation, and maintenance of your Samsung SDS-P5122 16 Channel DVR Security System. Please read this manual thoroughly before using the product to ensure proper functionality and safety. Keep this manual for future reference.
Product Overview
The Samsung SDS-P5122 is a comprehensive 16-channel DVR security system designed for reliable surveillance. It includes a Digital Video Recorder (DVR) unit and multiple weather-resistant cameras.
DVR Unit
The DVR unit is the central component for recording, storing, and managing video footage from the connected cameras. It features a 1 TB surveillance-class hard drive for continuous recording.
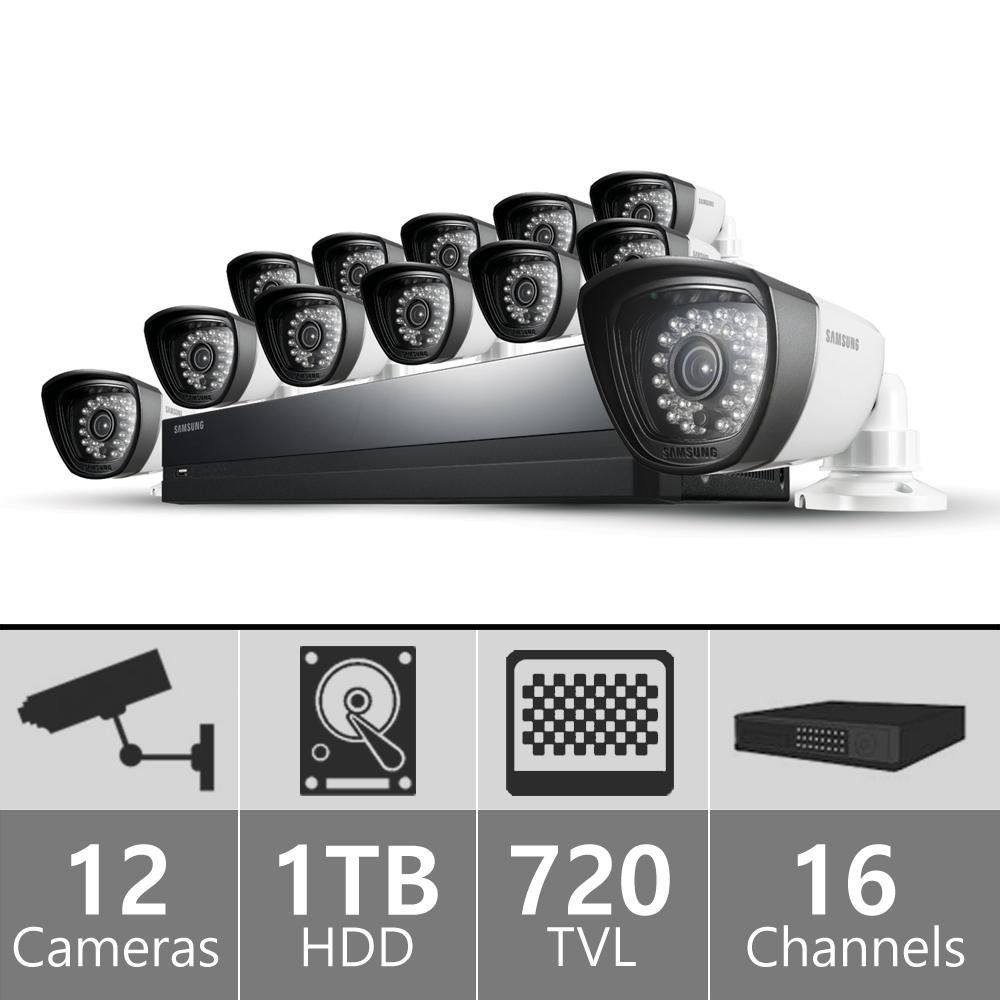
Image: Front view of the Samsung SDS-P5122 DVR unit, showing the Samsung logo, status indicators, and a USB port.
Surveillance Cameras
The system includes 720 TVL high-resolution, weather-resistant cameras with night vision capabilities up to 82 feet and a 72-degree wide-angle coverage.
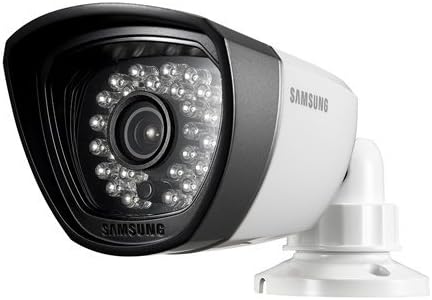
Image: A Samsung surveillance camera, white in color, featuring multiple infrared LEDs around the lens for night vision.
Setup Instructions
Unpacking and Initial Inspection
- Carefully unpack all components from the box.
- Verify that all items listed in the 'What's in the Box' section are present.
- Inspect all components for any signs of damage. Contact customer support if any damage is found.
Connecting the DVR
- Connect the power adapter to the DVR and then to a power outlet.
- Connect a monitor to the DVR's video output port (HDMI or VGA).
- Connect a USB mouse to the DVR's USB port for navigation.
- For network access, connect an Ethernet cable from the DVR to your router.
Installing Cameras
- Select appropriate locations for each camera, ensuring optimal viewing angles and coverage. Consider areas with high traffic or vulnerable entry points.
- Mount each camera securely using the provided screws and mounting hardware.
- Connect the camera's power and video cables to the corresponding ports on the DVR. Ensure connections are secure.
- Adjust the camera's angle and focus as needed after power-up.
Operating the System
Powering On and Initial Configuration
- Power on the DVR. The system will boot up and display the initial setup wizard on the connected monitor.
- Follow the on-screen prompts to set the date, time, language, and create an administrator password.
- Configure network settings if you plan to use remote viewing.
Live View
After initial setup, the system will display the live view from all connected cameras. You can switch between single-camera view and multi-camera grid view using the on-screen interface.
Recording Options
The DVR supports continuous recording, scheduled recording, and motion-detection recording.
- Continuous Recording: Records 24/7, overwriting the oldest footage when the hard drive is full.
- Scheduled Recording: Records during specified time intervals configured by the user.
- Motion Detection Recording: Records only when motion is detected in the camera's field of view. This feature can be configured per camera to minimize false alerts.
Playback and Backup
Access recorded footage through the playback menu. You can search by date, time, and event type. To back up footage, connect a USB storage device to the DVR and follow the on-screen instructions to export selected recordings.
Remote Viewing (iPOLiS App)
The Samsung iPOLiS app allows remote viewing of live and recorded footage from your smartphone (Android/iOS). Download the app from your device's app store.
- Ensure the DVR is connected to the internet via an Ethernet cable.
- Open the iPOLiS app and register your DVR using its unique device ID or QR code.
- Follow the app's instructions to add and configure your device for remote access.
Maintenance
Regular Cleaning
Clean the camera lenses and DVR unit periodically with a soft, dry cloth. Do not use harsh chemicals, abrasive cleaners, or excessive moisture, as these can damage the components.
Firmware Updates
Check the Samsung support website regularly for firmware updates. Keeping your system's firmware updated ensures optimal performance, security, and access to new features.
Hard Drive Management
The DVR's 1 TB hard drive will automatically overwrite the oldest footage when full. Regularly back up important recordings to external storage to prevent loss of critical data.
Troubleshooting
No Video Display
- Check all power connections to the DVR and monitor.
- Verify the video cable (HDMI/VGA) is securely connected between the DVR and monitor.
- Ensure the monitor is set to the correct input source.
Camera Not Displaying
- Check the camera's power and video cable connections at both the camera and DVR ends.
- Ensure the camera's power adapter is functioning correctly.
- Test the camera on a different channel or with a known working cable to isolate the issue.
Remote Viewing Issues
- Verify the DVR has an active internet connection.
- Check network settings on the DVR and your router (port forwarding may be required, consult your router's manual or ISP).
- Ensure the iPOLiS app on your smartphone is updated to the latest version.
- Consult the Samsung support website for specific network configuration guides and troubleshooting tips for remote access.
Poor Image Quality
- Clean the camera lens carefully with a soft cloth.
- Ensure the camera is properly focused (if adjustable).
- Check for obstructions in the camera's field of view (e.g., spiderwebs, dirt).
- Verify cable integrity; damaged or loose cables can cause signal degradation and poor image quality.
Specifications
| Feature | Detail |
|---|---|
| Brand | Samsung |
| Model Number | SDS-P5122 |
| Number of Channels | 16 |
| Video Capture Resolution | 720 TVL (Cameras) |
| Memory Storage Capacity | 1 TB (HDD) |
| Night Vision Range | 82 Feet |
| Viewing Angle | 72 Degrees |
| Connectivity Technology | Wired (Cameras), Wireless (Remote Access) |
| Power Source | Corded Electric |
| Operating System (for app) | Android (Compatible Devices: Smartphones) |
| Recording Mode | Motion Detection |
| Product Dimensions (L x W x H) | 20 x 12 x 16 inches |
| Item Weight | 0.01 ounces (System weight may vary) |
Warranty and Support
Warranty Information
Refer to the warranty card included with your product for specific warranty terms and conditions. Keep your proof of purchase for all warranty claims.
Customer Support
For technical assistance, troubleshooting, or service inquiries, please visit the official Samsung support website or contact their customer service hotline. Contact information can be found on the Samsung website or in your product packaging.
Online Support: www.samsung.com/us/support/


