Introduction
This manual provides essential information for the proper setup, operation, and maintenance of the Spyder 600113 Rapid Core Eject Hole Saw. Please read these instructions thoroughly before use to ensure safe and efficient performance. This hole saw is designed for cutting holes in various materials using a standard rotary drill.
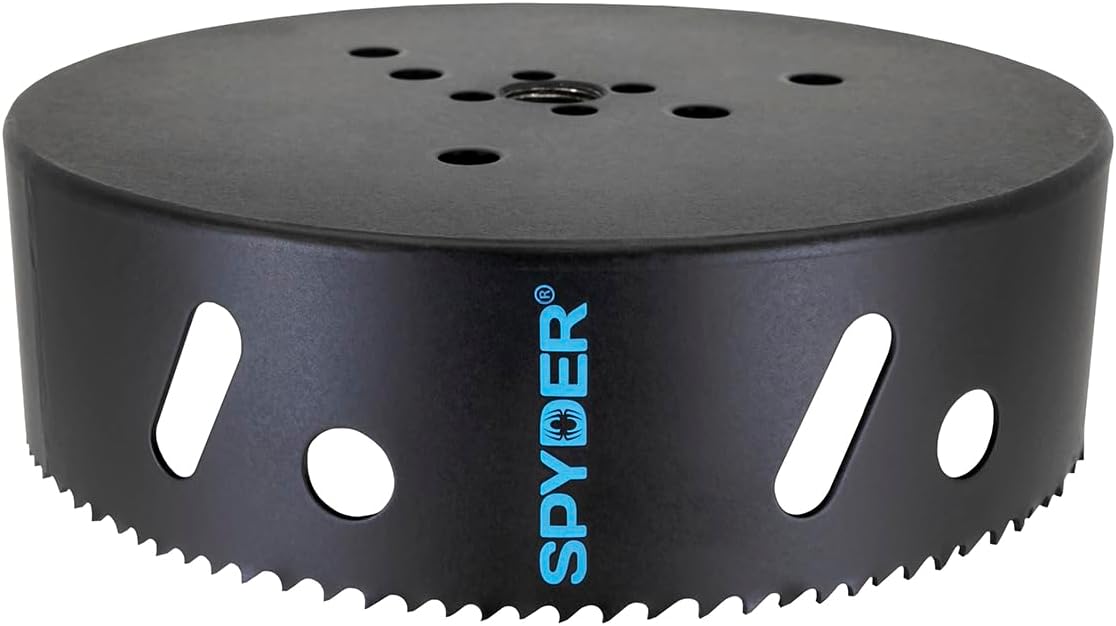
Image: The Spyder 600113 Rapid Core Eject Hole Saw, 6.625-inch diameter, featuring its black finish and sharp teeth. This is the main product view.
Safety Information
Always follow basic safety precautions when using power tools to reduce the risk of personal injury. This hole saw is designed for use with a drill motor that has a support handle. Do not use in hammer mode.
- Wear appropriate personal protective equipment (PPE), including safety glasses, gloves, and hearing protection.
- Ensure the workpiece is securely clamped before drilling.
- Verify the hole saw is correctly attached to the drill arbor and the drill chuck is tightened.
- Keep hands and loose clothing away from rotating parts.
- Disconnect the drill from the power source before changing accessories or performing maintenance.
- Use the correct speed for the material being cut.
Product Features
The Spyder Rapid Core Eject Hole Saw system offers enhanced efficiency and ease of use for various cutting applications.

Image: A collection of Spyder bi-metal hole saws of various sizes, demonstrating their robust construction and suitability for demanding tasks.
- Rapid Core Eject: Allows for quick removal of cut material with a push of a button.
- Bi-Metal Steel Construction: Manufactured from durable bi-metal steel for extended tool life.
- Variable Tooth Pitch: Designed for fast and clean cuts through various material thicknesses.
- Cutting Depth: Capable of cutting depths up to 1-7/8 inches.
- Versatile Application: Suitable for cutting wood, nails, plastic/PVC, steel/metal, and non-ferrous metals.

Image: Diagram illustrating key features of the Spyder hole saw, including variable tooth pitch, up to 1-7/8" cutting depth, bi-metal steel construction, and the Rapid Core Eject (RCE) mechanism. It also advises using a drill with a support handle and not using hammer mode.

Image: Visual representation of materials the Spyder hole saw can cut, including wood with nails, plastic/PVC, steel/metal, and non-ferrous metals, highlighting its ability to create fast and clean cuts.
Setup
Proper setup ensures optimal performance and safety.
- Attach Arbor: Ensure the appropriate arbor (e.g., Hex8 or Hex10, depending on your drill and hole saw size) is securely fastened to your drill.
- Install Hole Saw: Align the hole saw with the arbor's integrated mechanism. Push the button on the arbor and slide the hole saw onto the pilot drill. Release the button to lock the hole saw in place.
- Secure Drill: Insert the arbor into your drill chuck and tighten it firmly. Ensure the drill has a support handle for better control.
- Workpiece Preparation: Secure the material you intend to cut using clamps or a vise to prevent movement during drilling.
Operating Instructions
Follow these steps for effective and safe operation of the hole saw.
- Drill Hole: Position the pilot drill at the desired center point of your cut. Begin drilling at a low speed, applying steady, even pressure.
- Maintain Control: Once the hole saw teeth engage the material, increase speed as appropriate for the material, maintaining firm control of the drill with the support handle.
- Core Ejection: After completing the cut, disconnect the drill from power. To eject the core, push the button on the blade's integrated arbor and slide the hole saw back. The core will be released.

Image: Step-by-step guide demonstrating the Rapid Core Eject feature. Step 1 shows drilling a hole. Step 2 illustrates pressing a button and pulling back the cup. Step 3 shows the core being ejected from the hole saw.
Advanced Techniques:
- Cutting at an Angle: To start a cut at an angle, push the button and pull the hole saw back slightly to extend the pilot drill's length. This allows the pilot drill to engage the material first, guiding the angled cut. Release the button to complete the hole.
- Enlarging Existing Holes: To enlarge a previously drilled hole, use the pilot drill of the larger hole saw to center it within the existing smaller hole. The larger hole saw will then cut the material to the desired wider diameter.

Image: Illustrations showing how to cut at an angle and enlarge existing holes using the Spyder hole saw. The first two panels depict starting and completing an angled cut, while the third panel shows how to use a wider diameter saw to enlarge a smaller hole.
Maintenance
Regular maintenance ensures the longevity and performance of your hole saw.
- Cleaning: After each use, clean the hole saw and arbor to remove dust, debris, and cutting residue. A brush or compressed air can be used.
- Inspection: Periodically inspect the teeth for wear, damage, or dullness. Replace the hole saw if teeth are significantly damaged or dull to maintain cutting efficiency and safety.
- Storage: Store the hole saw in a dry place to prevent rust. Keep it away from moisture and corrosive materials.
Troubleshooting
If you encounter issues during operation, refer to the following common problems and solutions:
| Problem | Possible Cause | Solution |
|---|---|---|
| Hole saw not cutting efficiently or binding. | Dull teeth, incorrect speed, insufficient pressure, or improper material for the saw. | Replace the hole saw. Adjust drill speed and pressure. Ensure the saw is suitable for the material. |
| Core not ejecting easily. | Debris buildup, mechanism obstruction. | Clean the hole saw and arbor thoroughly. Ensure the button mechanism is free of obstructions. |
| Hole saw wobbles during operation. | Hole saw not securely attached to arbor, arbor not tightened in drill chuck, or damaged hole saw. | Re-attach and secure the hole saw to the arbor. Tighten the drill chuck. Inspect for damage and replace if necessary. |
Specifications
| Model Number | 600113 |
| Brand | Spyder |
| Material | Alloy Steel (Bi-Metal) |
| Product Dimensions | 6.62"L x 6.62"W |
| Color | Black |
| Item Thickness | 1 Inches |
| Item Weight | 2.2 Pounds |
| Cutting Depth | Up to 1-7/8 inches |
| UPC | 884835002596 |
| Manufacturer | Simple Man Products |
| Included Components | Product & Instructions Guide |
| Batteries Required | No |
Warranty Information
For detailed warranty information, please refer to the "Product & Instructions Guide" included with your purchase or visit the official Spyder Products website. Warranty terms and conditions may vary.
Support
If you require further assistance or have questions not covered in this manual, please contact Spyder Products customer support. Refer to the packaging or the official Spyder website for contact details.
You can also visit the Spyder Store on Amazon for more product information.