Introduction
This manual provides detailed instructions for the setup, operation, maintenance, and troubleshooting of your Seiki SE40FY27 40-Inch 1080p 60Hz LED TV. Please read this manual thoroughly before using your television to ensure proper and safe operation. Keep this manual for future reference.
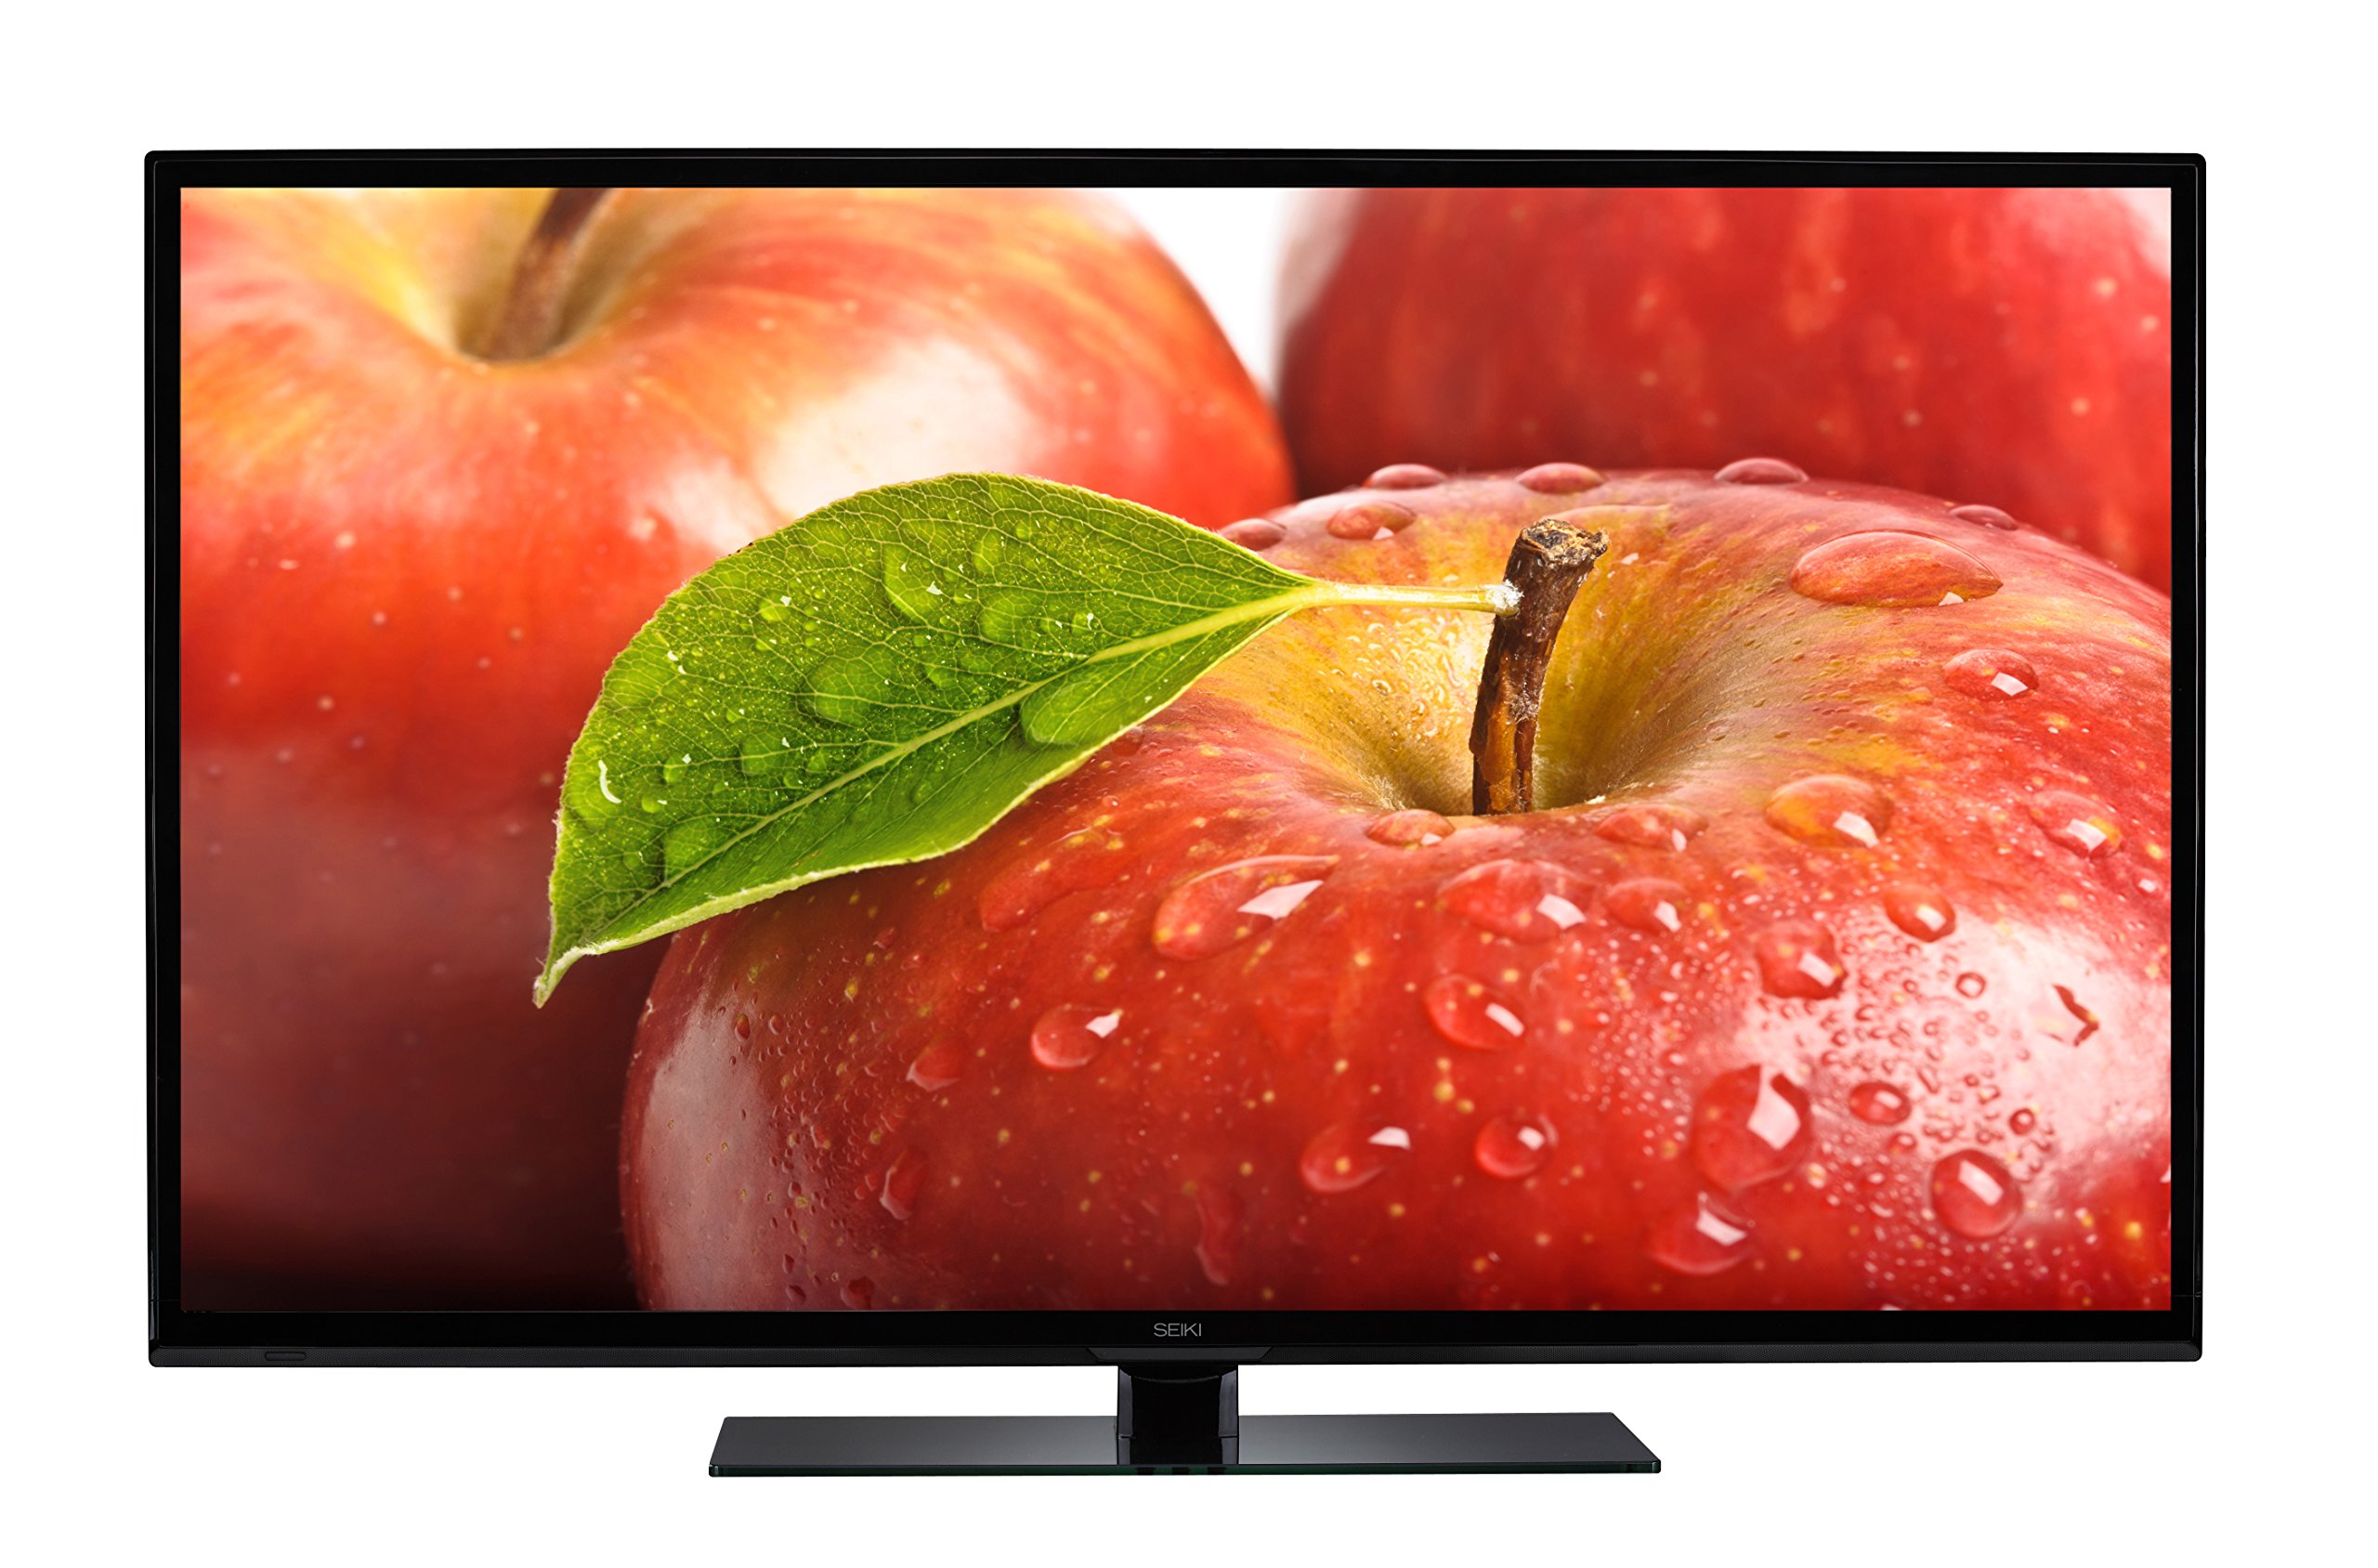
Front view of the Seiki SE40FY27 40-Inch 1080p 60Hz LED TV.
Important Safety Information
Always follow basic safety precautions when using this television to reduce the risk of fire, electric shock, and injury. Keep the television away from moisture and heat sources. Ensure proper ventilation. Do not block ventilation openings. Refer to the full safety guidelines in the included Quick Start Guide or Warranty Card.
What's in the Box
Verify that all components are present before proceeding with setup:
- Seiki SE40FY27 40-Inch 1080p 60Hz LED TV
- Remote Control (with 2 AA batteries)
- TV Stand
- User Manual/Quick Start Guide/Warranty Card (this document is the user manual)
Setup
1. Attaching the TV Stand
To attach the stand to your television:
- Carefully place the TV face down on a soft, clean surface to prevent screen damage.
- Align the stand with the mounting holes on the bottom of the TV.
- Secure the stand using the provided screws. Ensure the stand is firmly attached.

The Seiki SE40FY27 TV with its attached stand, ready for placement.
2. Wall Mounting (Optional)
If you choose to wall mount your TV, ensure you use a VESA-compatible wall mount kit (not included) that supports a 200 x 200 mm pattern. Follow the instructions provided with your wall mount kit. Remove the TV stand before wall mounting.
3. Connecting External Devices
Your Seiki TV offers various connection ports for external devices. Refer to the diagrams below for port locations and types.

Rear view of the television displaying various input ports for external devices.

Side view of the television highlighting additional input ports.
- HDMI (x3): Connect Blu-ray players, game consoles, cable/satellite boxes, and other HDMI-enabled devices.
- USB (x1): For media playback (JPEG images) from USB storage devices.
- VGA (x1): Connect a computer.
- Component Input (x1): Connect older devices using YPbPr cables.
- Antenna/Cable (RF): Connect an antenna for over-the-air broadcasts or a cable TV connection.
4. Powering On for the First Time
- Plug the power cord into the TV's power input, then into a wall outlet.
- Insert the included AA batteries into the remote control.
- Press the POWER button on the remote control or on the TV itself.
- Follow the on-screen instructions for initial setup, including language selection and channel scanning.
Operating Your TV
1. Remote Control Functions
The remote control allows you to access all TV functions. Common buttons include:
- Power: Turns the TV on or off.
- Input/Source: Selects the input source (HDMI 1, HDMI 2, VGA, etc.).
- Volume Up/Down: Adjusts the sound level.
- Channel Up/Down: Changes TV channels.
- Menu: Accesses the on-screen display (OSD) menu for settings.
- Navigation Buttons (Up/Down/Left/Right/OK): Navigate through menus and confirm selections.
2. Selecting an Input Source
To switch between connected devices (e.g., Blu-ray player, game console):
- Press the INPUT or SOURCE button on your remote control.
- Use the navigation buttons to highlight the desired input (e.g., HDMI 1, VGA).
- Press OK to confirm your selection.
3. Adjusting Picture and Sound Settings
Access the TV's menu to customize picture and sound settings:
- Press the MENU button on the remote.
- Navigate to "Picture" or "Sound" settings using the arrow buttons.
- Select options like Brightness, Contrast, Color, Backlight, Sound Mode, etc., and adjust to your preference.
- Press MENU again to exit.
4. USB Media Playback
You can view JPEG images stored on a USB flash drive:
- Insert a USB flash drive containing JPEG images into the TV's USB port.
- Press the INPUT or SOURCE button and select "USB".
- Navigate through the files and select the image you wish to view.
Maintenance
Cleaning Your TV
To maintain the appearance and performance of your TV:
- Screen: Gently wipe the screen with a soft, lint-free cloth. For stubborn marks, dampen the cloth with a small amount of water or a specialized screen cleaner. Never spray cleaner directly onto the screen.
- Cabinet: Wipe the TV cabinet with a soft, dry cloth. Avoid using abrasive cleaners, waxes, or solvents.
- Power: Always unplug the TV from the power outlet before cleaning.
Troubleshooting
Before contacting customer support, try these common troubleshooting steps:
| Problem | Possible Solution |
|---|---|
| No Power |
|
| No Picture, but Sound is Present |
|
| No Sound, but Picture is Present |
|
| Remote Control Not Working |
|
| Poor Picture Quality |
|
Specifications
Detailed technical specifications for the Seiki SE40FY27 LED TV:

An overview of the TV's features, specifications, and connection types.
| Feature | Detail |
|---|---|
| Model Name | SE40FY27 |
| Screen Size | 40 Inches |
| Display Technology | LED (Full Array) |
| Resolution | 1080p (1920 x 1080) |
| Refresh Rate | 60Hz |
| Aspect Ratio | 16:9 |
| Contrast Ratio | 4000:1 |
| Response Time | 8 Milliseconds |
| Inputs | 3 HDMI, 1 USB, 1 VGA, 1 Component, RF (Antenna/Cable) |
| VESA Mounting Pattern | 200 x 200 mm |
| Dimensions (without stand) | 36.05'' W x 21.05'' H x 3.62'' D |
| Dimensions (with stand) | 36.05'' W x 23.34'' H x 8.97'' D |
| Item Weight | 18.7 Pounds |
| Power Consumption | <110W (Operating), <0.5W (Standby) |
| Tuner Type | ATSC |
| Included Components | Remote Control, Stand, TV |

Diagram illustrating the physical dimensions of the Seiki SE40FY27 television.

Energy Guide label showing estimated yearly energy cost for the Seiki SE40FY27 TV.
Warranty Information
Your Seiki SE40FY27 television comes with a one-year replacement warranty covering parts, labor, and the unit itself. For specific terms and conditions, please refer to the warranty card included with your product or contact Seiki customer support.
Customer Support
For further assistance, technical support, or warranty claims, please contact Seiki customer support. Refer to the contact information provided in your Quick Start Guide or Warranty Card. Online manual and firmware access may also be available through the manufacturer's website.