Introduction
This manual provides detailed instructions for the installation, operation, and maintenance of your new Honda OEM Carburetor for the TRX 650 Rincon ATV. This carburetor is a direct replacement for part numbers 16100-HN8-013 and 16100-HN8-305, ensuring optimal performance for your vehicle. Please read this manual thoroughly before proceeding with any installation or maintenance procedures.
Safety Information
- Always wear appropriate personal protective equipment (PPE) including gloves and eye protection when working on your ATV.
- Ensure the ATV is on a stable, level surface and the engine is off and cool before beginning any work.
- Disconnect the battery's negative terminal to prevent accidental starting or electrical shorts.
- Fuel is highly flammable. Work in a well-ventilated area away from open flames or sparks. Have a fire extinguisher readily available.
- Dispose of old fuel and parts responsibly according to local regulations.
Compatibility
This OEM carburetor is compatible with the following Honda ATV models:
- TRX650FA (2003-2005)
- TRX650FGA (2004-2005)
Setup and Installation
Proper installation is crucial for optimal performance. If you are unsure about any step, consult a qualified technician.
Tools Required:
- Socket set and wrenches
- Screwdrivers (Phillips and flathead)
- Pliers
- Fuel line clamps
- Drain pan for fuel
Pre-Installation Steps:
- Park the ATV on a level surface and engage the parking brake.
- Turn off the engine and allow it to cool completely.
- Turn the fuel petcock to the 'OFF' position.
- Disconnect the negative battery cable.
- Remove any body panels or components obstructing access to the carburetor.
Carburetor Removal:
- Place a drain pan under the carburetor. Disconnect the fuel line and allow any residual fuel to drain.
- Disconnect the throttle cable and choke cable from the old carburetor.
- Loosen the clamps securing the carburetor to the intake manifold and airbox.
- Carefully remove the old carburetor, noting the position of all hoses and electrical connectors.
New Carburetor Installation:
- Inspect the new carburetor for any shipping damage.
- Ensure all gaskets and O-rings are correctly seated.
- Carefully position the new carburetor into place, ensuring it seats properly in the intake manifold and airbox boots.
- Tighten the clamps securely, but do not overtighten.
- Reconnect the throttle cable and choke cable. Ensure smooth operation without binding.
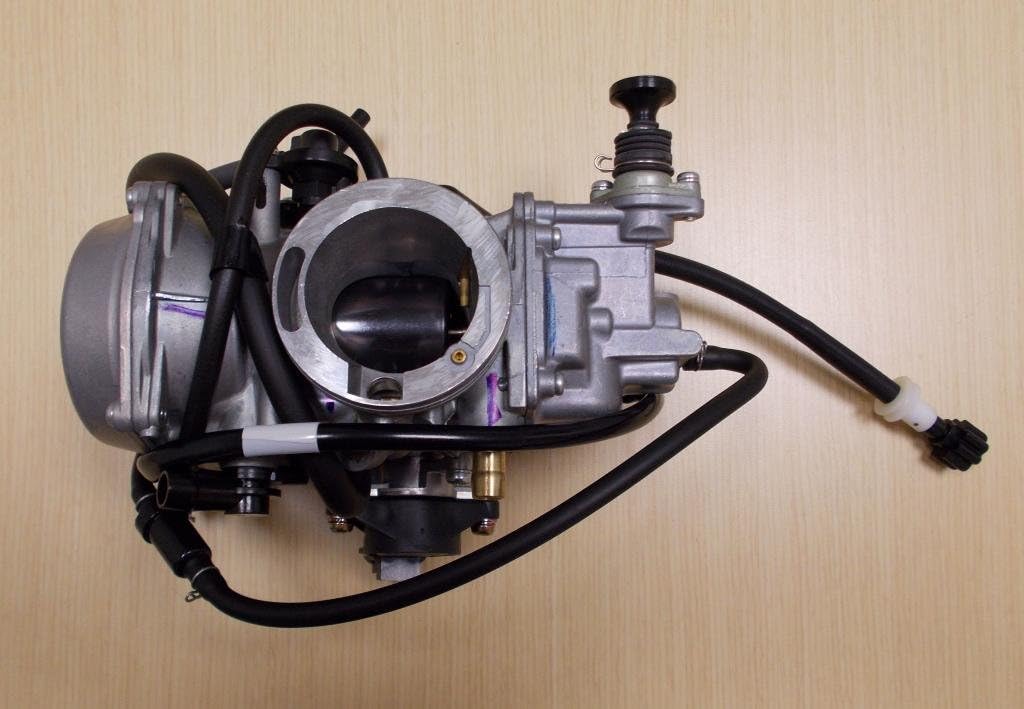
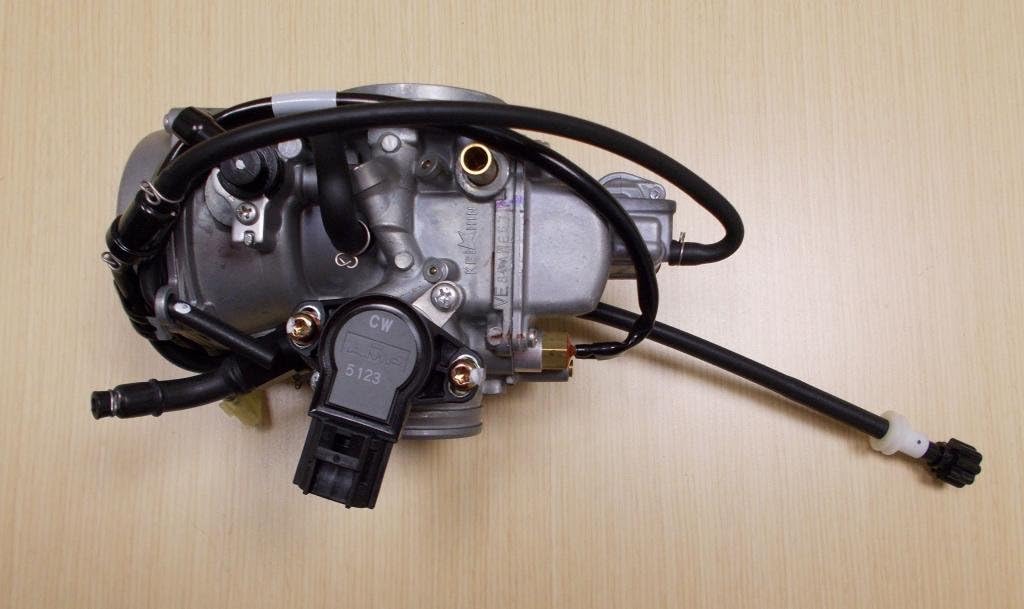
- Reconnect the fuel line and all vacuum hoses and electrical connectors. Refer to the images below for typical connections.
- Reconnect the negative battery cable.


Operating
Initial Start-up:
- Turn the fuel petcock to the 'ON' or 'RES' position. Allow a few moments for the carburetor float bowl to fill.
- Apply the choke if the engine is cold.
- Start the engine. It may take a few extra cranks initially to prime the fuel system.
- Once started, gradually release the choke as the engine warms up.
Idle Adjustment:
The carburetor is factory-set for optimal performance. However, minor idle adjustments may be necessary after installation or during seasonal changes.
- Warm up the engine to normal operating temperature.
- Locate the idle speed screw (typically a large, knurled screw on the side of the carburetor).
- Turn the screw clockwise to increase idle speed, and counter-clockwise to decrease it. Adjust until the engine idles smoothly at the recommended RPM (refer to your ATV's service manual for specific RPM).
Maintenance
Regular maintenance ensures the longevity and performance of your carburetor.
- Fuel System Cleanliness: Always use fresh, clean fuel. Consider using a fuel stabilizer if the ATV will be stored for extended periods.
- Fuel Filter: Regularly inspect and replace the fuel filter to prevent contaminants from reaching the carburetor.
- Air Filter: A clean air filter is vital for proper air-fuel mixture. Clean or replace the air filter according to your ATV's service schedule.
- Carburetor Cleaning: If performance issues arise, a carburetor cleaning may be necessary. This typically involves disassembling the float bowl and jets, and cleaning them with carburetor cleaner. This procedure should only be performed by individuals with mechanical experience.
Troubleshooting
This section addresses common issues you might encounter.
| Symptom | Possible Cause | Solution |
|---|---|---|
| Engine cranks but won't start | No fuel, clogged fuel filter, incorrect choke setting, spark plug issue | Check fuel level, fuel petcock, fuel filter. Adjust choke. Inspect spark plug. |
| Rough idle or stalling | Incorrect idle speed, vacuum leak, dirty pilot jet, old fuel | Adjust idle screw. Check for loose hoses. Clean pilot jet. Replace old fuel. |
| Poor acceleration or loss of power | Clogged main jet, dirty air filter, restricted exhaust | Clean main jet. Clean/replace air filter. Check exhaust for blockages. |
| Fuel leaks | Loose fuel line, damaged float bowl gasket, stuck float | Tighten fuel lines. Replace float bowl gasket. Inspect and free float. |
Specifications
- Brand: Honda
- Model Number: 16100-HN8-023
- OEM Part Number: 16100-HN8-023 (Supersedes 16100-HN8-013 and 16100-HN8-305)
- Product Dimensions: Approximately 9"D x 9"W x 9"H
- Vehicle Service Type: All-Terrain Vehicles (ATV)
- Recommended Uses: Replacement carburetor for Honda TRX 650 Rincon
Warranty and Support
This Honda OEM carburetor is covered by the manufacturer's warranty. For specific warranty details, please refer to the documentation provided with your purchase or contact an authorized Honda dealer.
For technical assistance or further inquiries, please contact your local authorized Honda service center or the Honda customer support line. Always provide your ATV's VIN and the carburetor's part number when seeking support.