Introduction
Thank you for choosing the Schonbek Sterling 6 Light Chandelier. This manual provides detailed instructions for the safe installation, operation, and maintenance of your new lighting fixture. Please read all instructions carefully before beginning installation and retain this manual for future reference.
Safety Information
WARNING: Risk of electric shock. Disconnect power at the circuit breaker or fuse box before installation or servicing. Consult a qualified electrician if you are unsure about the installation process.
- All electrical connections must be in accordance with local codes, ordinances, or the National Electric Code (NEC).
- Ensure the mounting surface can support the weight of the fixture.
- Do not exceed the maximum wattage specified for the light bulbs.
- Handle crystal components with care to prevent breakage.
- This fixture is rated for indoor locations only.
Package Contents
Verify that all components are present before beginning installation:
- Lighting Fixture (Chandelier frame with glass and crystal bobeches)
- Mounting Hardware
- Instruction Sheets
- Certificate of Authenticity
- Manufacturer Warranty Certificate
- Chain (40 inches included)
Note: Light bulbs are sold separately.
Setup and Installation
Professional installation is recommended. Ensure power is disconnected at the circuit breaker before proceeding.
1. Mounting the Fixture
The chandelier mounts to a standard electrical box. It is suspended from a canopy using the included 40-inch chain. The chain length can be adjusted during installation. The fixture includes 144 inches of total wire, allowing for a maximum suspension of up to 171 inches with additional chain (sold separately). This fixture can also be installed on a sloped ceiling up to a 45-degree angle.
Steps:
- Turn off power at the main circuit breaker.
- Attach the mounting bracket to the electrical box using the provided hardware.
- Connect the fixture's ground wire to the supply ground wire.
- Connect the fixture's neutral (white) wire to the supply neutral (white) wire.
- Connect the fixture's hot (black) wire to the supply hot (black) wire.
- Carefully tuck all wires into the electrical box.
- Secure the canopy to the mounting bracket.
2. Attaching Crystal Components
The Sterling chandelier is adorned with crystal beads, pendeloques, drops, pears, and a crystal ball finial. These components are typically pre-assembled or require careful attachment according to the included instruction sheets. Handle all crystal parts with clean gloves to avoid fingerprints.
The chandelier features Clear Heritage Handcut Crystals, meticulously handcrafted in Europe using authentic, centuries-old techniques.
3. Installing Light Bulbs
This fixture requires 6 x E12 base, B10 shape 120V light bulbs, with a maximum of 60W incandescent or LED equivalent (sold separately). Screw the bulbs gently into the sockets until snug. Do not overtighten.
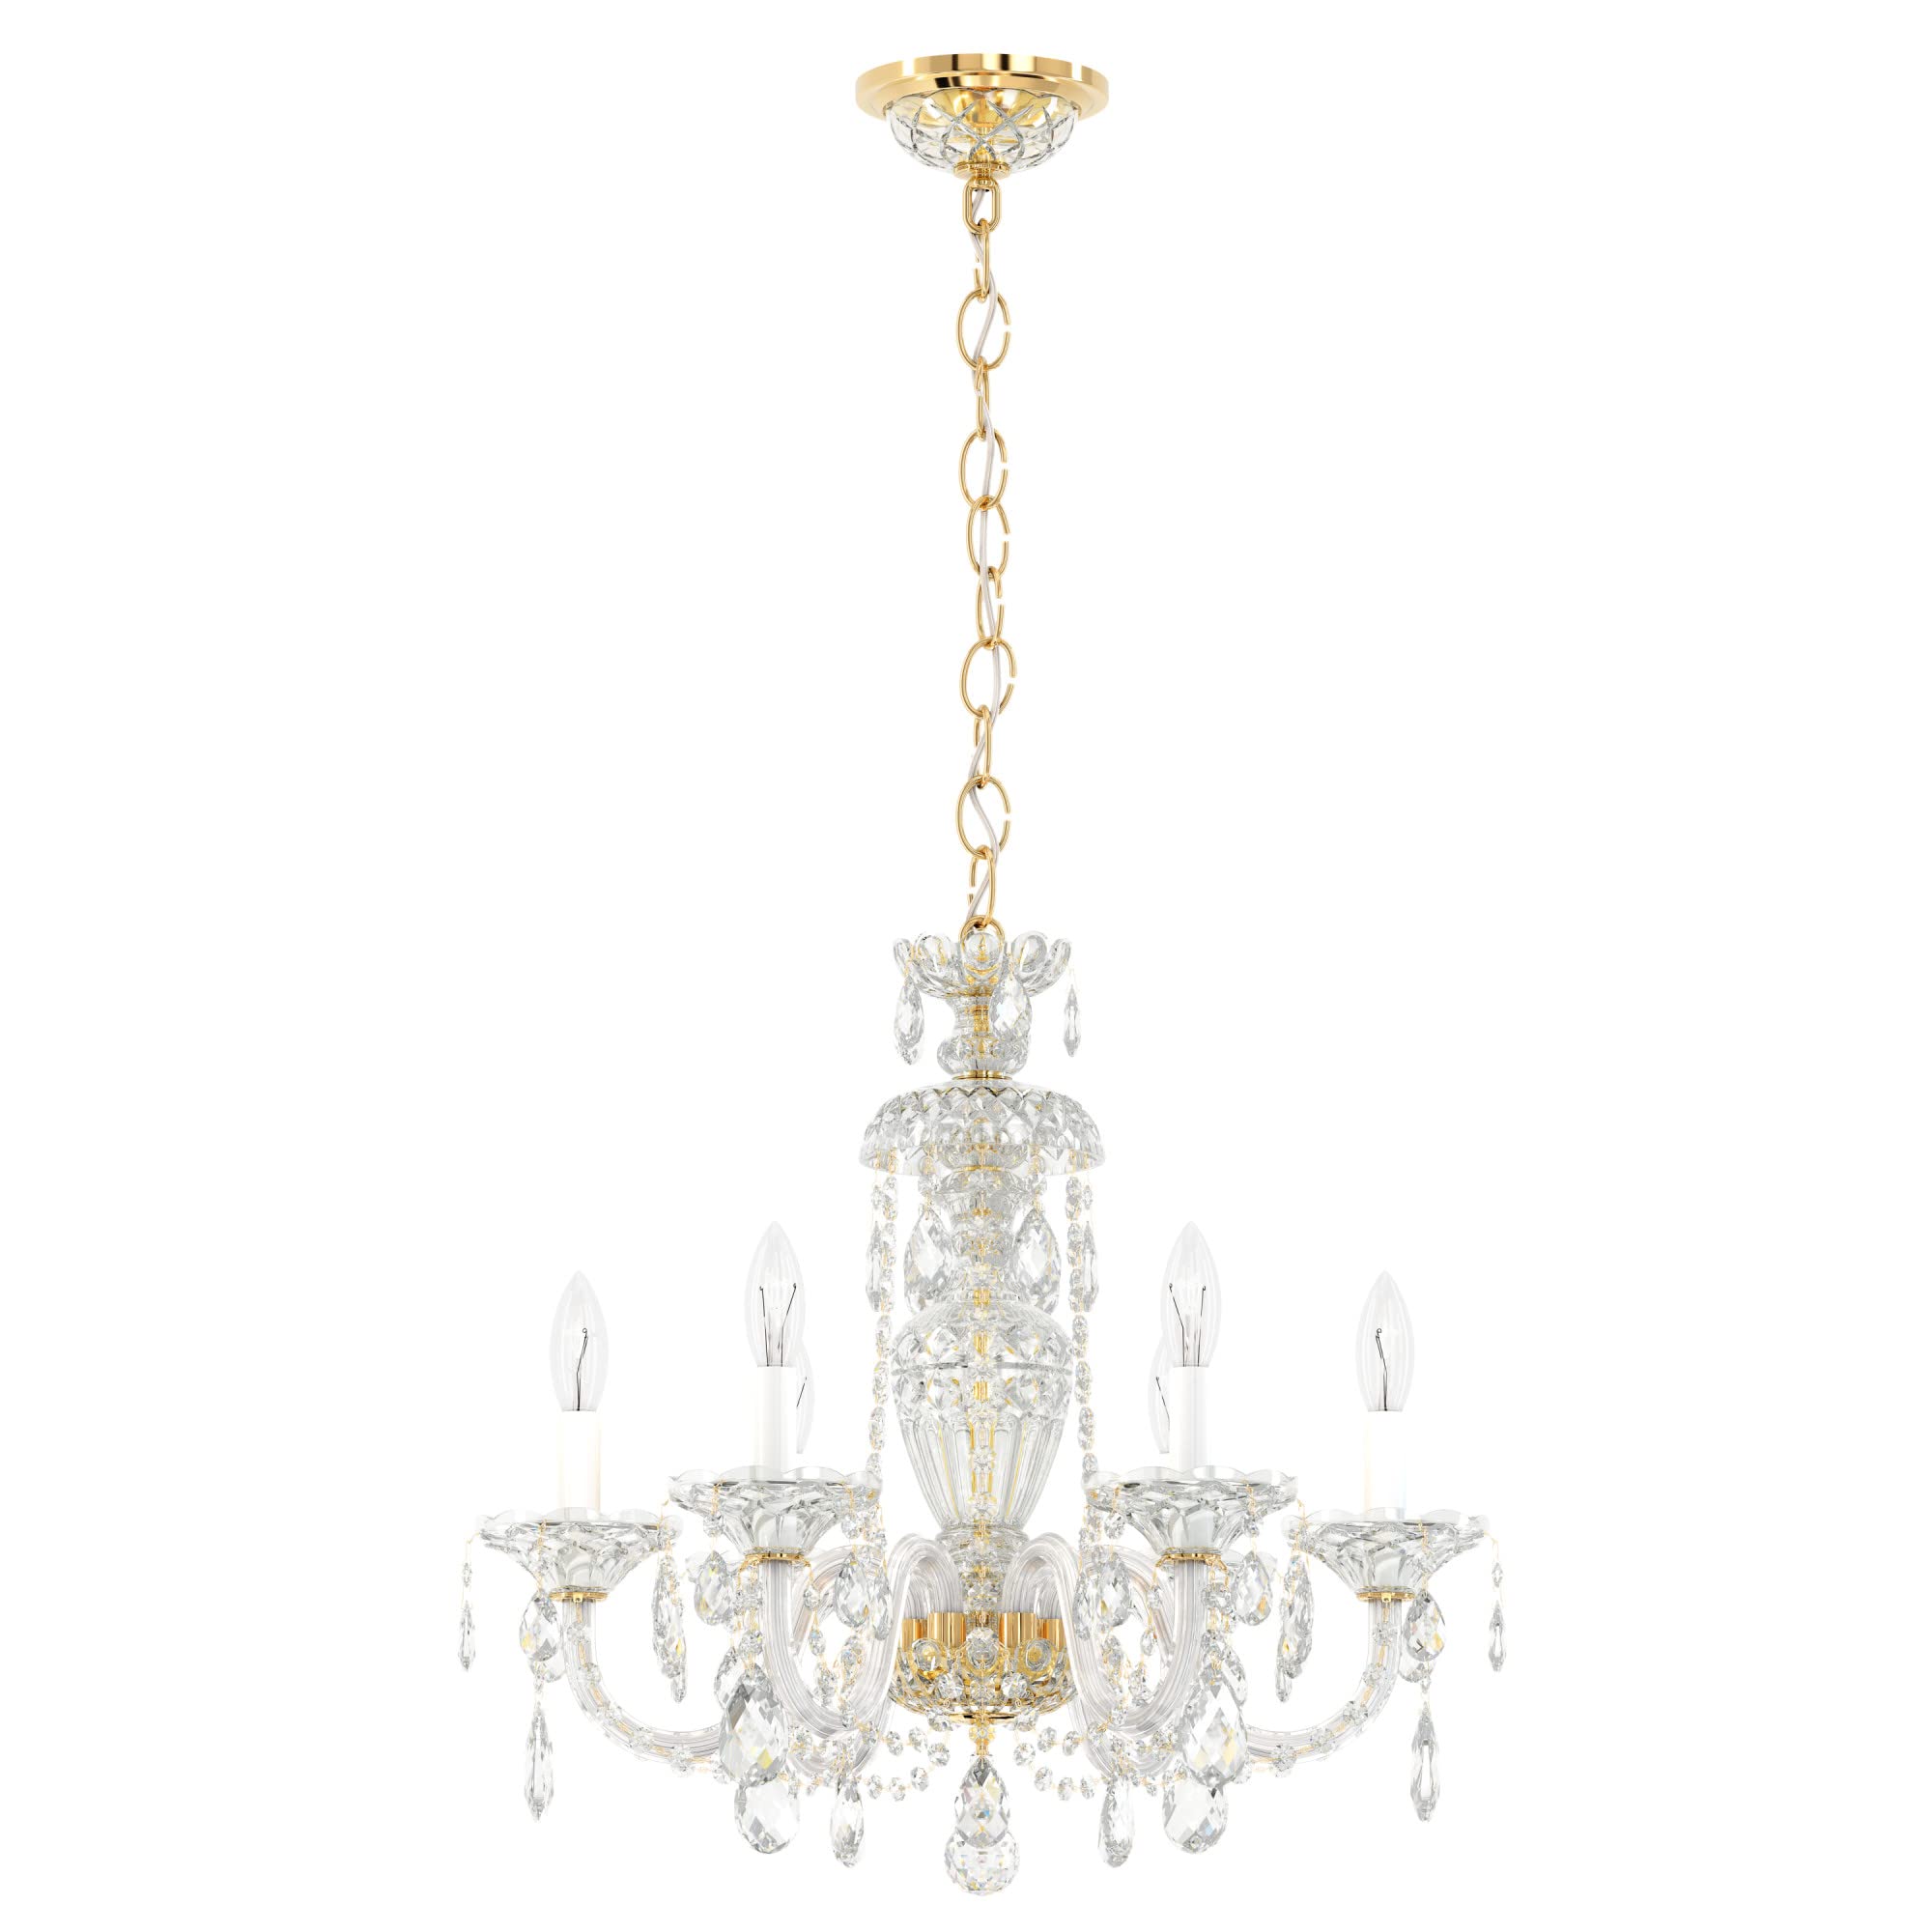
Image: The Schonbek Sterling 6 Light Chandelier, Model 2994-211H, showcasing its polished gold finish and clear heritage handcut crystals.
Operating Instructions
Once installation is complete and verified, restore power at the circuit breaker.
- Turning On/Off: Operate the chandelier using a standard wall switch connected to the fixture's electrical circuit.
- Dimming: The fixture supports smooth and continuous dimming when used with compatible dimmer switches and dimmable E12 base bulbs. Ensure your dimmer switch is rated for LED or incandescent loads as appropriate for your chosen bulbs.
Maintenance
Regular cleaning will maintain the beauty and brilliance of your chandelier.
- Cleaning the Frame: Dust the polished gold frame gently with a soft, dry cloth. Avoid abrasive cleaners or solvents, as they may damage the finish.
- Cleaning Crystals: The Heritage Handcut Crystals can be cleaned with a soft, lint-free cloth dampened with distilled water or a specialized crystal cleaner. Avoid spraying cleaner directly onto the fixture; instead, apply it to the cloth. Ensure the fixture is turned off and cool before cleaning.
- Bulb Replacement: Always turn off power to the fixture at the circuit breaker and allow bulbs to cool before replacing them. Use only E12 base, B10 shape bulbs with a maximum of 60W.
Troubleshooting
If you encounter issues with your chandelier, refer to the following common solutions:
| Problem | Possible Cause | Solution |
|---|---|---|
| Lights do not turn on. | No power, loose wiring, faulty bulb. | Check circuit breaker. Verify all wire connections. Replace bulbs. |
| Lights flicker or dim improperly. | Incompatible dimmer, loose bulb, incorrect bulb type. | Ensure dimmer is compatible with bulbs. Tighten bulbs. Use dimmable bulbs. |
| Chandelier is unstable. | Improper mounting. | Ensure mounting hardware is securely fastened to the electrical box and ceiling structure. |
If problems persist, disconnect power and consult a qualified electrician or contact Schonbek customer support.
Specifications
- Model: 2994-211H
- Dimensions: 21"L x 21"W x 22.5"H
- Item Weight: 12 Pounds
- Material: Glass, Crystal
- Finish: Polished Gold (Powder Coated)
- Light Source: 6 x E12 base, B10 shape bulbs (max 60W incandescent or LED, sold separately)
- Voltage: 120 Volts
- Wattage: 360 Watts (total maximum)
- Brightness: 2520 Lumens (maximum with compatible bulbs)
- Color Temperature: 3000 Kelvin (dependent on bulb)
- Mounting Type: Chain suspended from canopy, suitable for sloped ceilings up to 45 degrees.
- Indoor/Outdoor Usage: Indoor only
- Certifications: UL, cUL, CSA rated
Warranty and Support
This Schonbek Sterling Chandelier is covered by a 5-year manufacturer's warranty. Please refer to the included Manufacturer Warranty Certificate for full terms and conditions.
For technical assistance, replacement parts, or warranty claims, please contact Schonbek customer support. Keep your Certificate of Authenticity and proof of purchase readily available.